Our new DIY spice drawer organiser is one of the quickest and easiest DIY projects we’ve ever done. It’s so easy to make and you don’t even need a single power tool to build it.
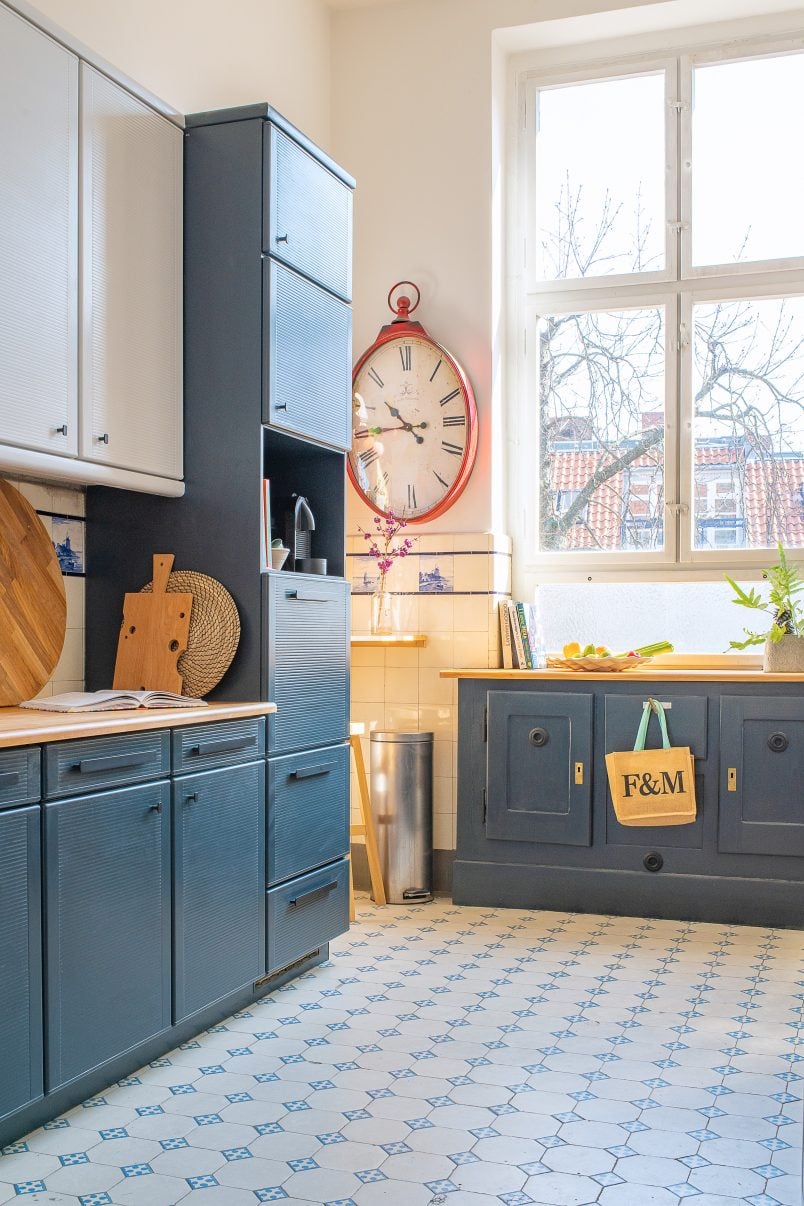
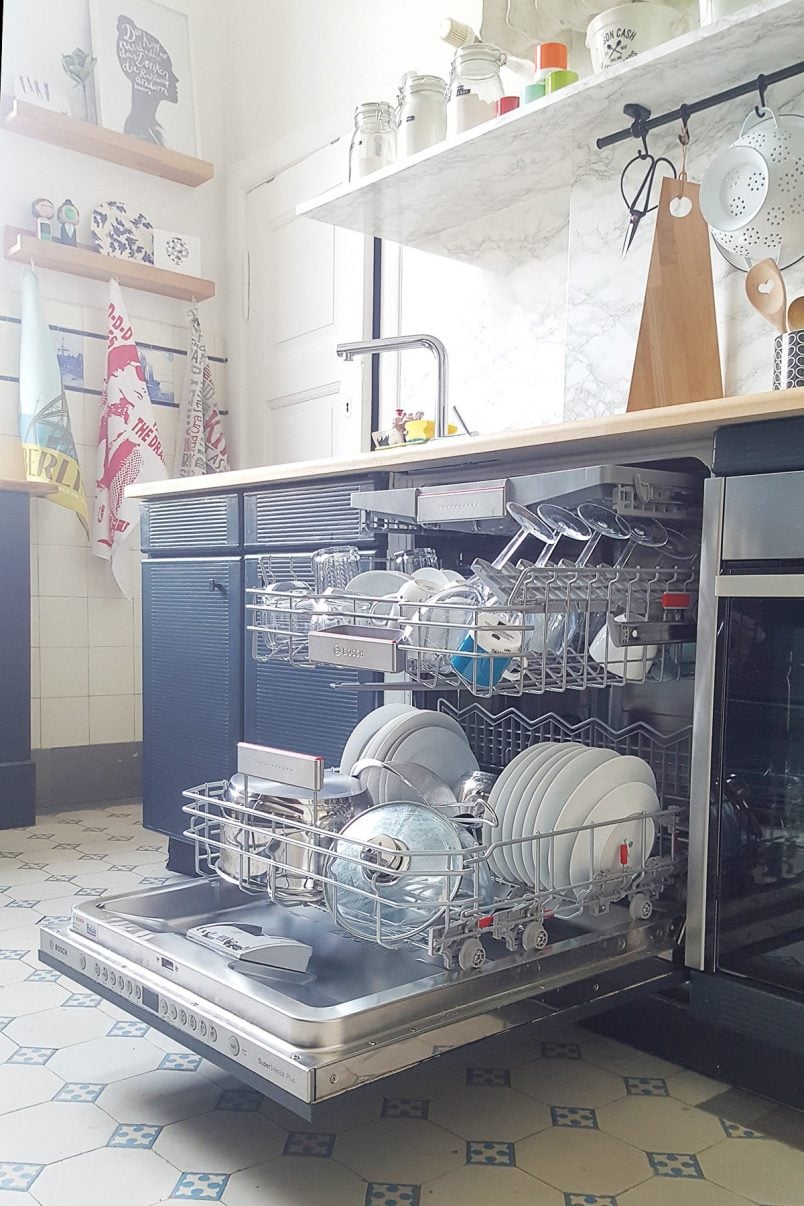
We still don’t have a proper kitchen in our house, so are working on making our temporary kitchen work better for us. Our new DIY storage bins work even better than expected, so we decided that it was time to organise our chaotic collection of spices, too.
If your kitchen needs more organisation, this project is definitely for you. Instead of spending what feels like hours looking for a certain spice in our messy trolley, all of our spices are now perfectly organised in our spice drawer.
Tools & Supplies You Need To Make A DIY Spice Drawer Organiser
This post contains affiliate links. We only recommend products we love and think that you will, too! Read our full disclaimer here.
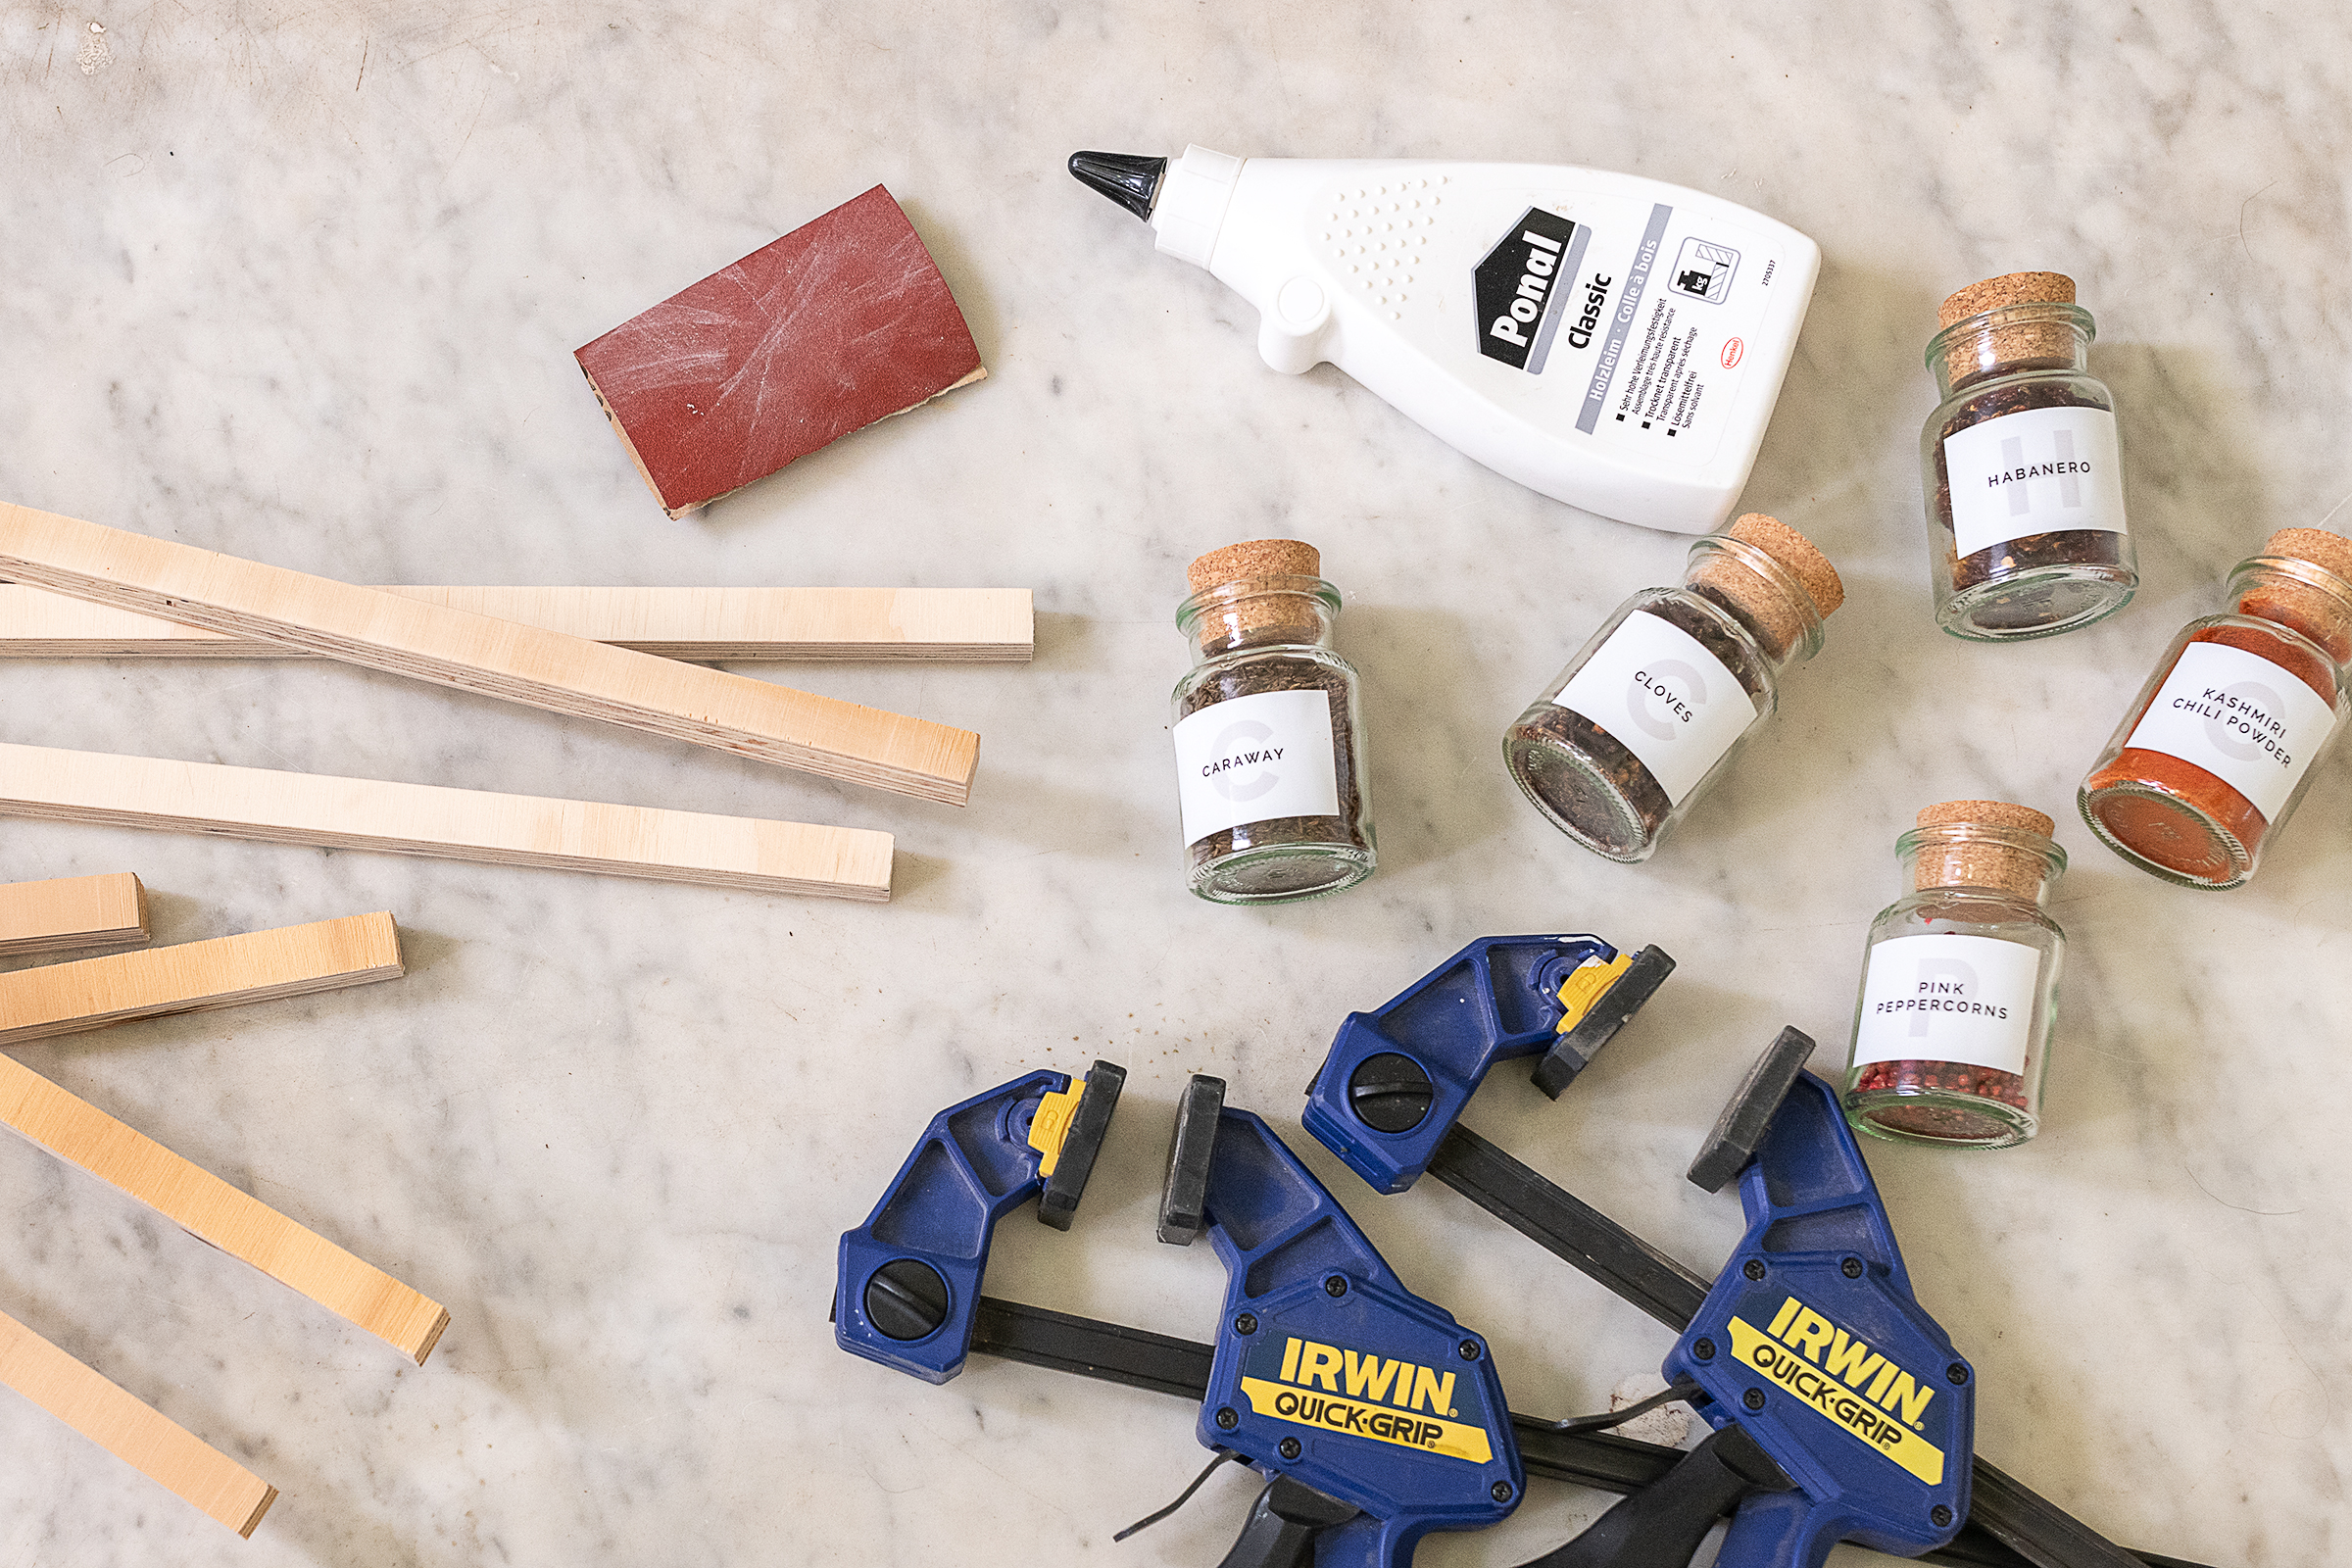
- Timber Strips (about 20 x 20 mm)
- Fine saw & mitre box (you can use a mitre saw if you want)
- Wood Glue
- Clamps
- Sandpaper
- Tape measure & Pencil
- Spice Jars
For the spice jar labels:
- Printable sticker paper
- Spice jar labels (get a free printable of the labels we used below)
- Printer (this is the printer we have and love)
How to make a spice drawer organiser
This drawer spice rack makes it quick and easy to find exactly what you’re looking for. And, to help you keep your spices as organised as possible, we’re also sharing a free printable of the labels we used for our spice jars.
Just scroll to the bottom of this post to get the free spice jar labels.
Step 1
Measure Your Drawer
To ensure the spice jars fit perfectly in your drawers, you need to measure the width of the drawer.
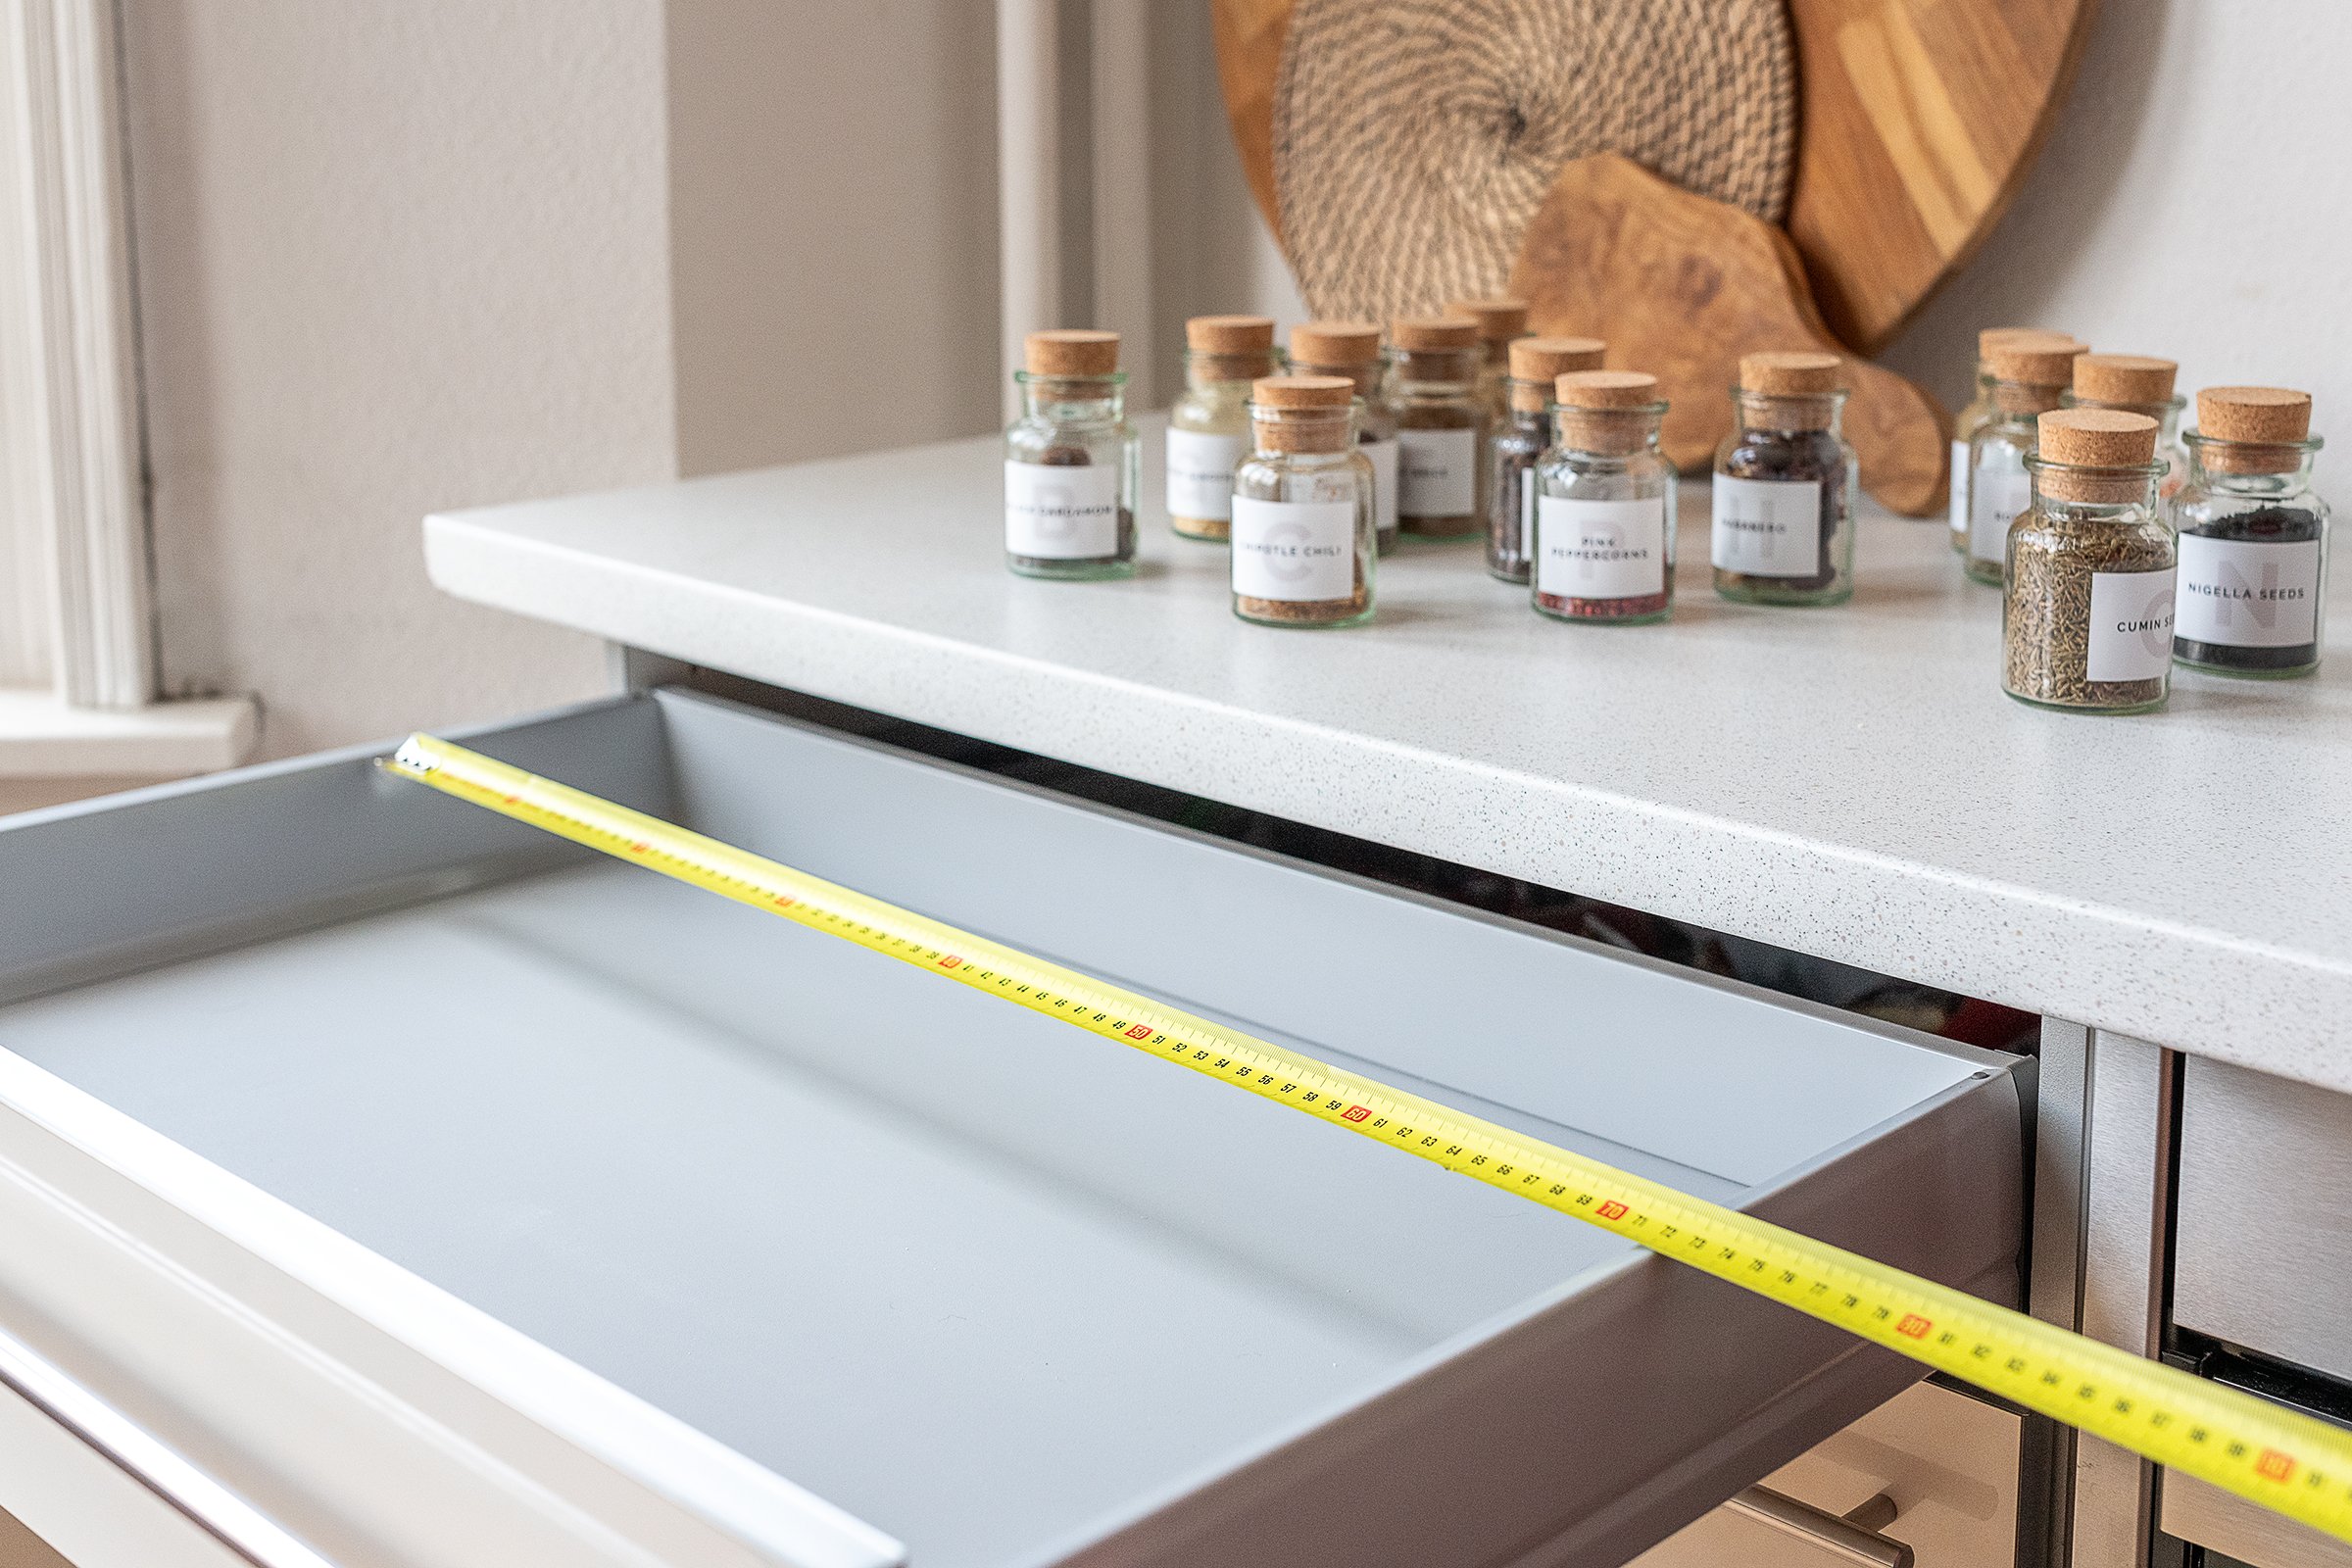
We’re using a very wide drawer, so our slats are relatively long. The process for building this spice drawer organiser is the same no matter what size your drawer is.
Step 2
Cut The Timber Strips
Start by cutting the wood strips into two long pieces that are the width of your drawer.
Then, put them in the drawer and place one of your spice jars on top of the strips so that the bottom of the jar touches the bottom of the drawer and the top of the jar rests on top of the timber strip.
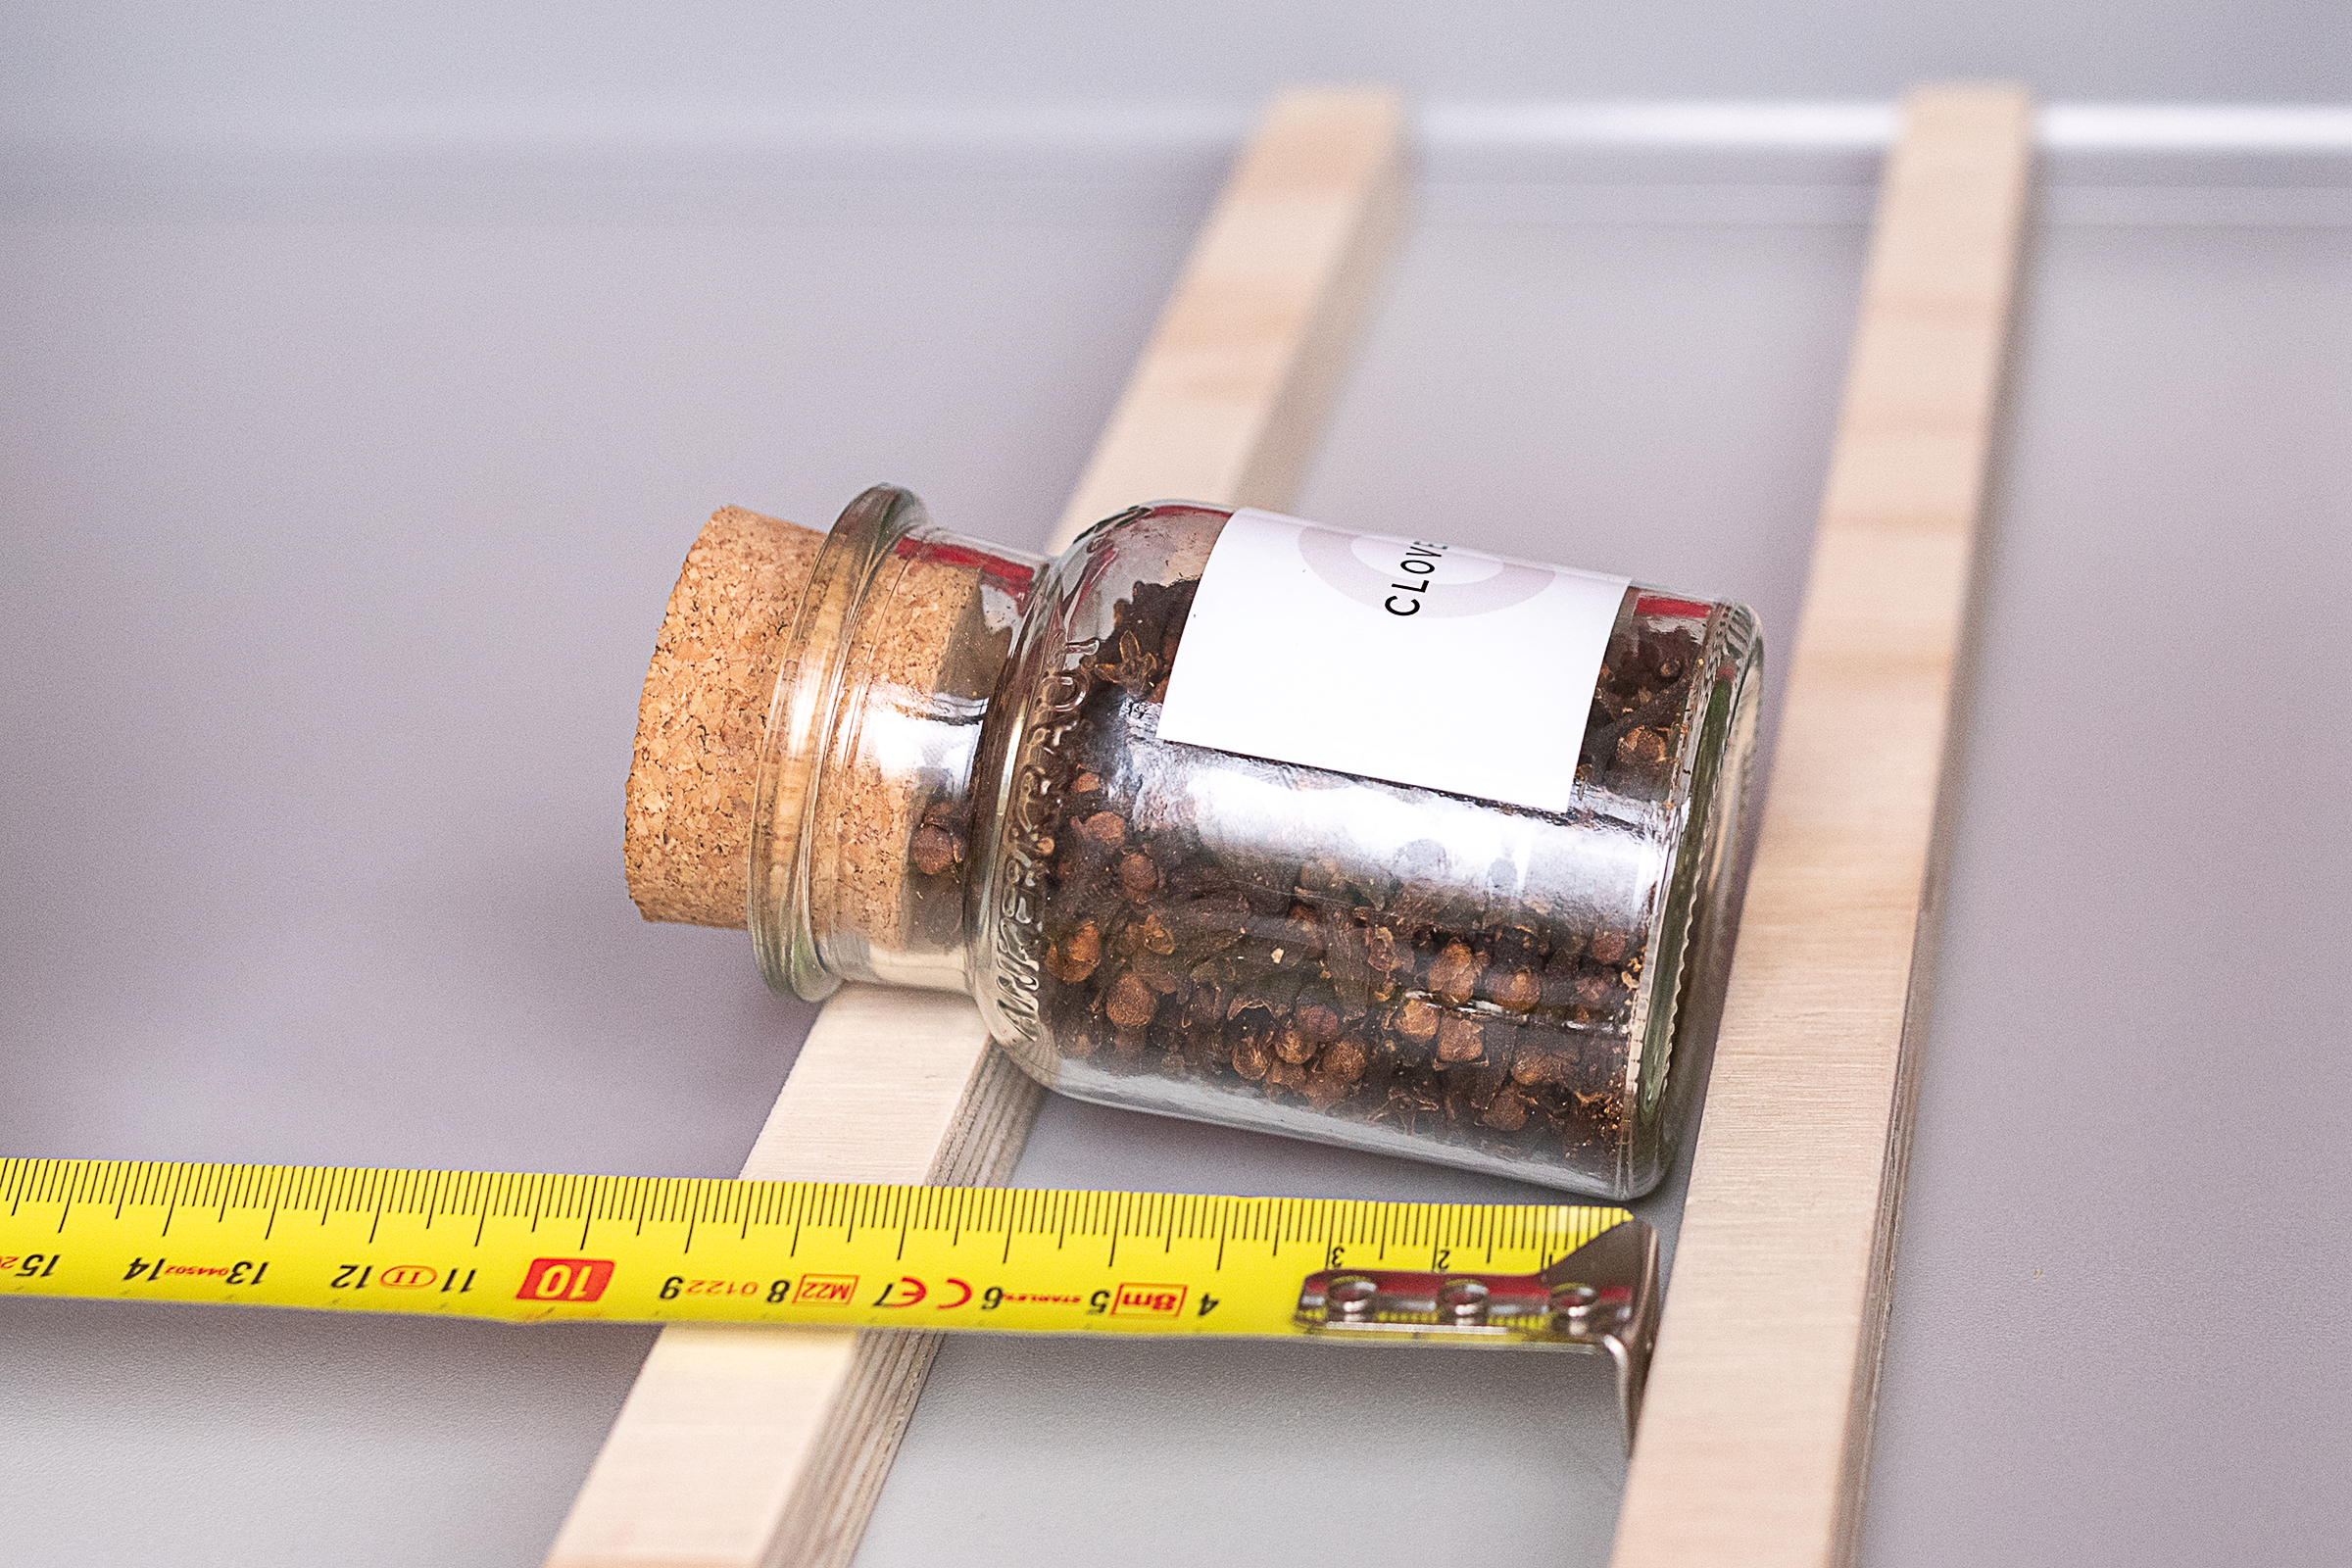
By moving the top strip back and forth, you can adjust the angle of the spice jar. The closer the timber strips are together, the more angled the jar will be. Just make sure that it’s not too angled so you can still close your drawer.
Now measure the distance between your slats and cut two more pieces of timber that are the length you just measured. You now have all the pieces for your first frame.
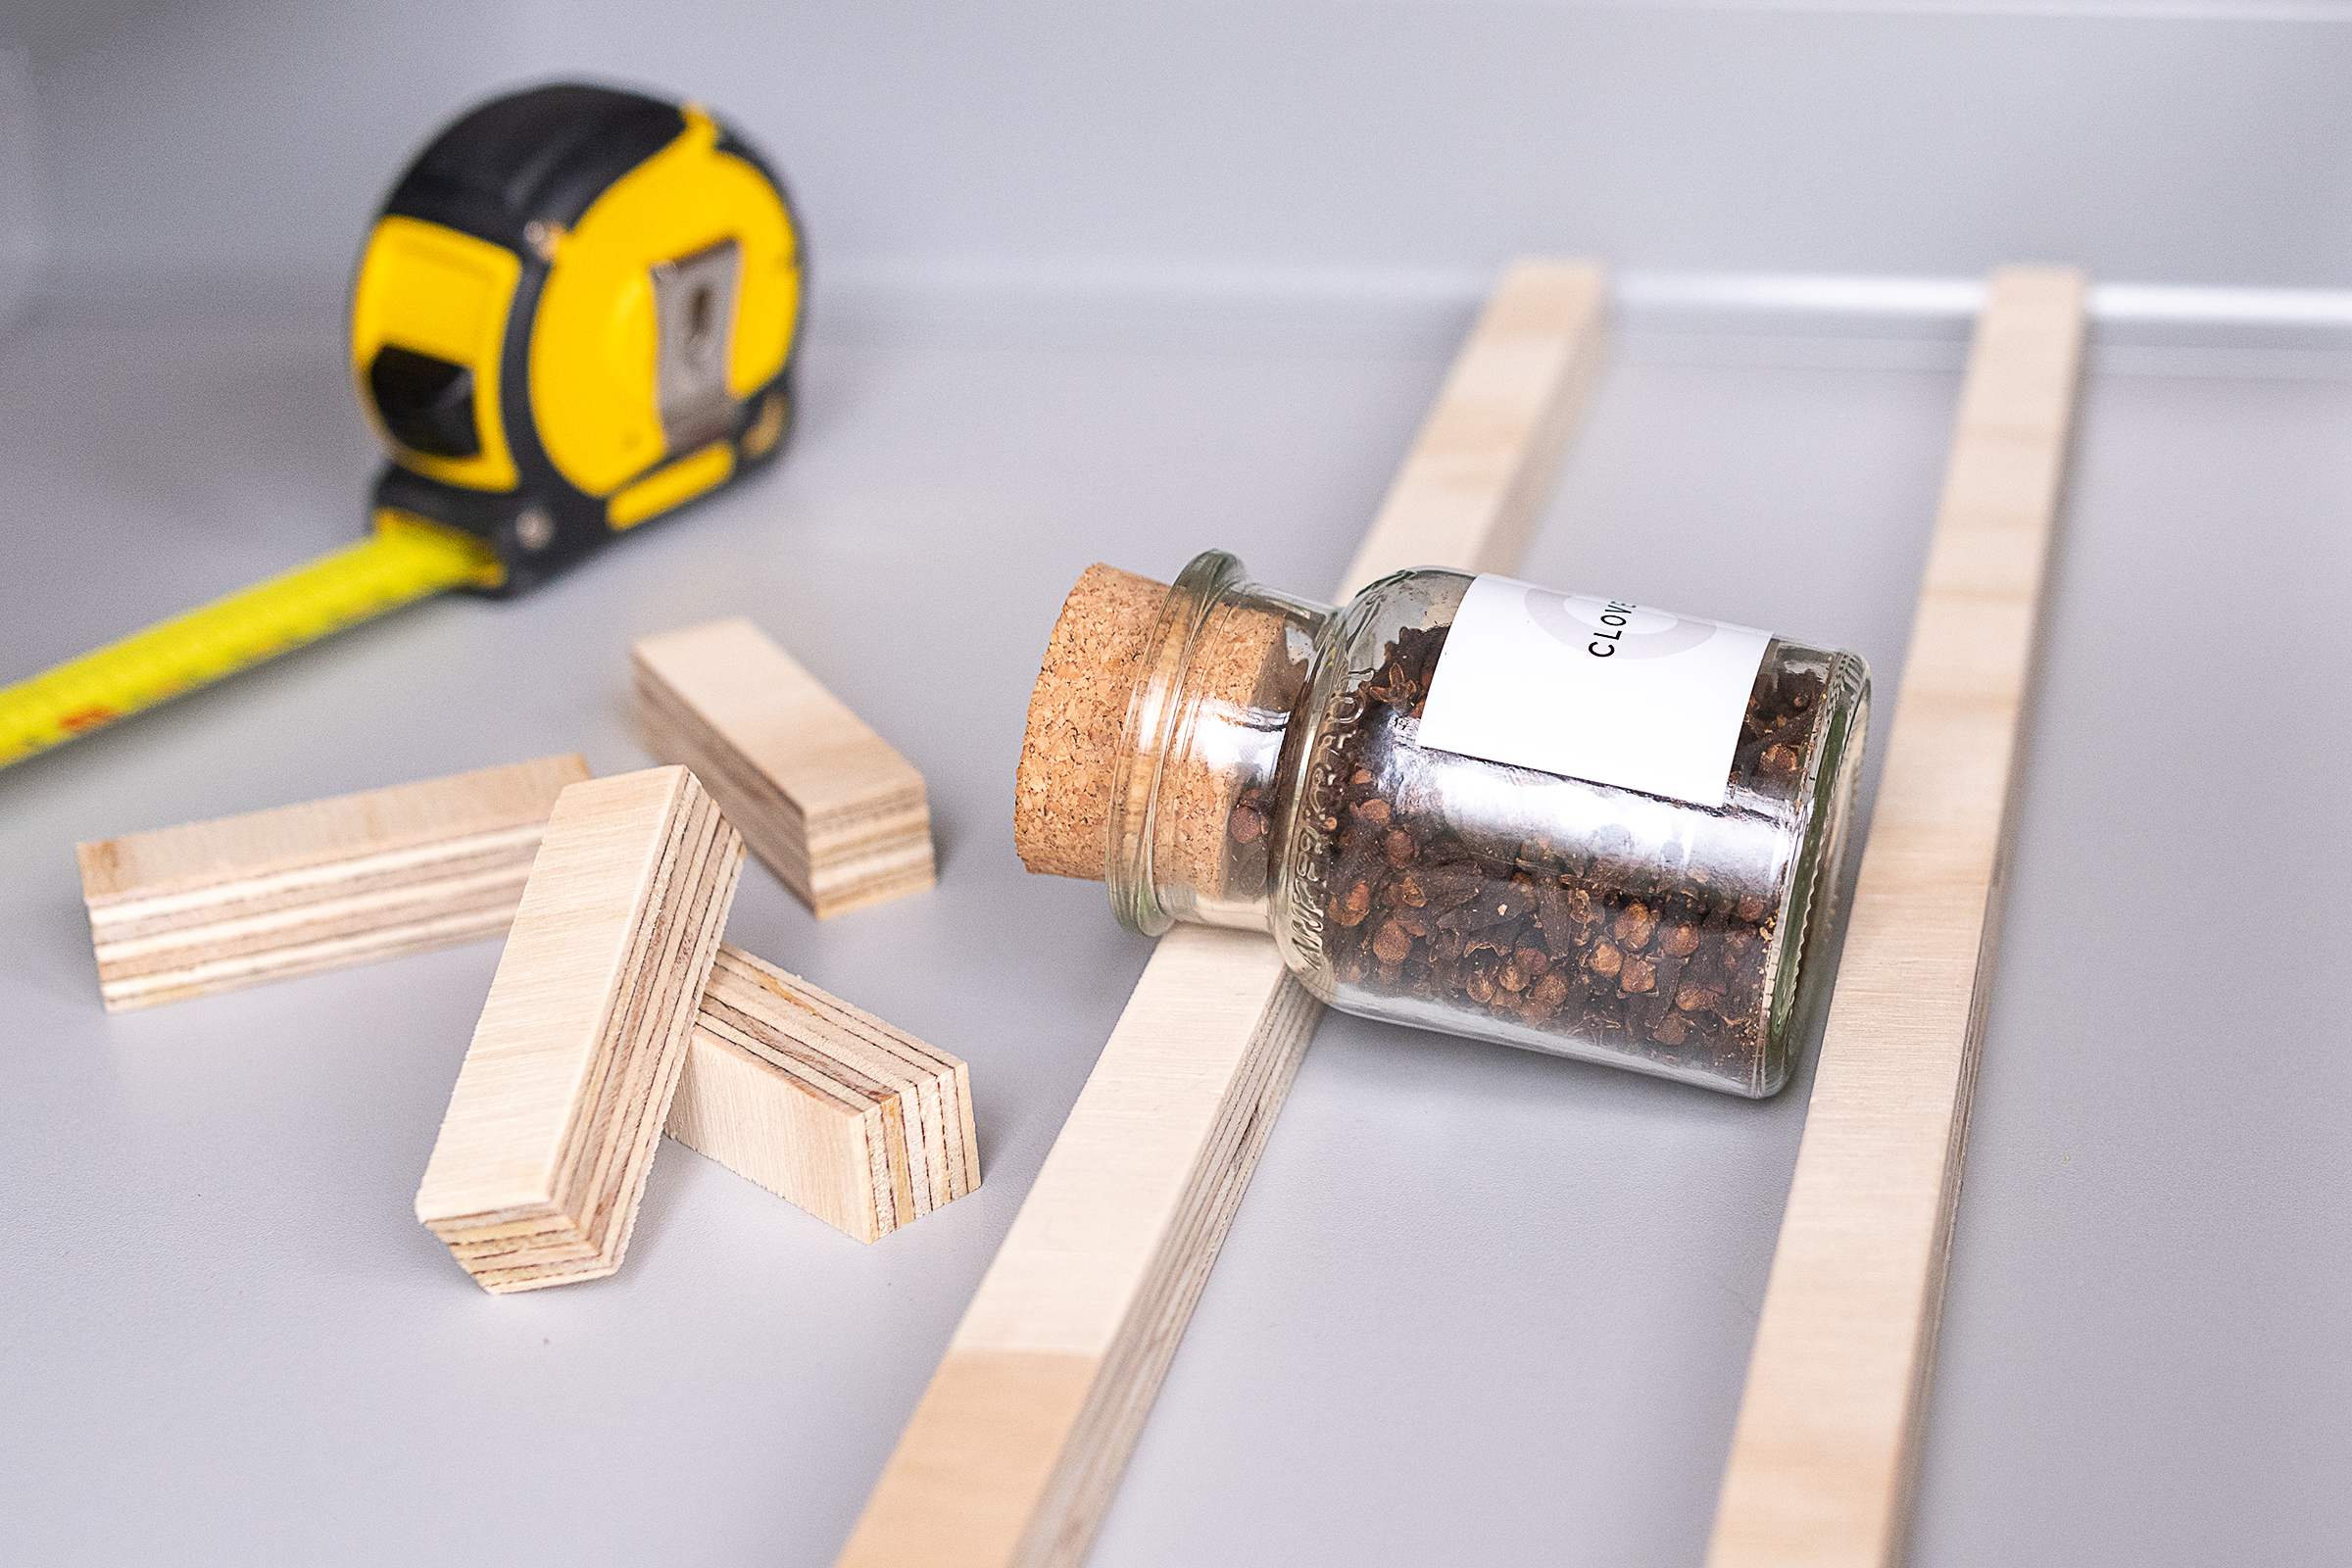
Cut the rest of the wood strips into pieces that are the same size as the ones you already have. For each frame, you’ll need two long pieces that are the width of your spice drawer and two short pieces to connect them.
Step 3
Glue The Frames Together
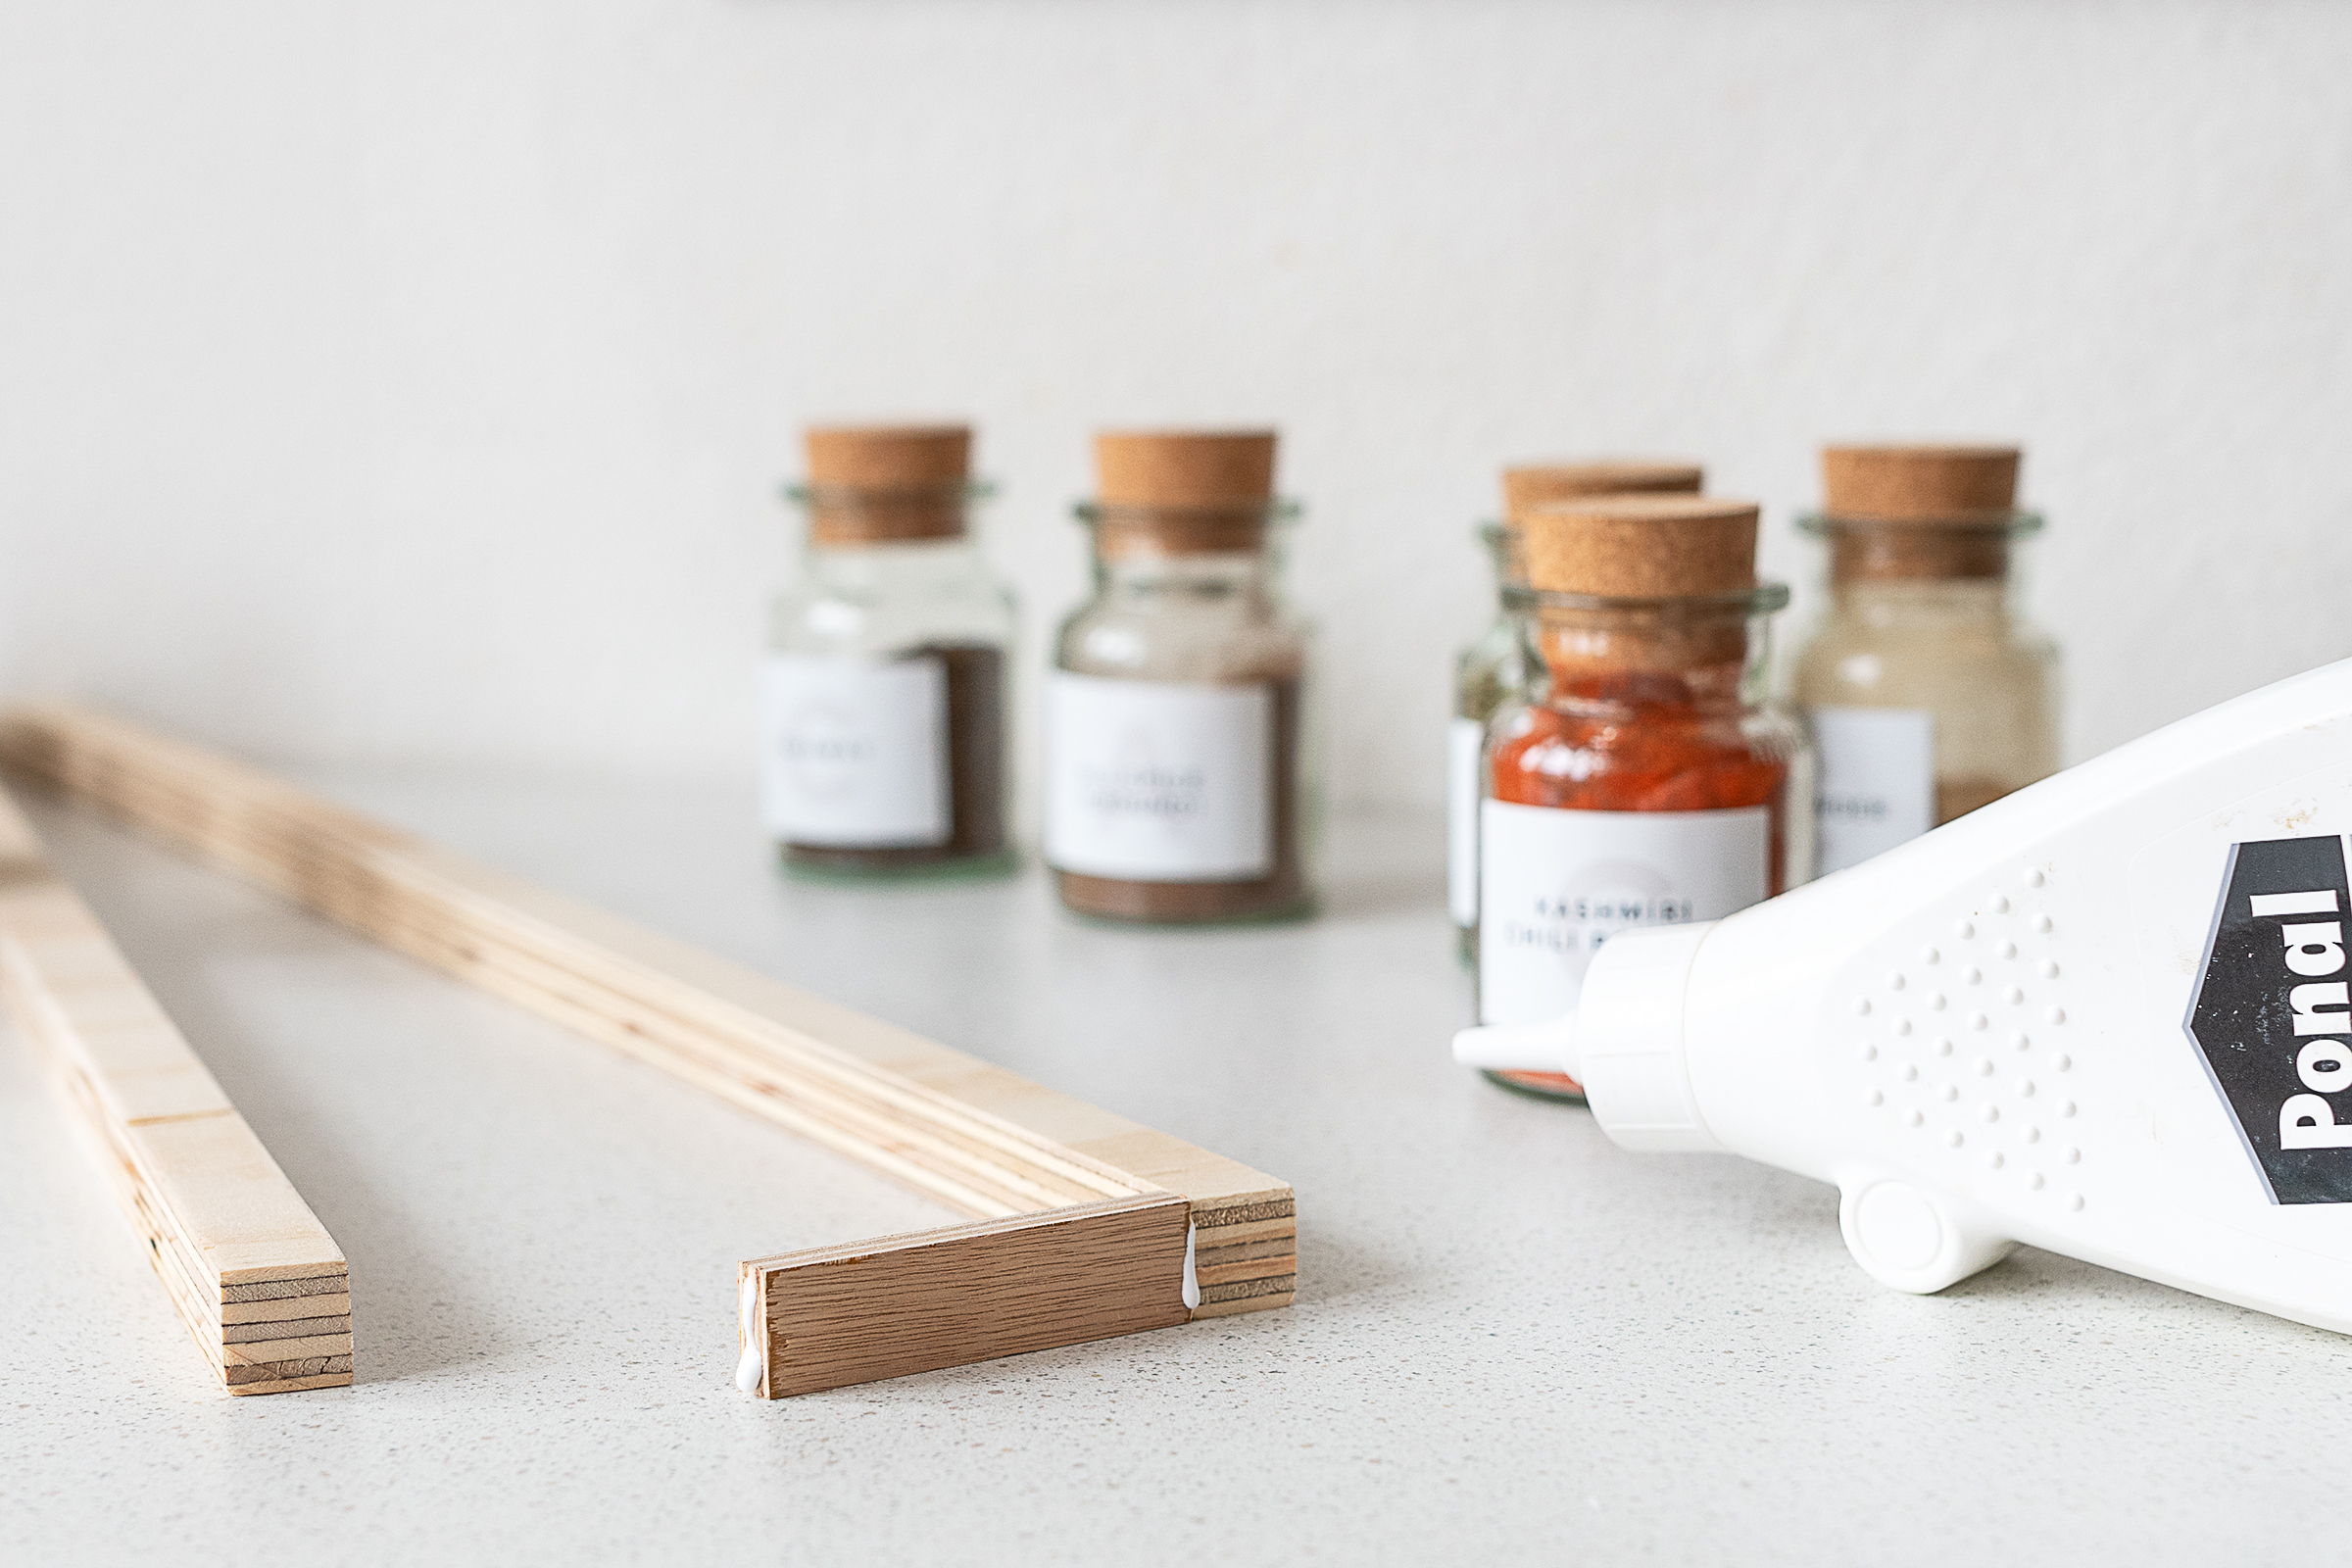
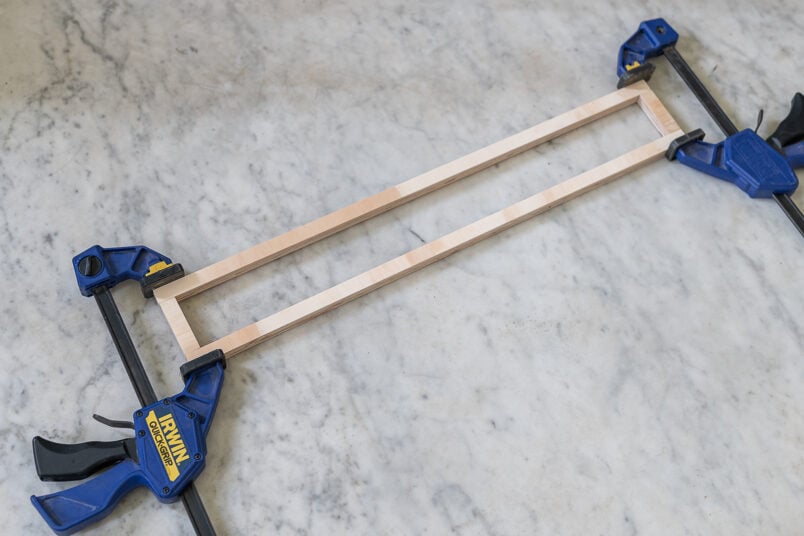
Give all pieces a sand with some 120 grit sandpaper before applying some wood glue to the ends of the shorter pieces of timber. Glue them between the long pieces to make a rectangular frame.
Then clamp everything together while the wood glue dries.
Step 4
Add Spacers
Place the frames into your drawer.
To stop the spice jars and frames moving around when you open and close the drawer you’ll have to insert a couple of spacer pieces.
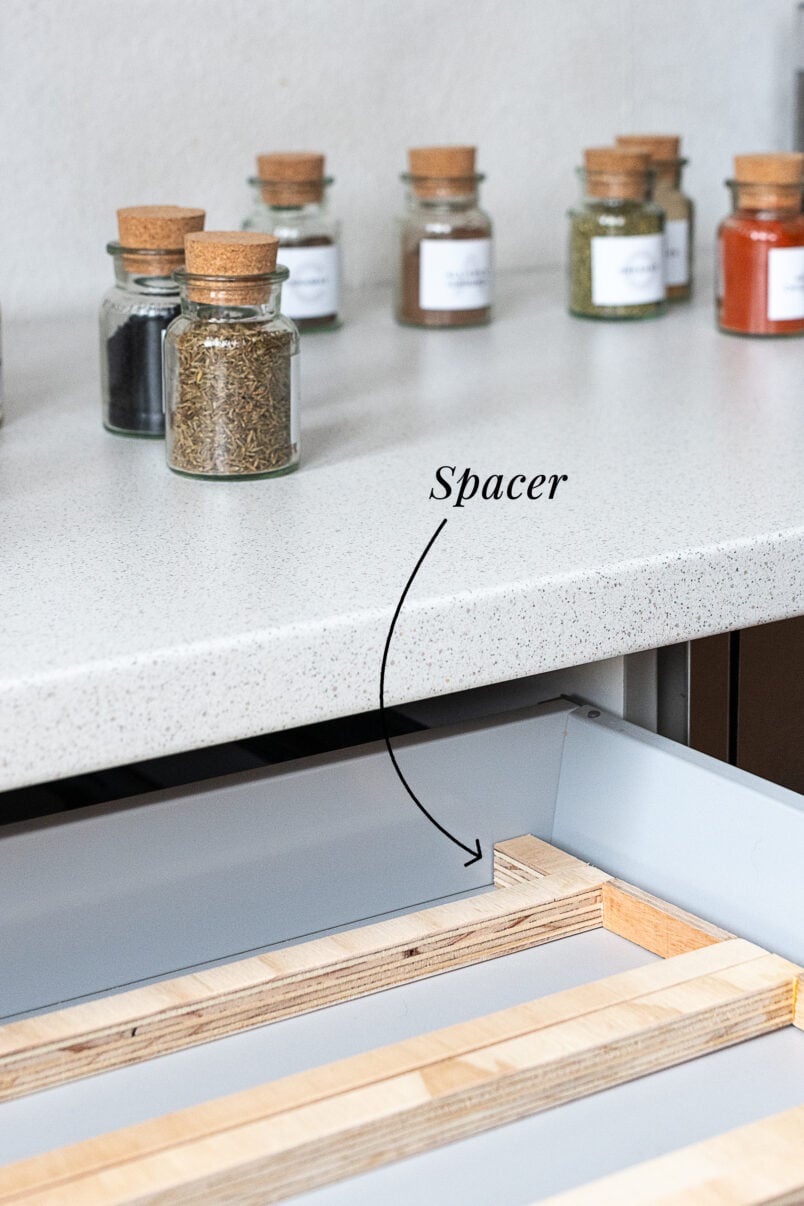
Measure this distance between the last frame and drawer and cut a couple of wooden strips to place in the space. There’s no need to glue them, just squash them into the gap and they will keep everything in place.
Step 5
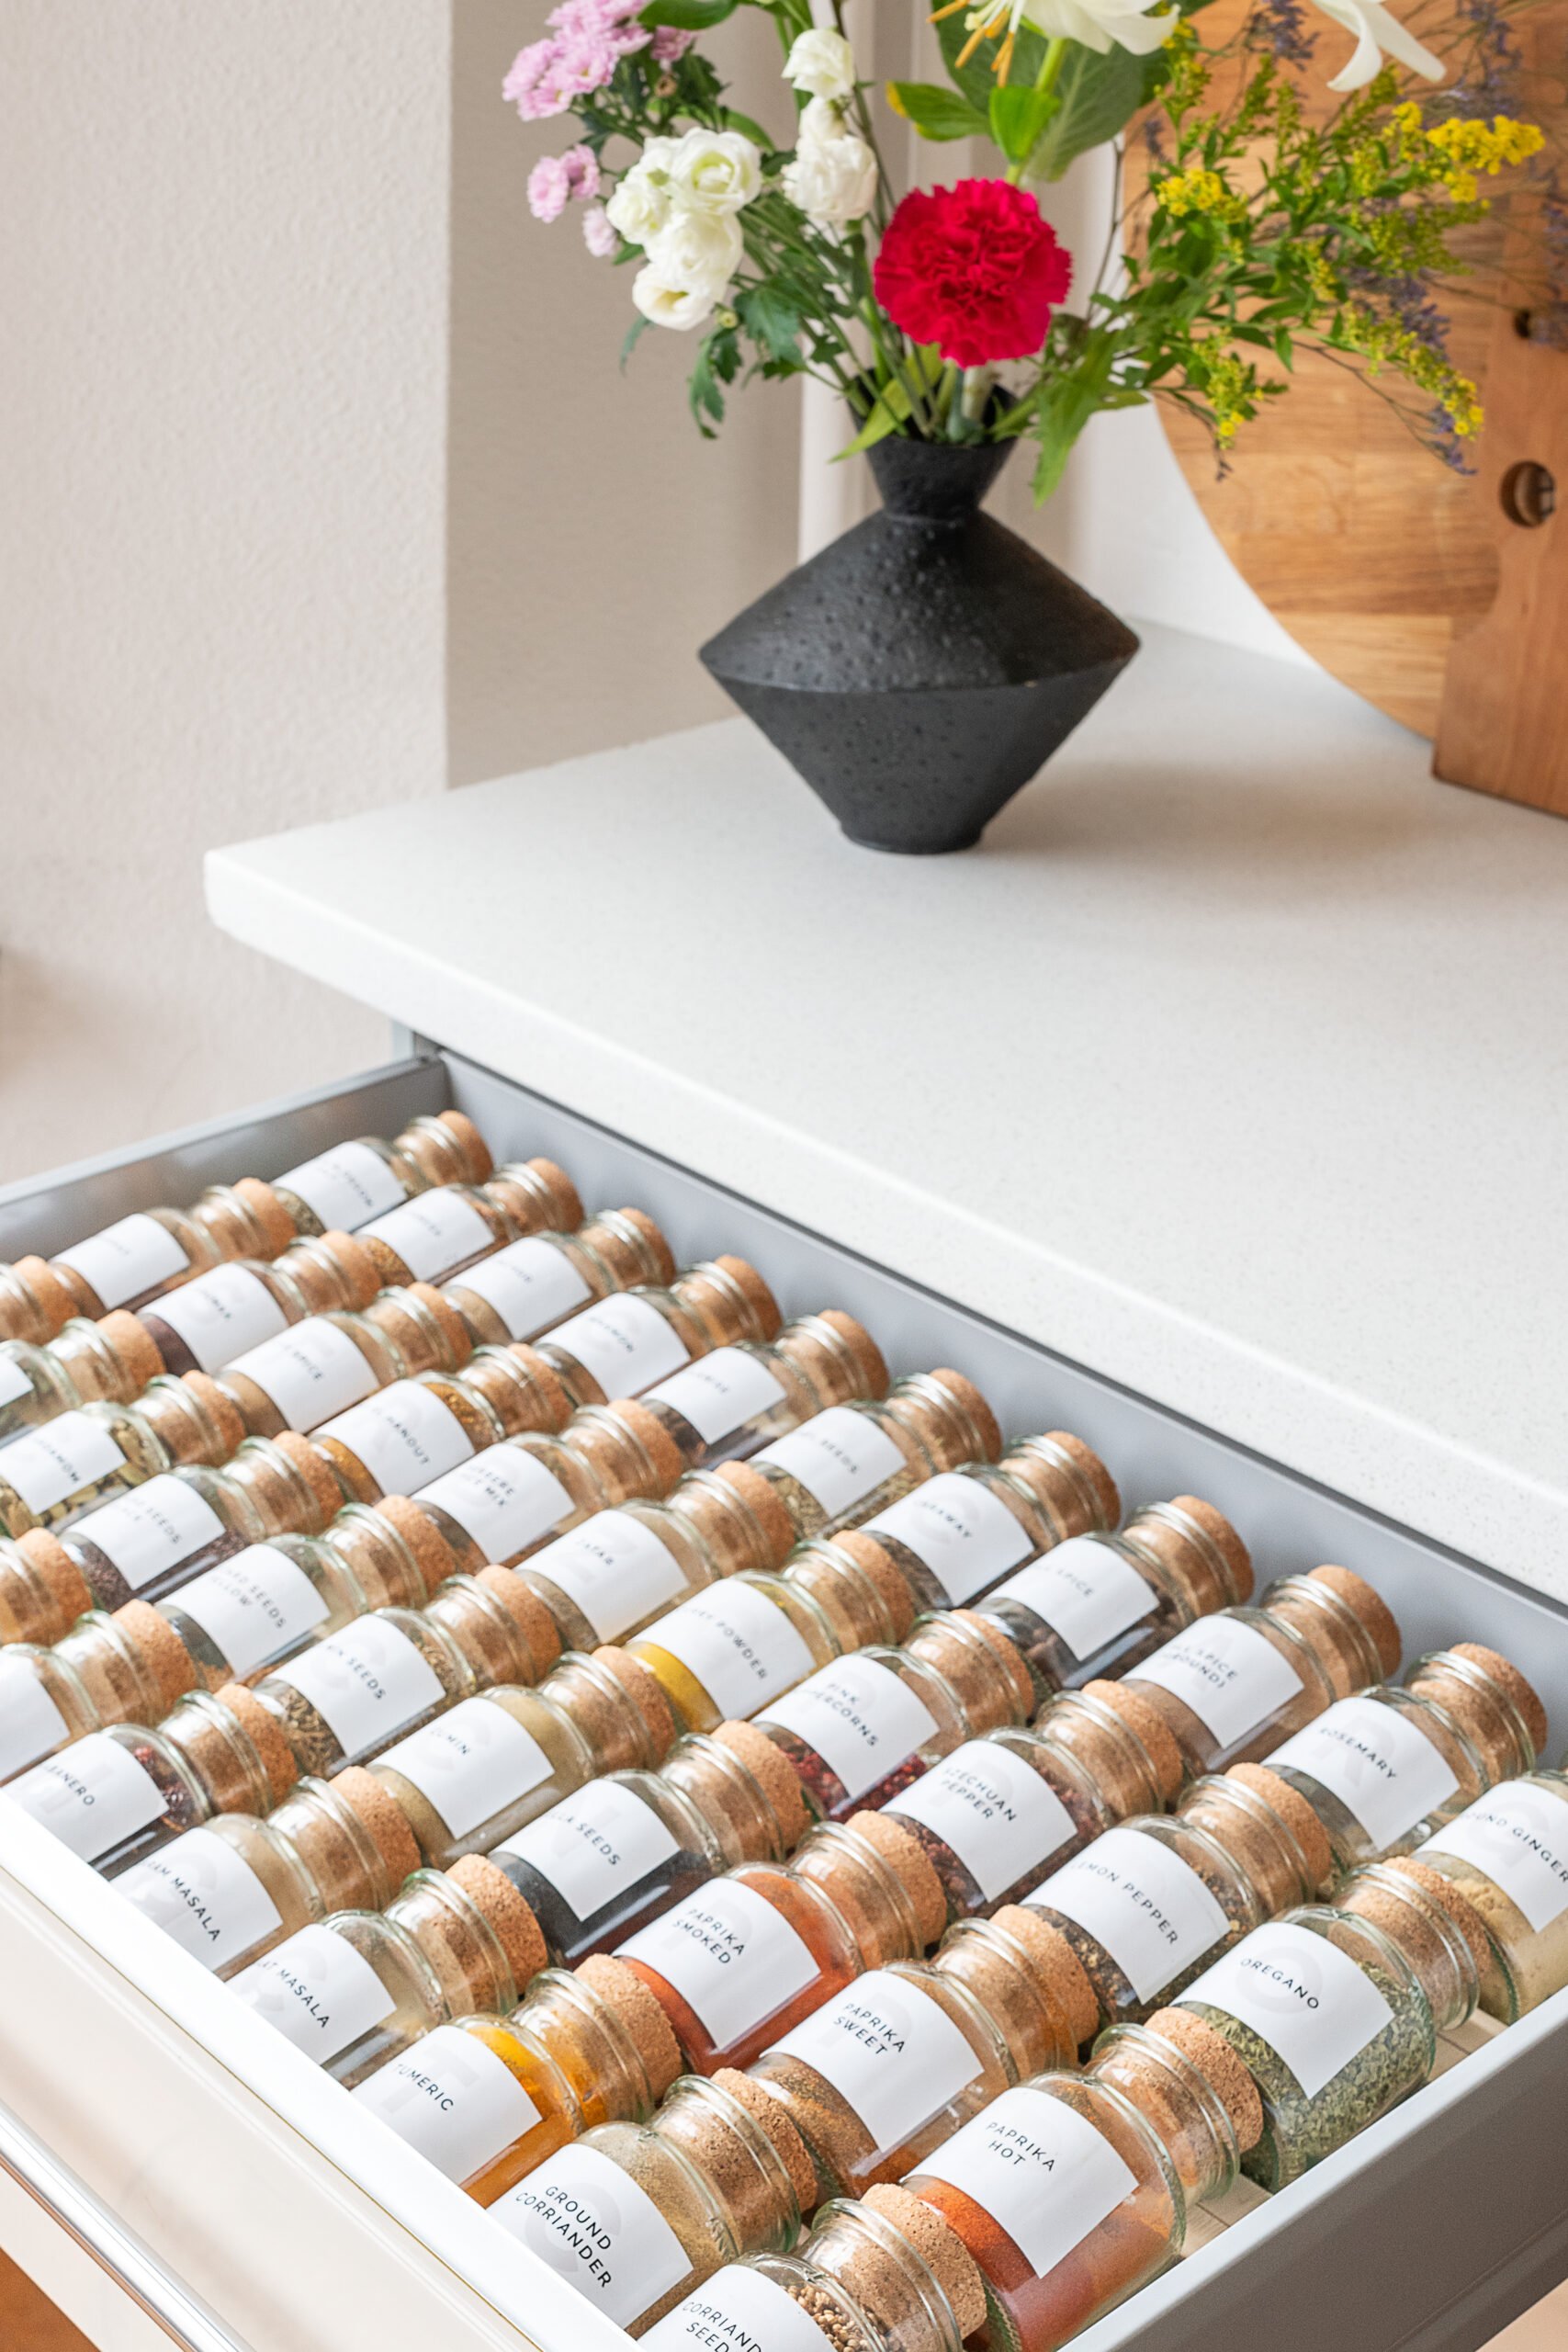
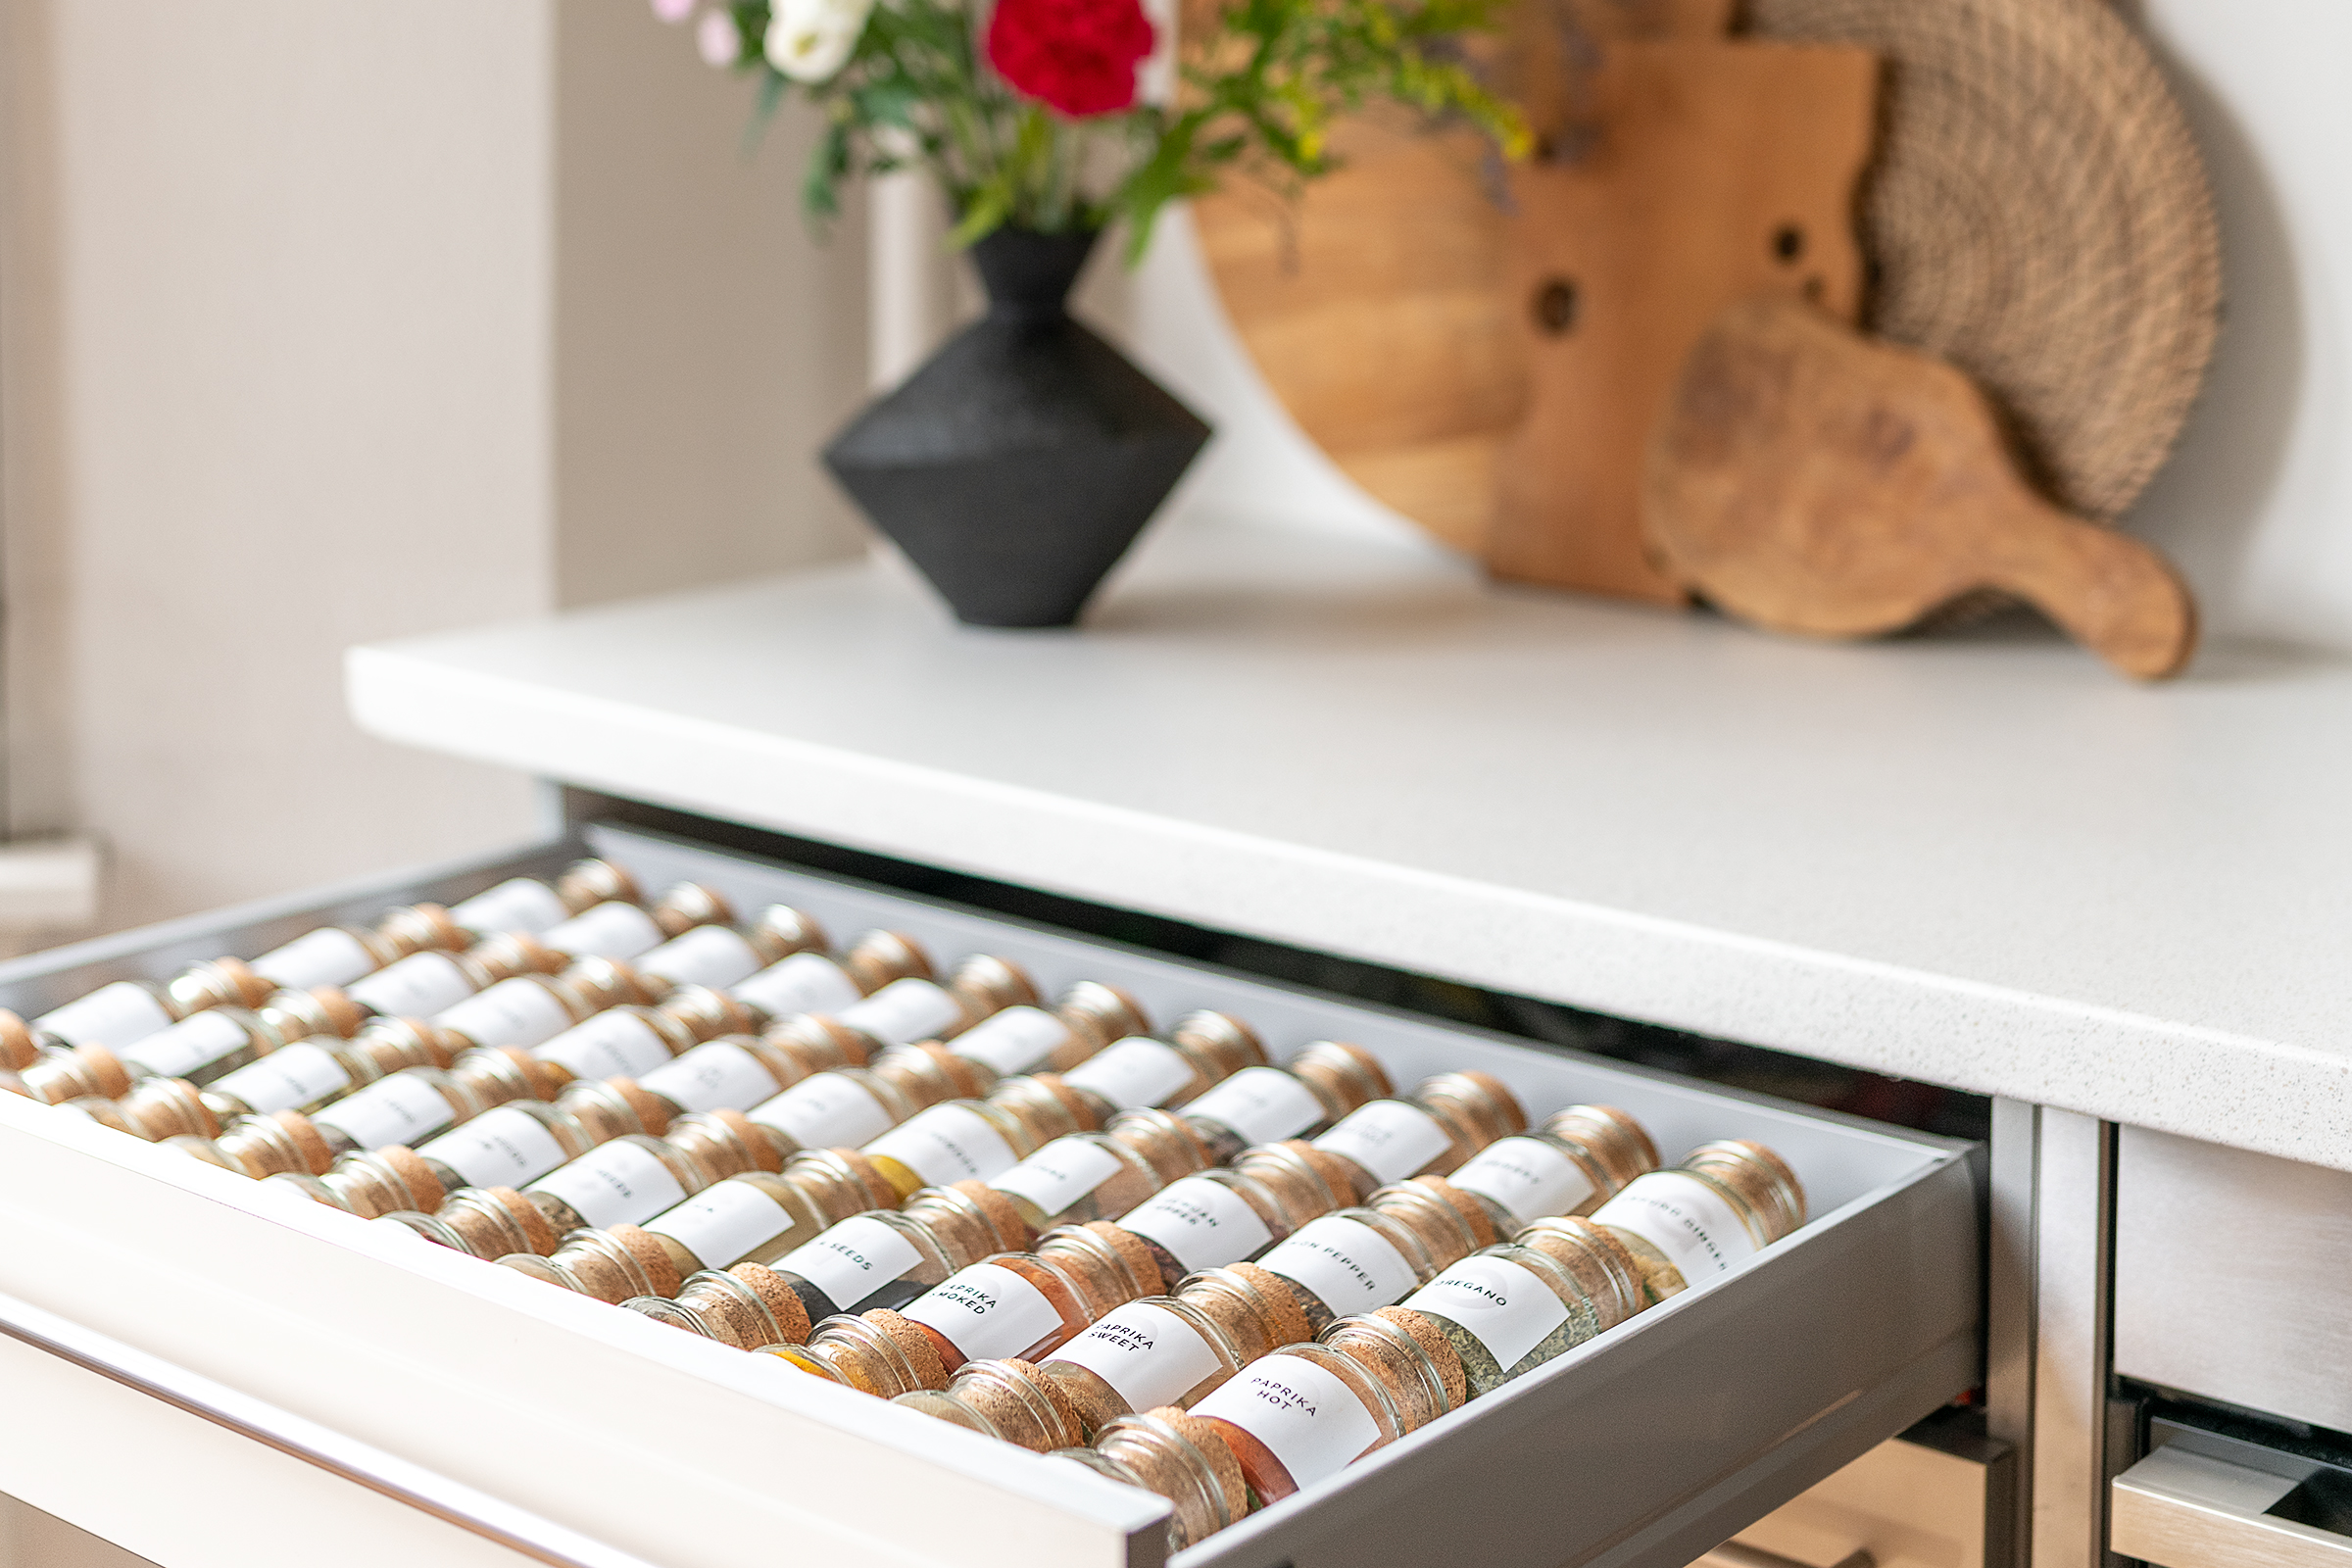
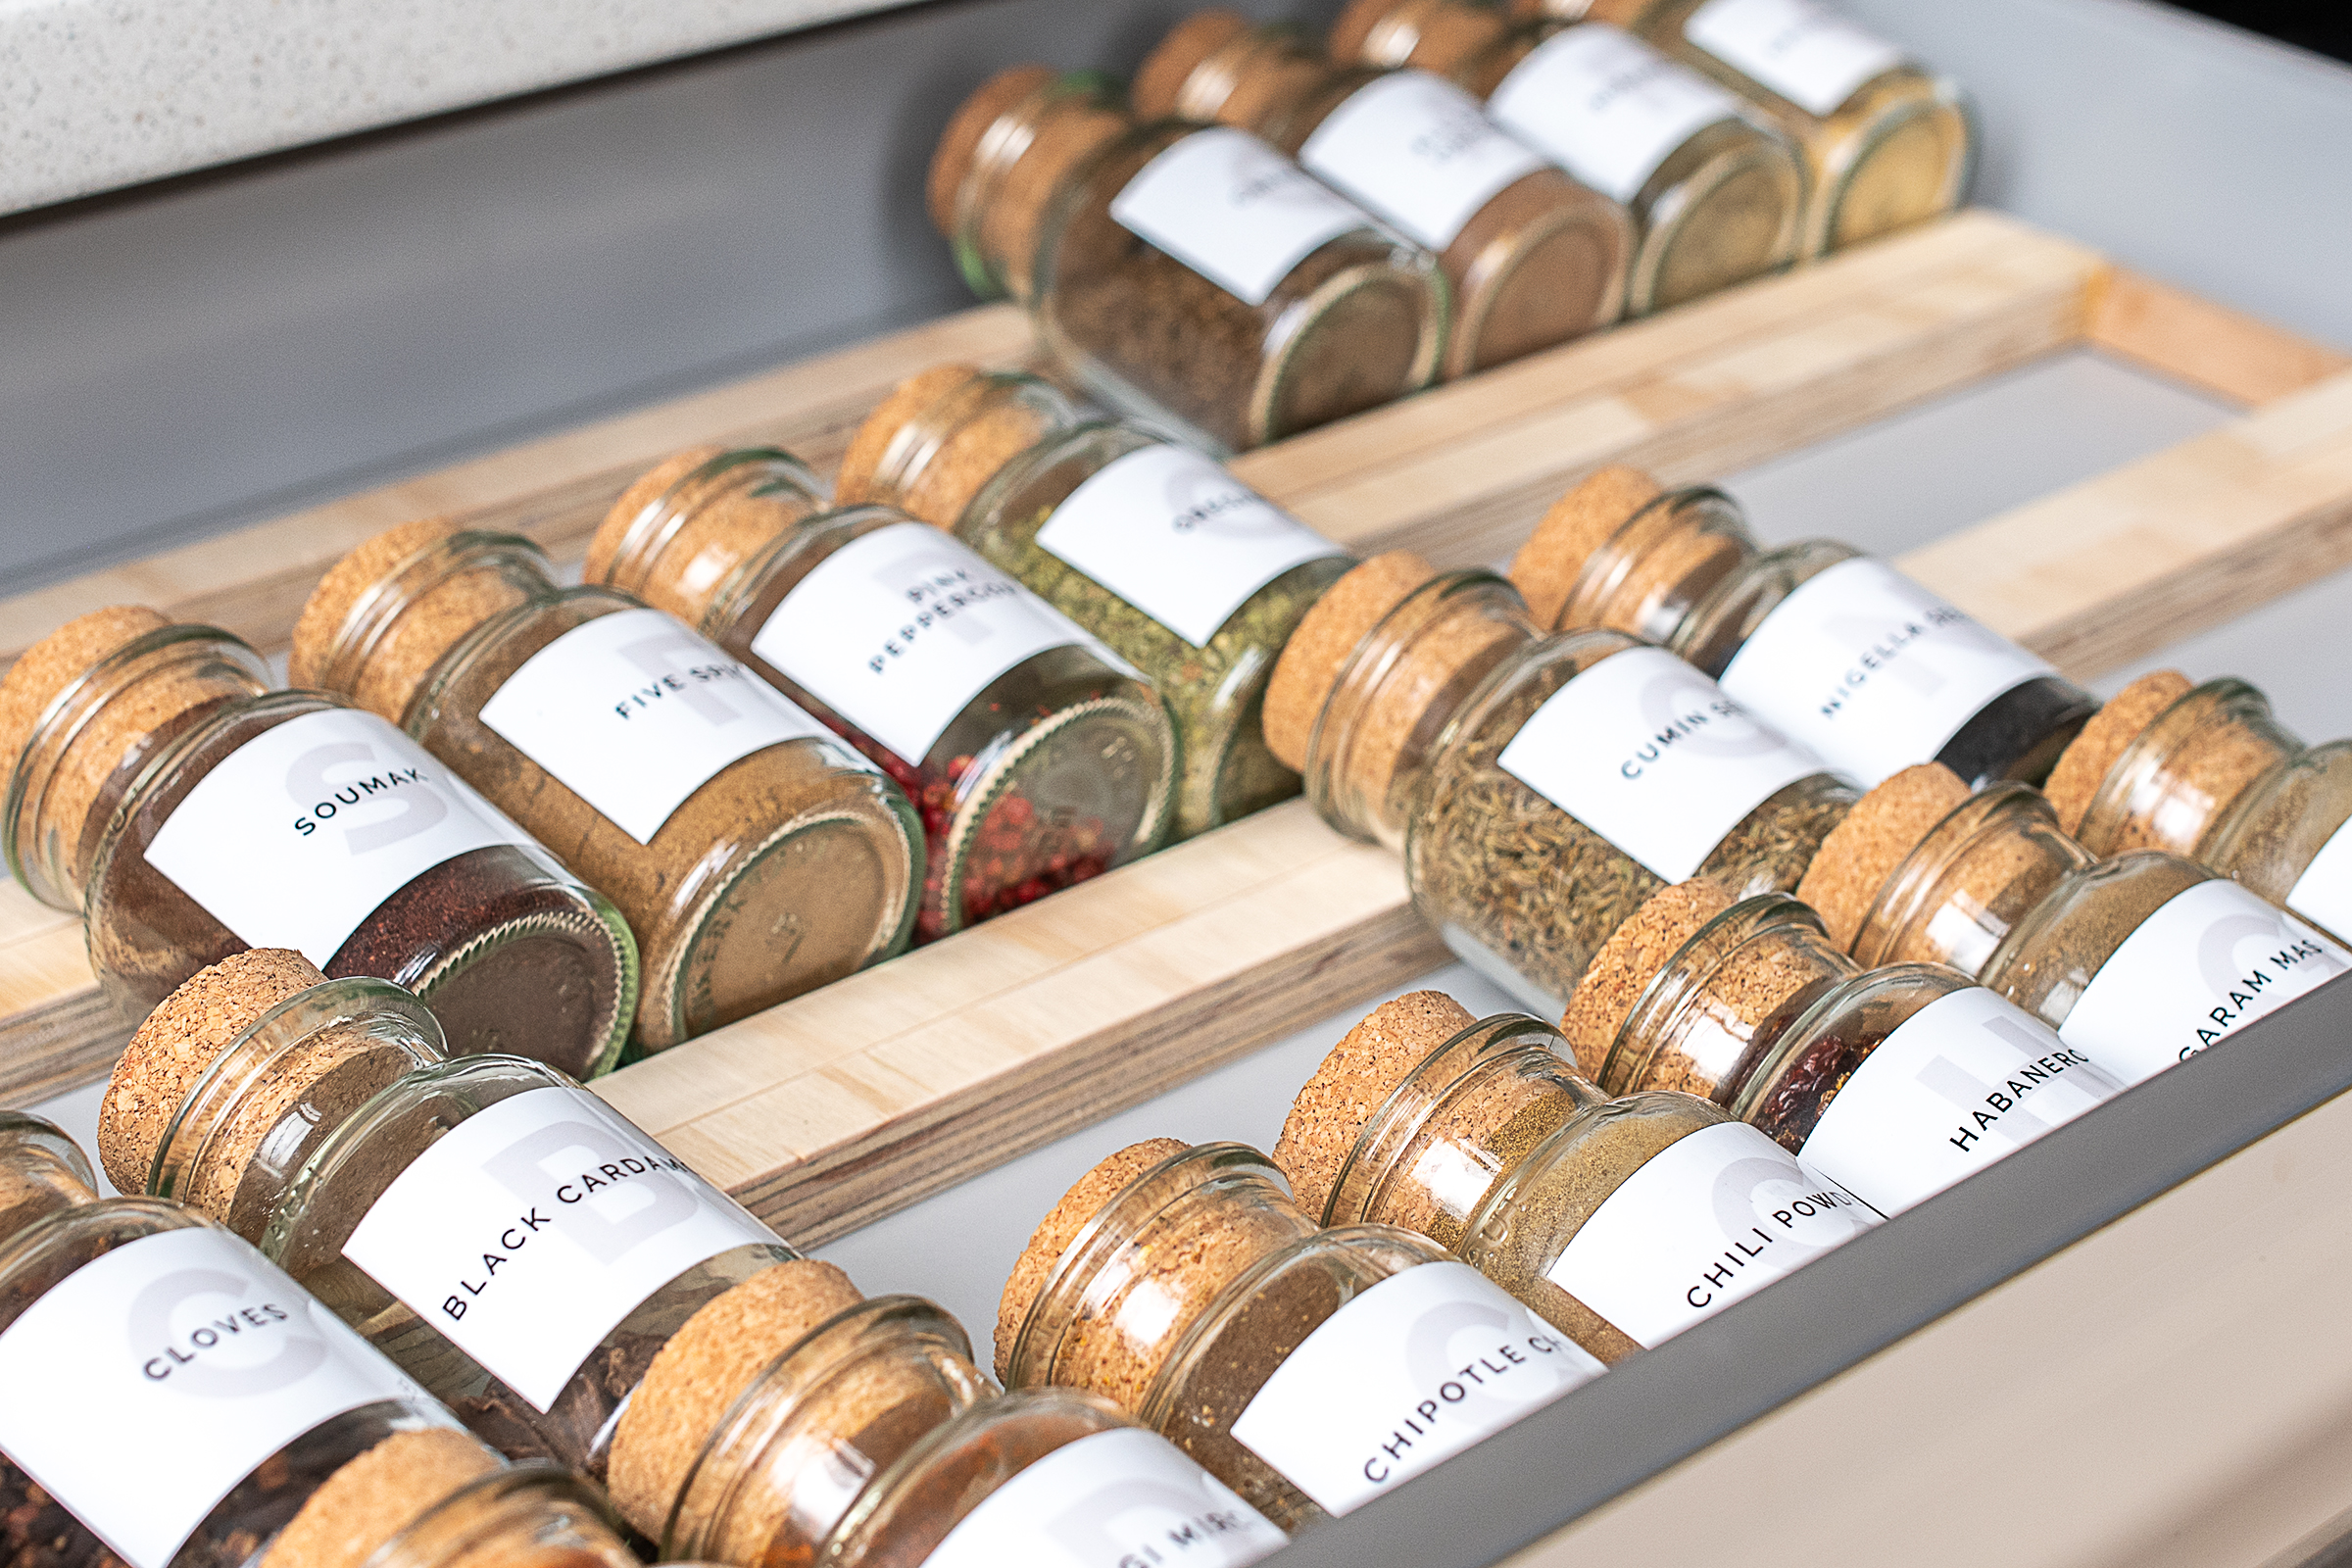
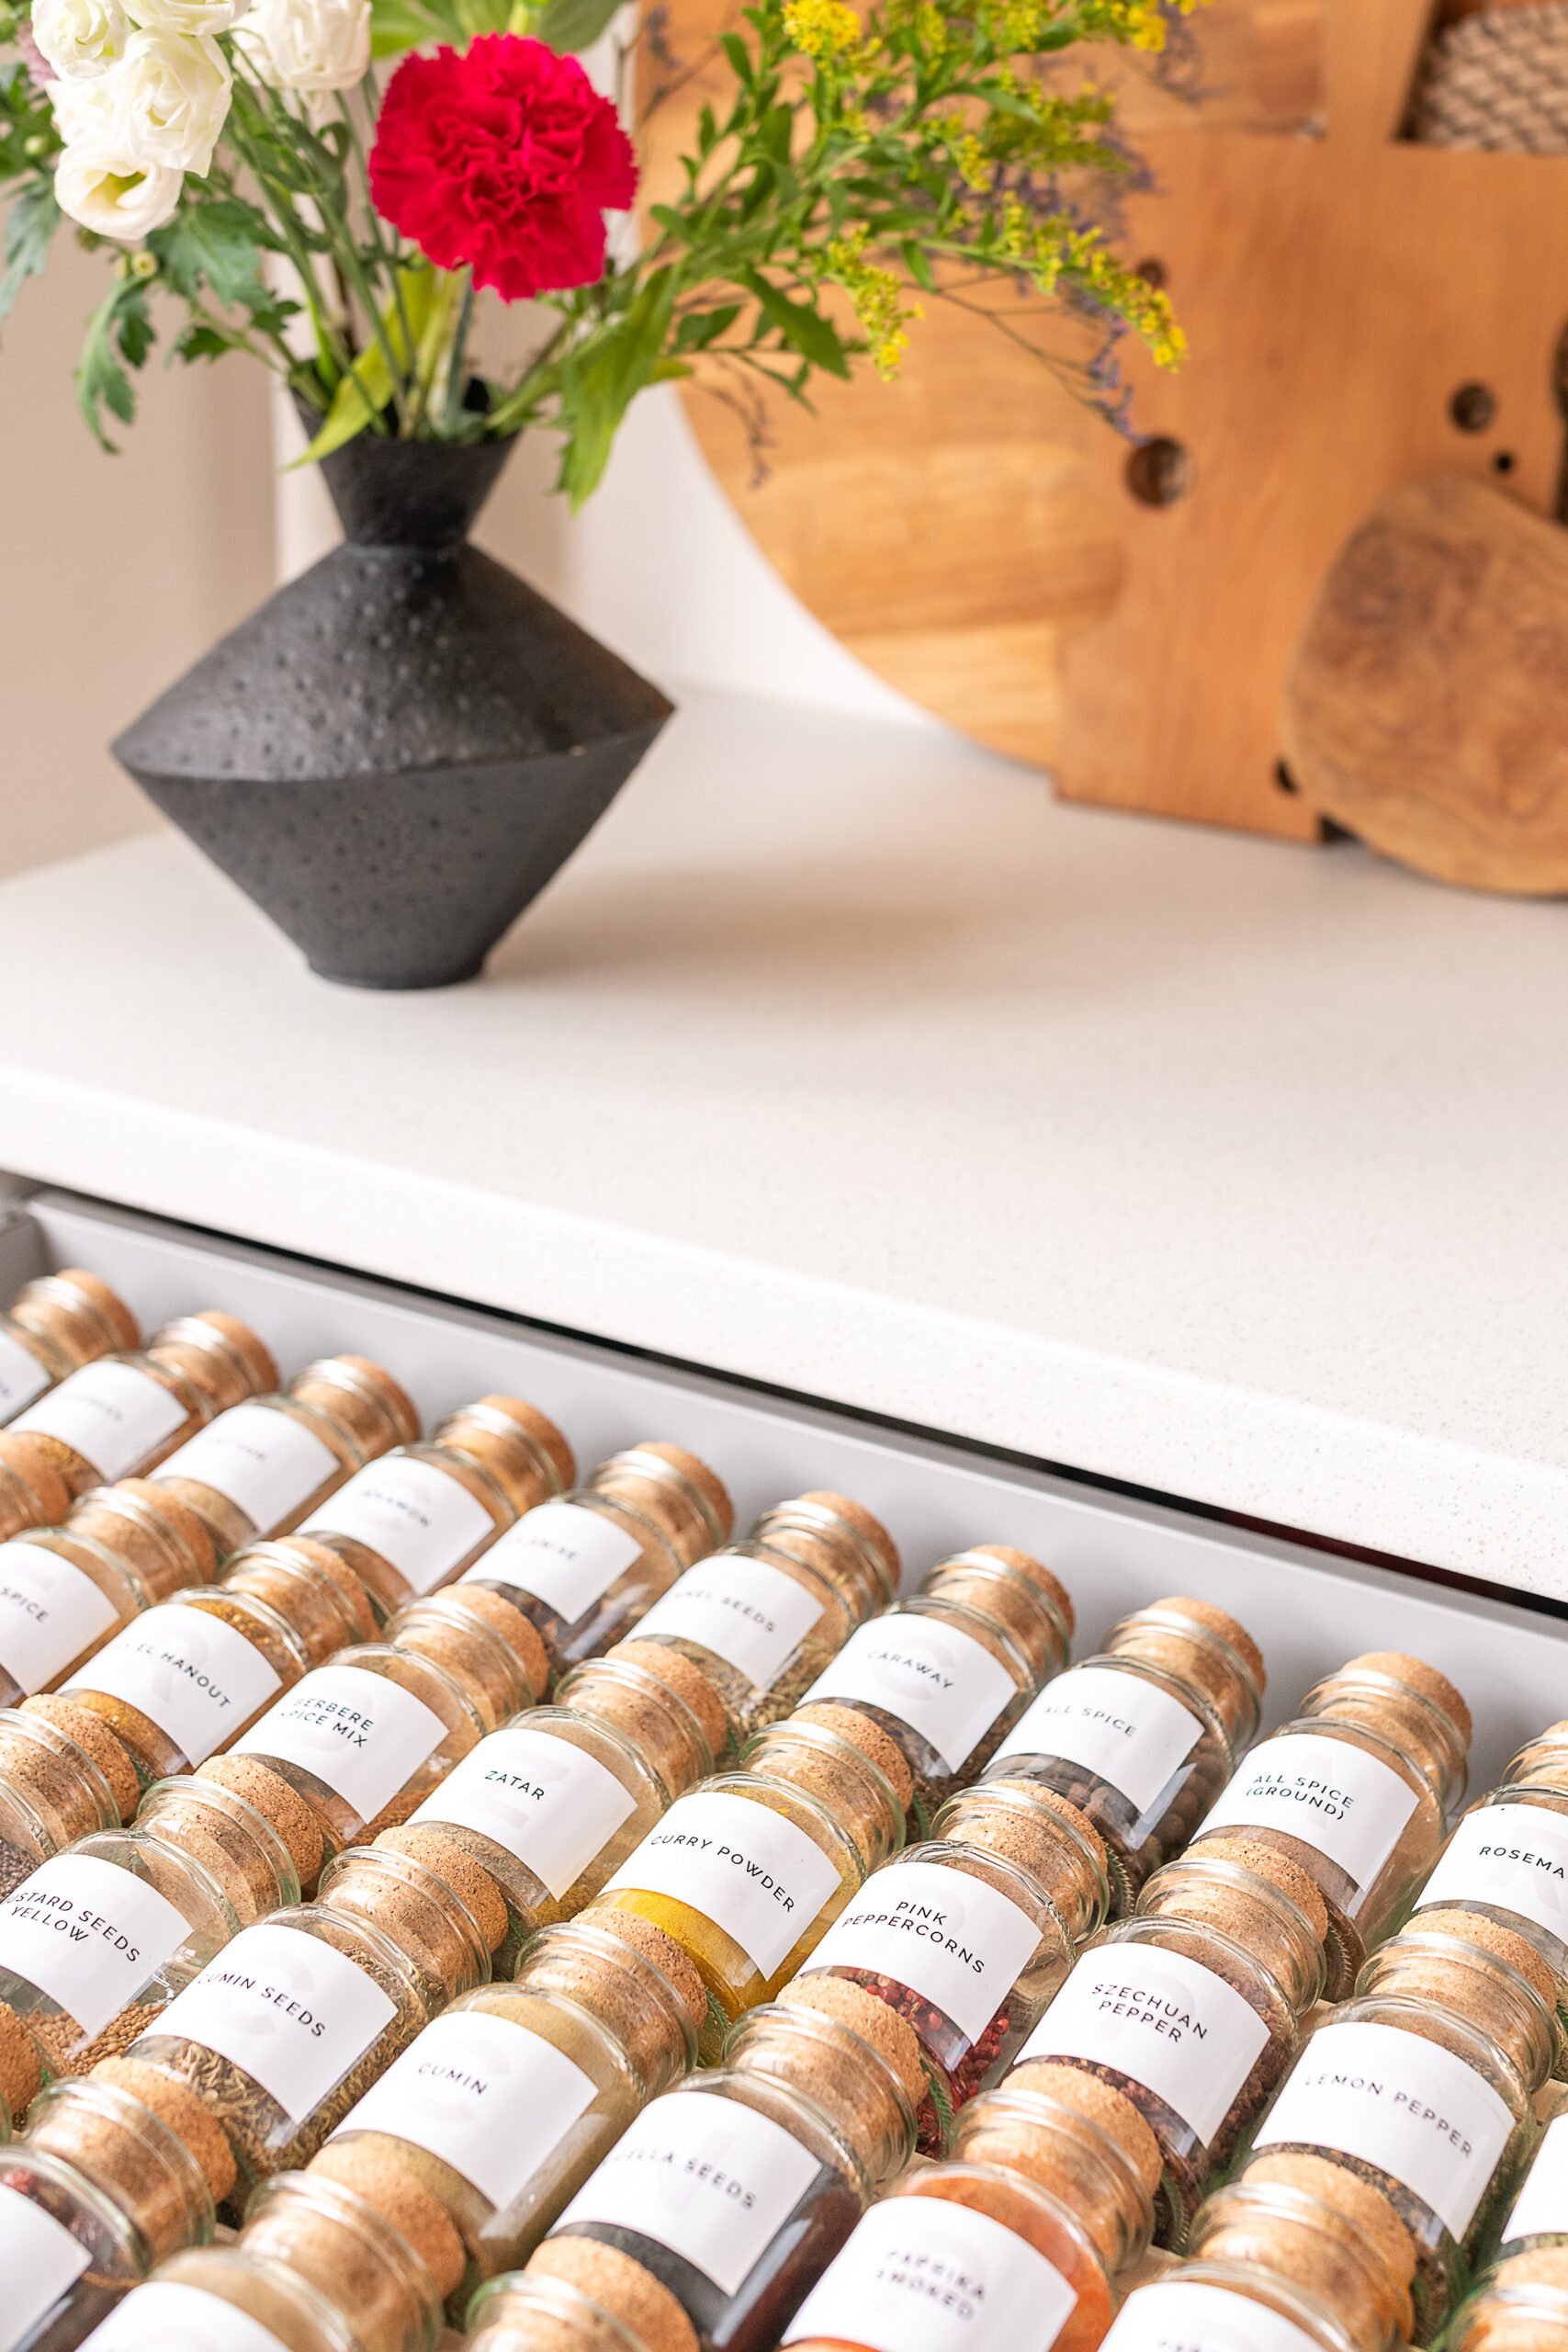
Organise Your Spice Drawer
The last thing to do is add your spice jars. Just place them into your new DIY spice drawer and start cooking something delicious.
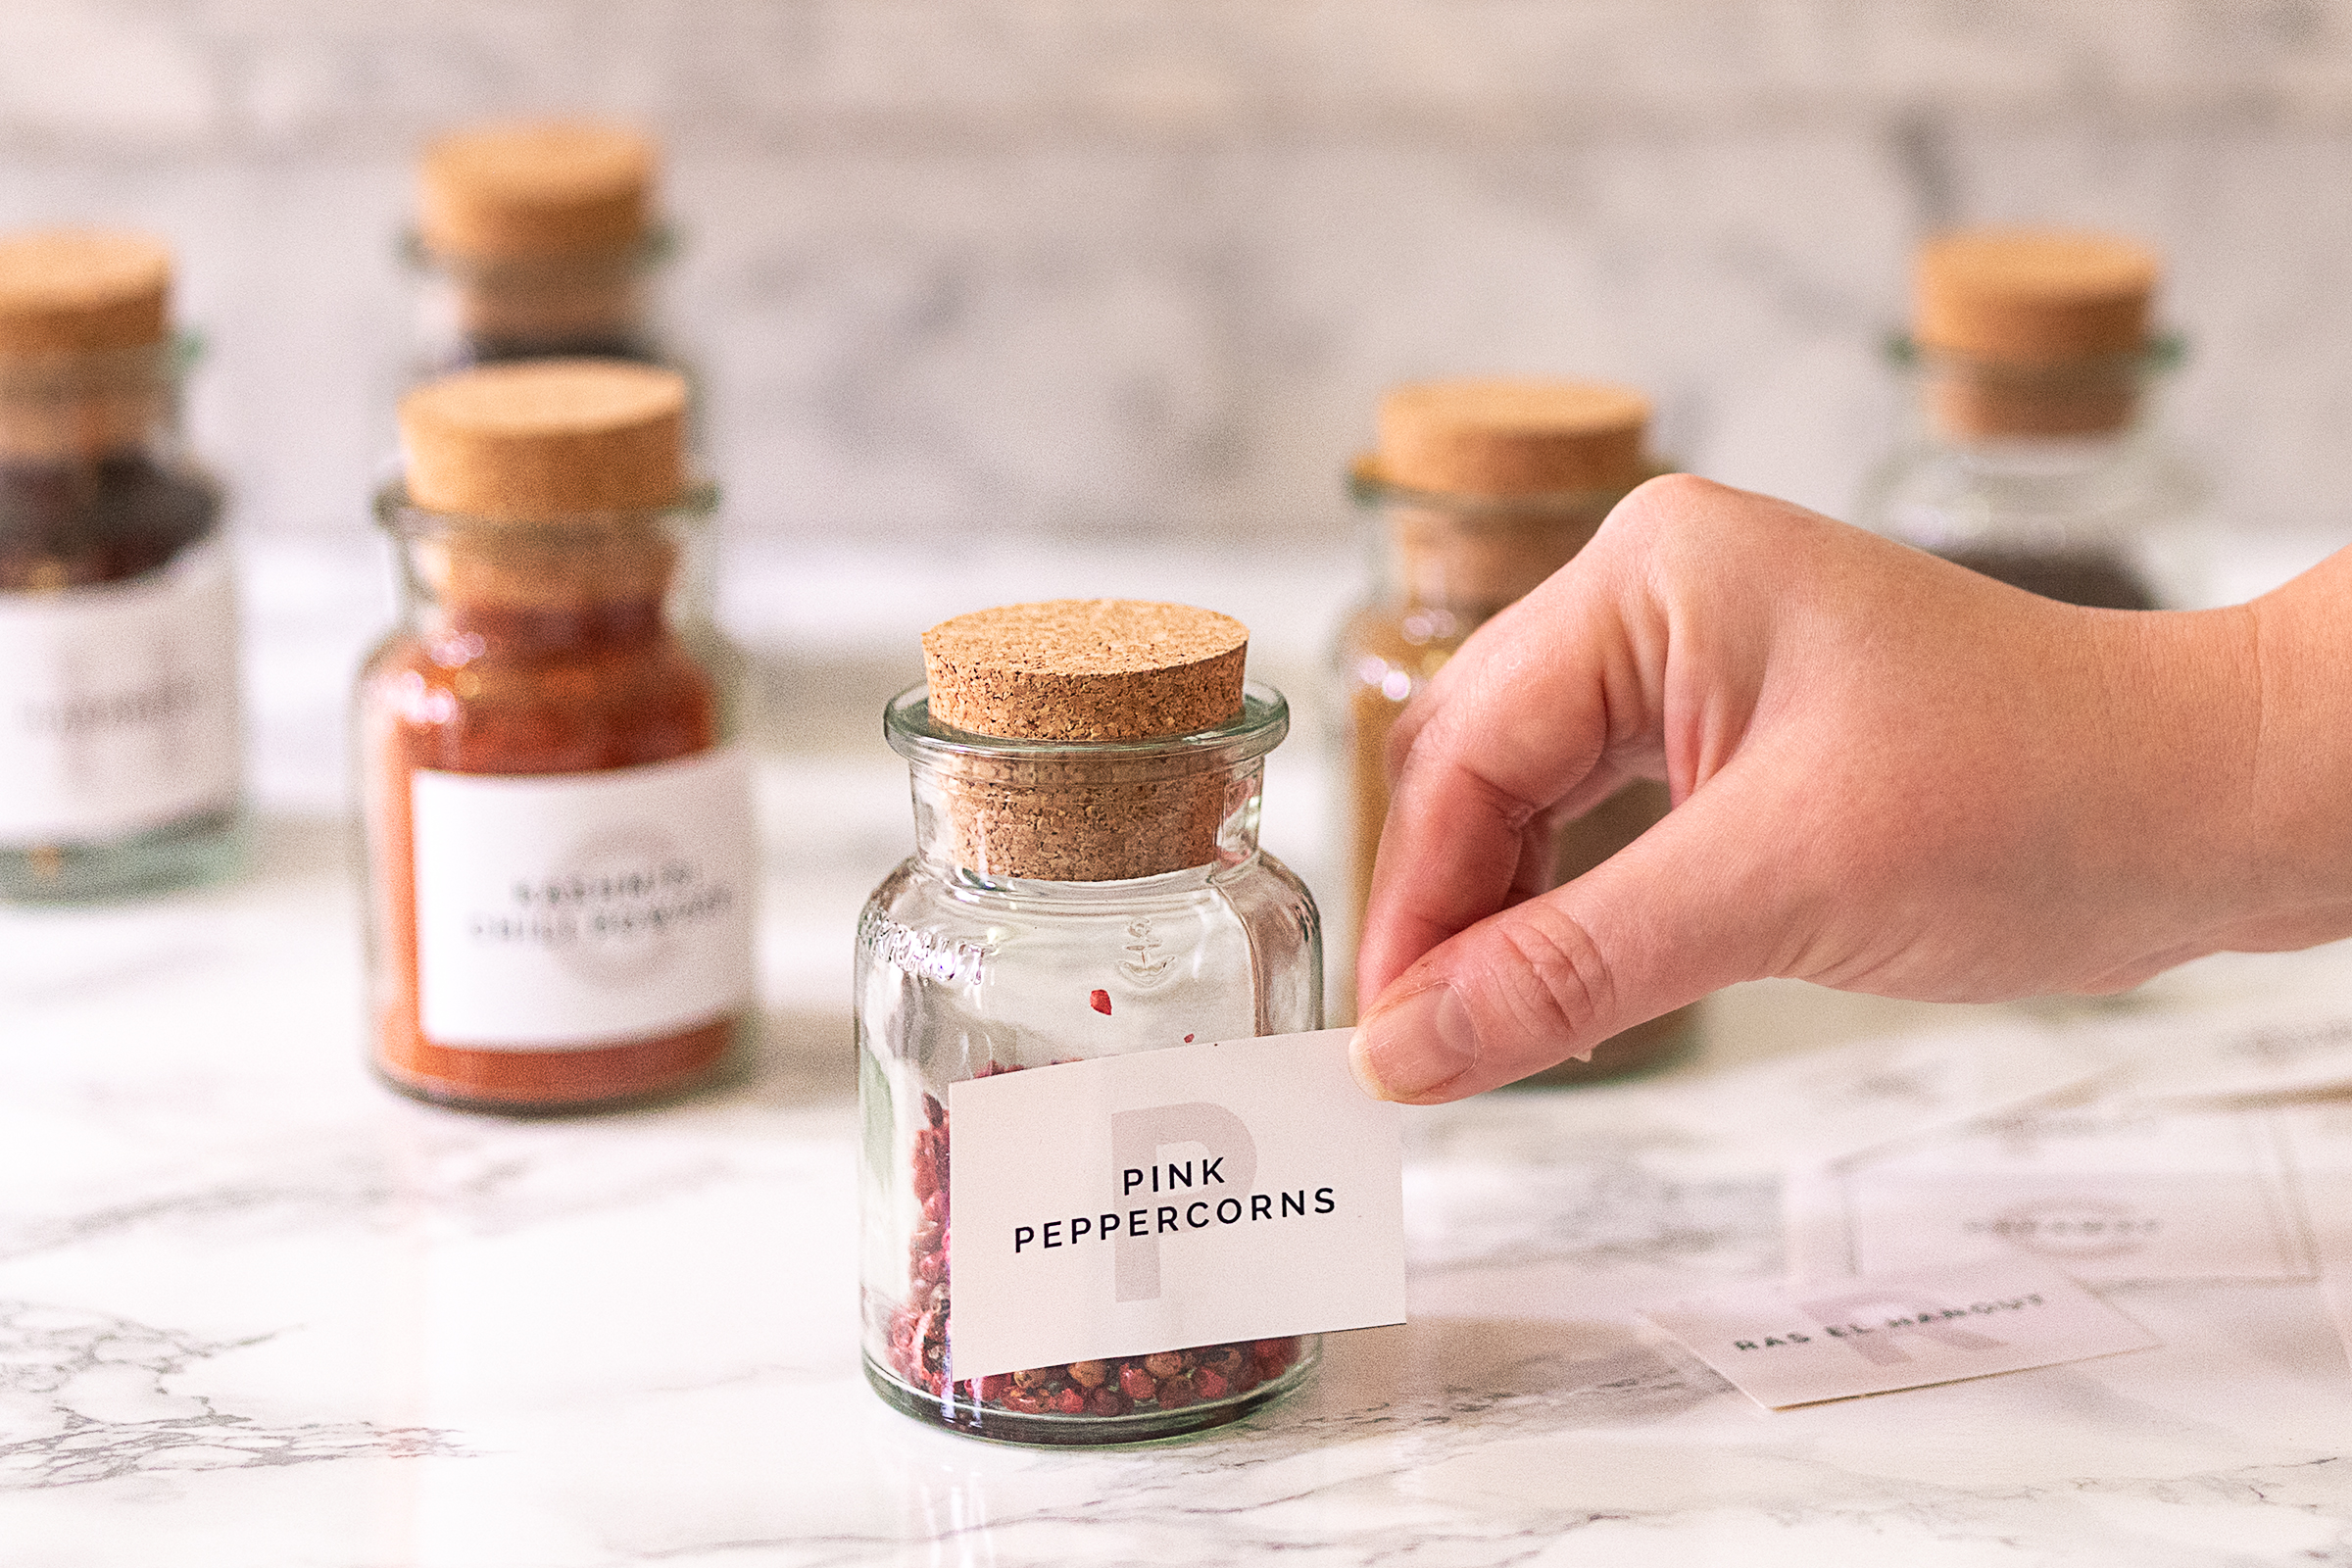
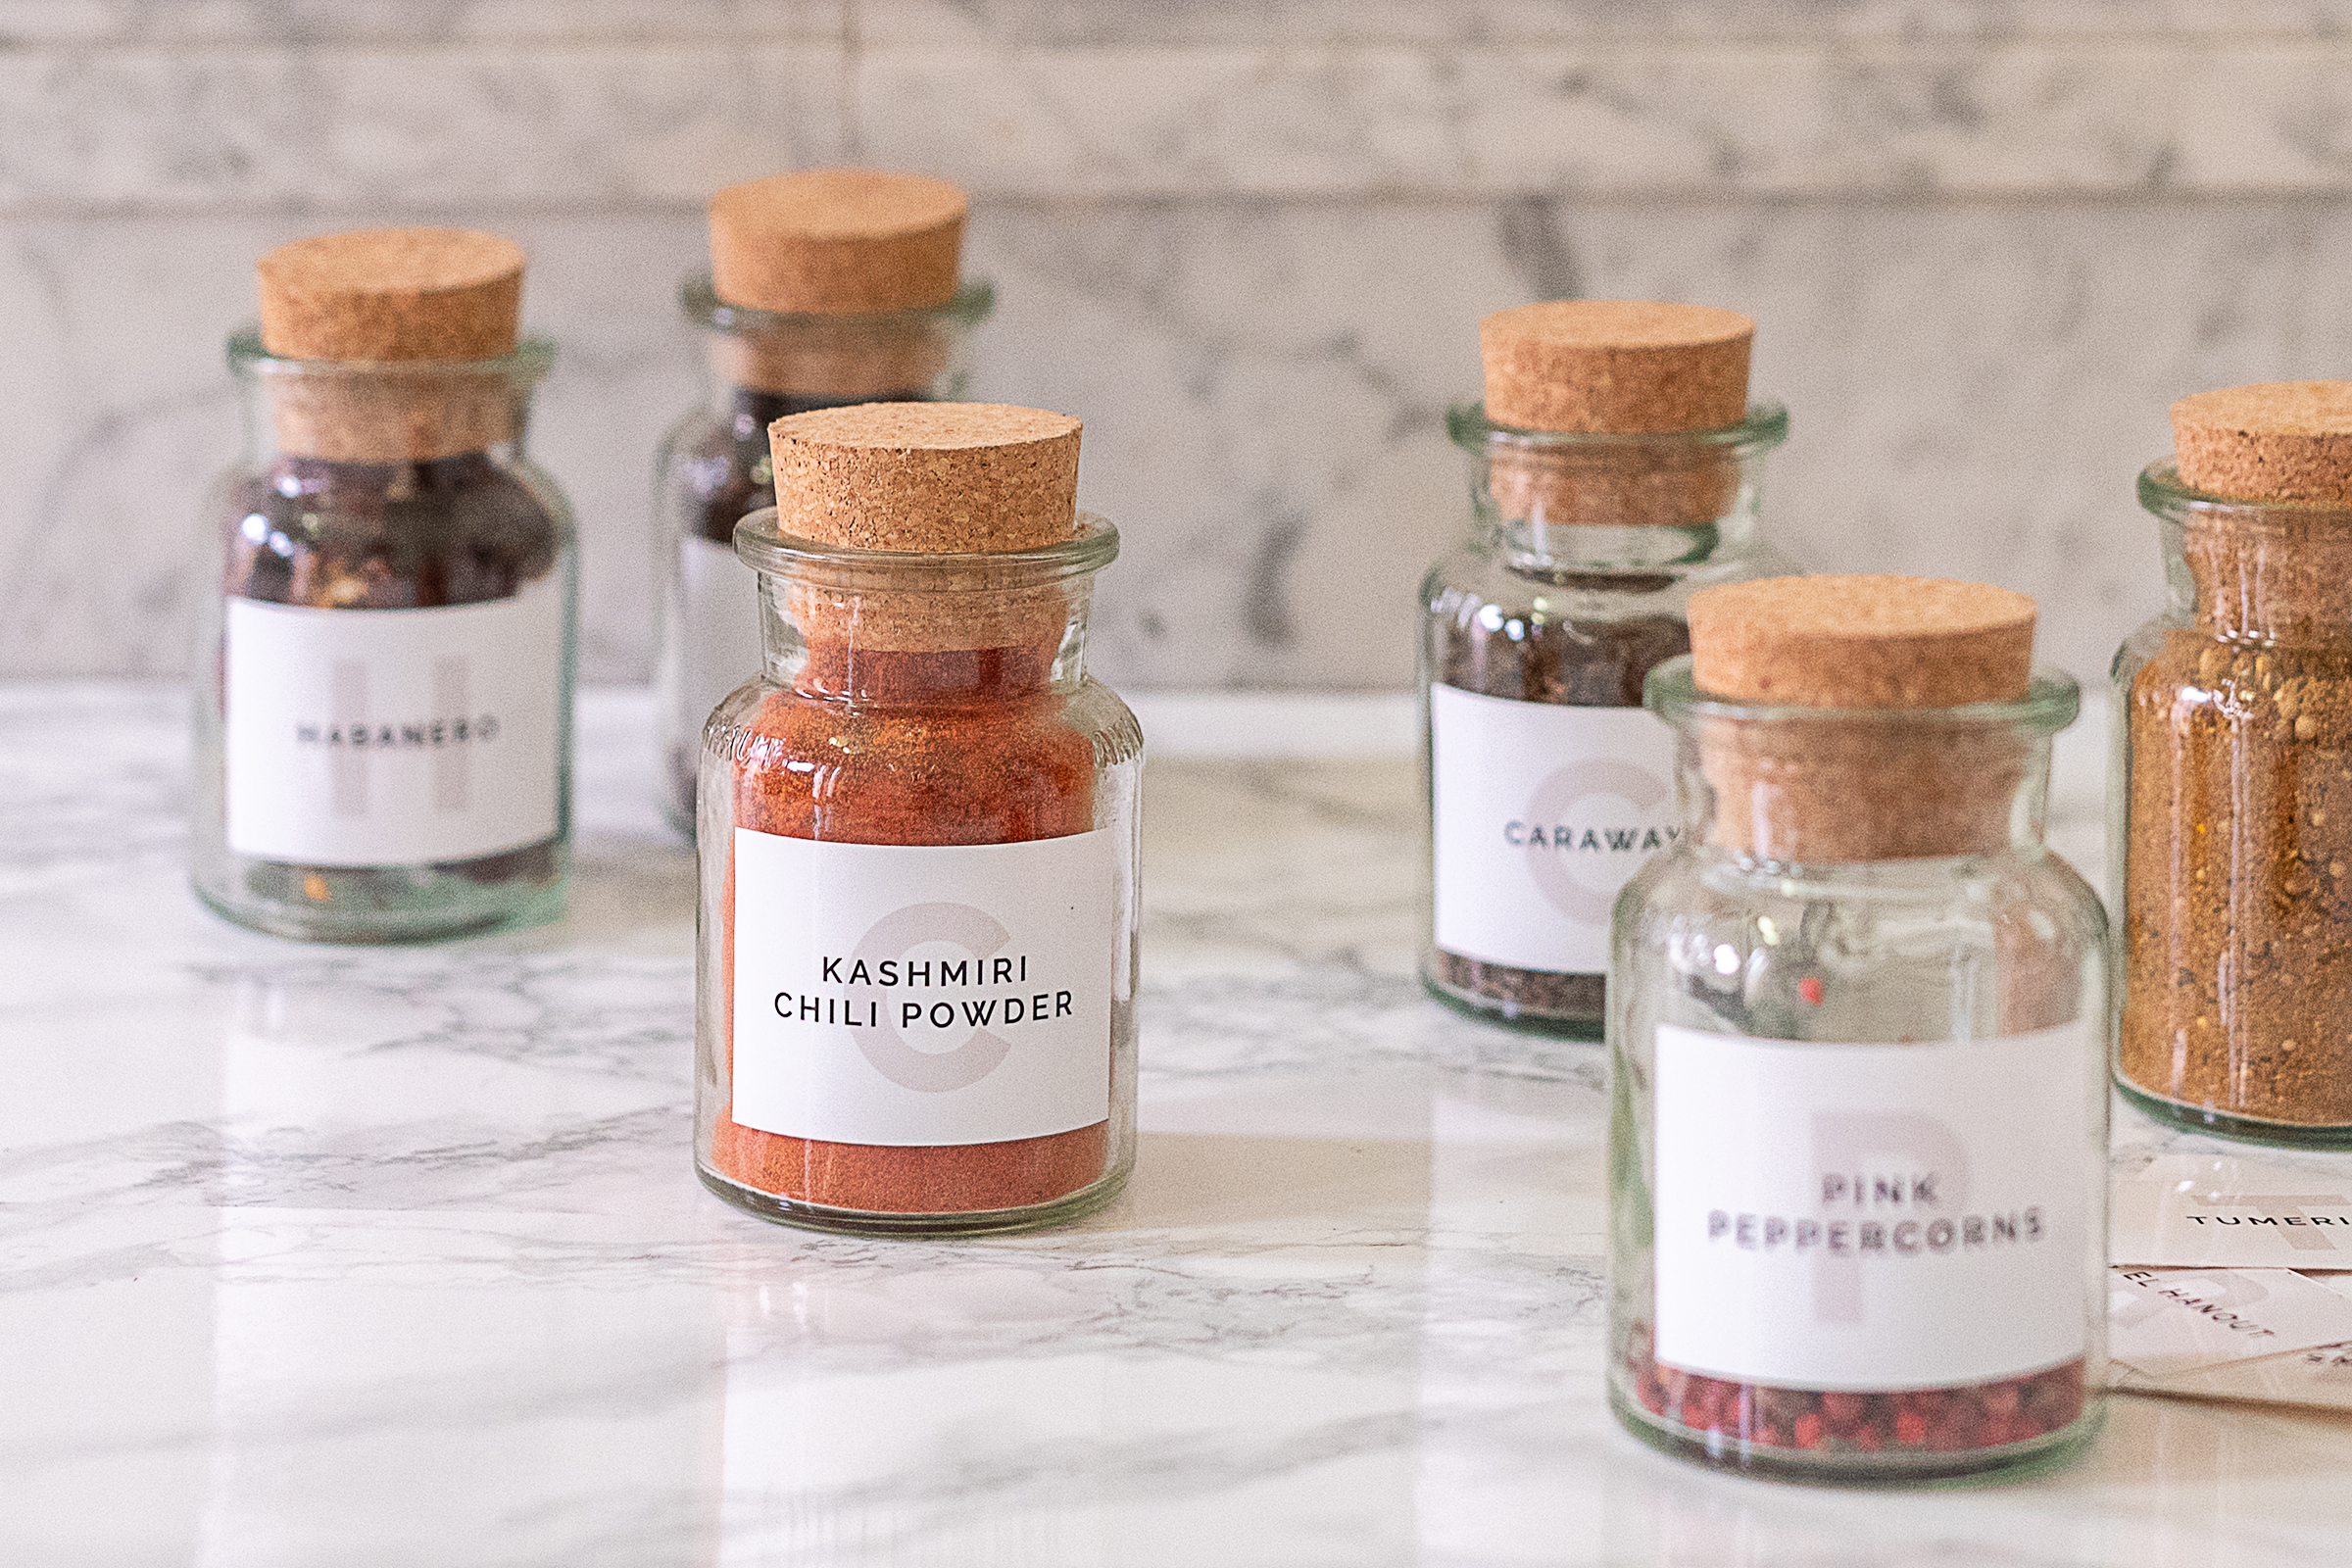
Free Spice Jar Labels
As promised, we’re sharing our spice jar labels with you. Just enter your email address and get the spice jar labels sent straight to your inbox.
We printed ours onto some sticker paper with our printer before cutting them out and sticking them straight onto the spice jars.
How much does it cost to build a spice drawer organiser?
As you can see, this is an easy DIY project that’s budget-friendly, too. The drawer inserts only took about 30 minutes to build and we love how they help us keep our spices organised.
- Wood Strips | 4.50€
- Wood Glue | 0.50€
Total: about 5€
Optional: Spice Bottles | 30€
How To Organise Kitchen Spices?
There are multiple ways to organise your kitchen spices with the help of your new spice drawer insert.
We organised them by grouping them into categories. For example, we have all types of pepper together, all chillis are grouped together and the spices and herbs we rarely use are at the back of the drawer.
A probably more straightforward way to organise your kitchen spices is by sorting them alphabetically. That way you know exactly where in the drawer to look for something and, more importantly, where to put it back again.
I can’t wait until we can finally afford a new kitchen but until then, we’re trying to make the best of the current situation and hopefully, our new DIY spice drawer organiser will help us waste less time looking for things and, as the name suggests, keep more organised.
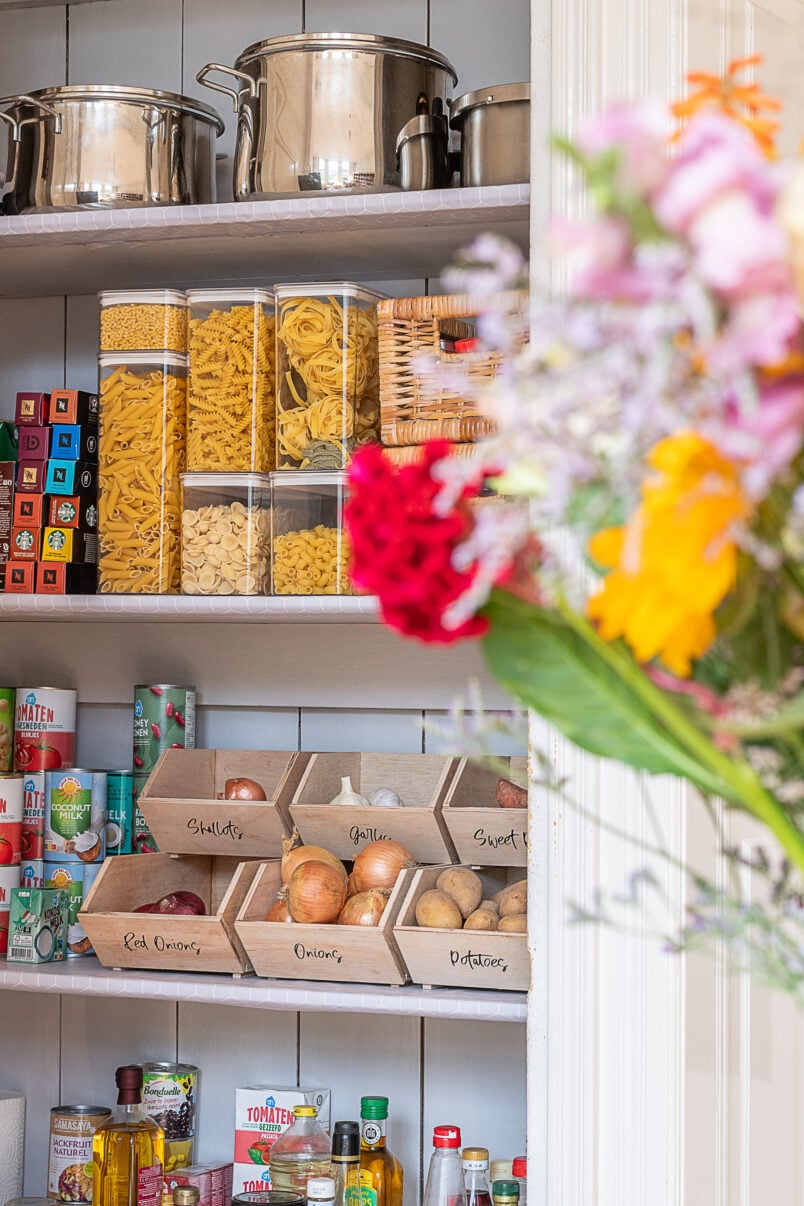
If you want a more traditional spice rack for your wall, check out this post where we share how to build a modern floating spice rack that will look fantastic on any wall. Oh, and don’t forget to check out these DIY storage bins that are a perfect and budget-friendly way to keep your pantry organised.

Mike Welch says
Love your spice drawer idea. One suggestion, when building your drawers make sure you build them a little deeper than the ones that come with your house. When I constructed my cabinets, in my winter home, I constructed them a little deep, so oversized bottles would fit.
Christine says
Thank you, Mike! We’ll remember that tip when it comes to choosing a new kitchen.
Cx