Autumn is my favourite time of year. The leaves on the trees start to turn multi-coloured and there’s nothing nicer than curling up on the sofa in front of the fire with a nice glass of something red.
There’s something else I love about this time of year, too. It’s Halloween!
Every now and then we share a fun printable with you all and what better occasion than Halloween to share another!
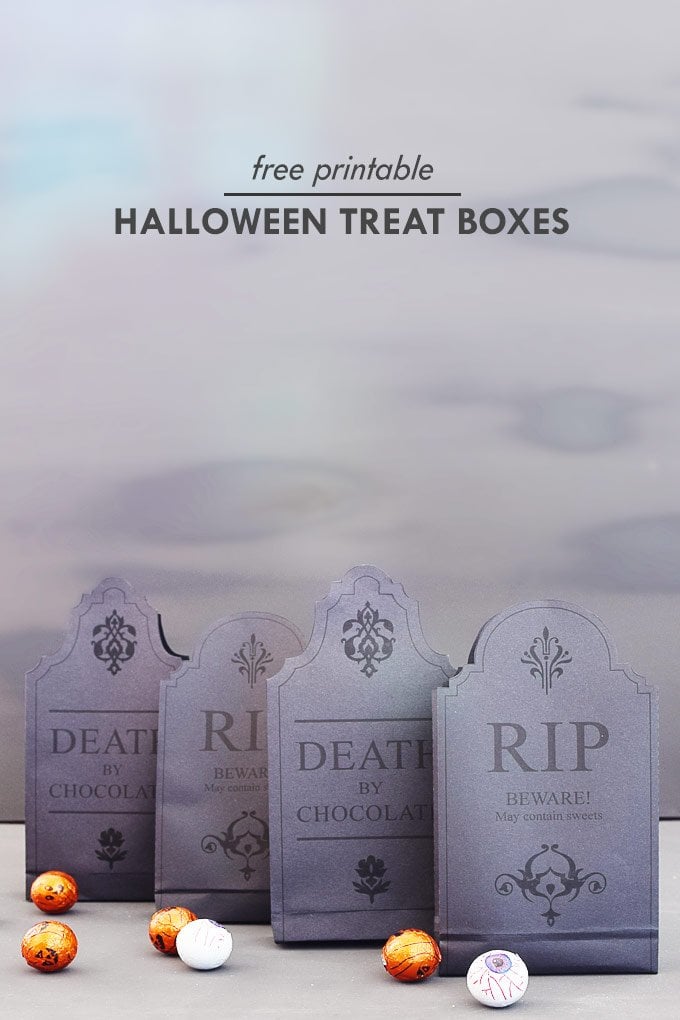
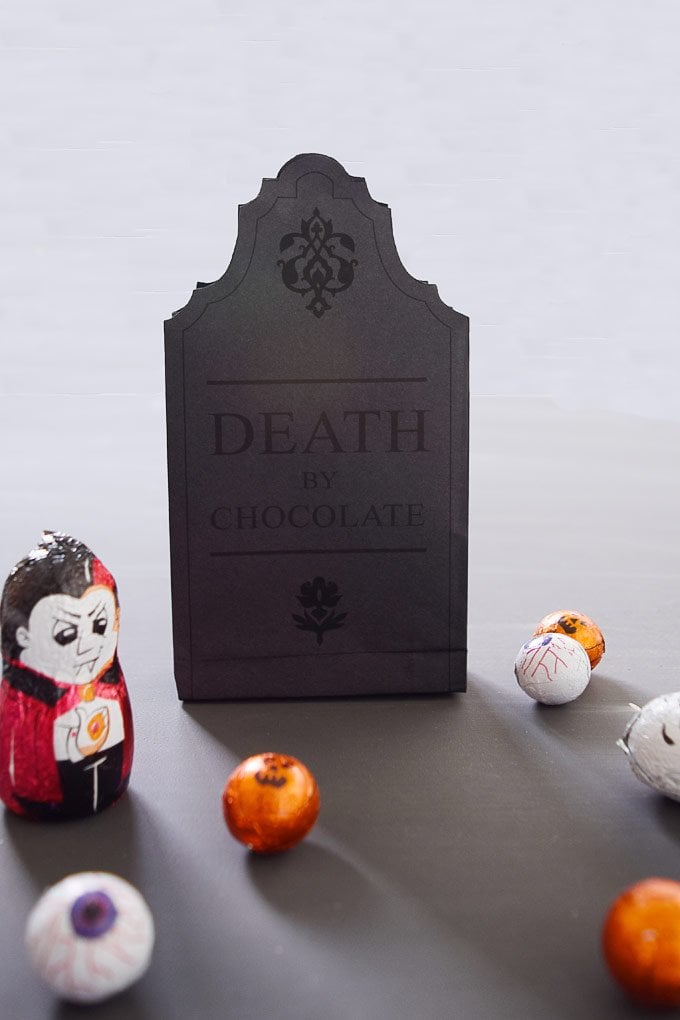
This year we’re sharing a fun gravestone inspired treat bag printable. I guess fun and gravestone aren’t two words that you’ll hear in the same sentence often, but it is Halloween after all.

This is what you will need to make your own DIY Halloween Gravestone Treat Bag:
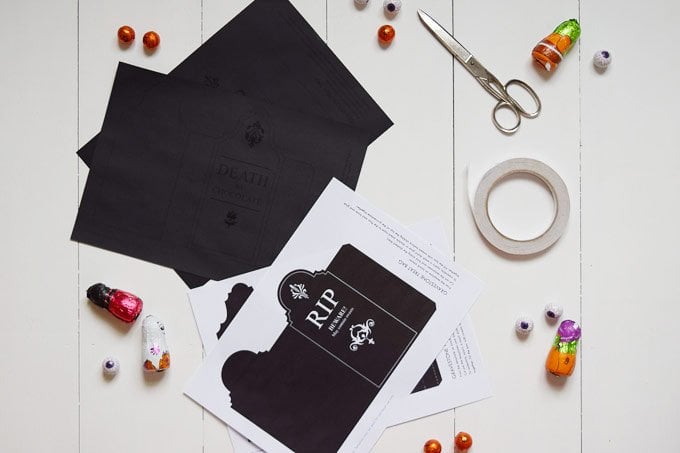
- Free Printable (you can download the black template Here and the white template Here)
- Black & white paper & a printer (or just one type depending on the style you prefer. This is the black paper that we used.)
- Scissors
- Glue or sticky tape
- Something to fill your treat bags with
This is how to make the DIY Halloween Gravestone treat bags:
#1 Start by printing the template onto some A4 paper. Although we like to usually print on cardstock or thicker paper, this printable works best on standard paper as it’s easier to fold.
There are two different versions – one that’s the black outline (to print on black paper) and the other has filled black gravestones (to print on white paper).
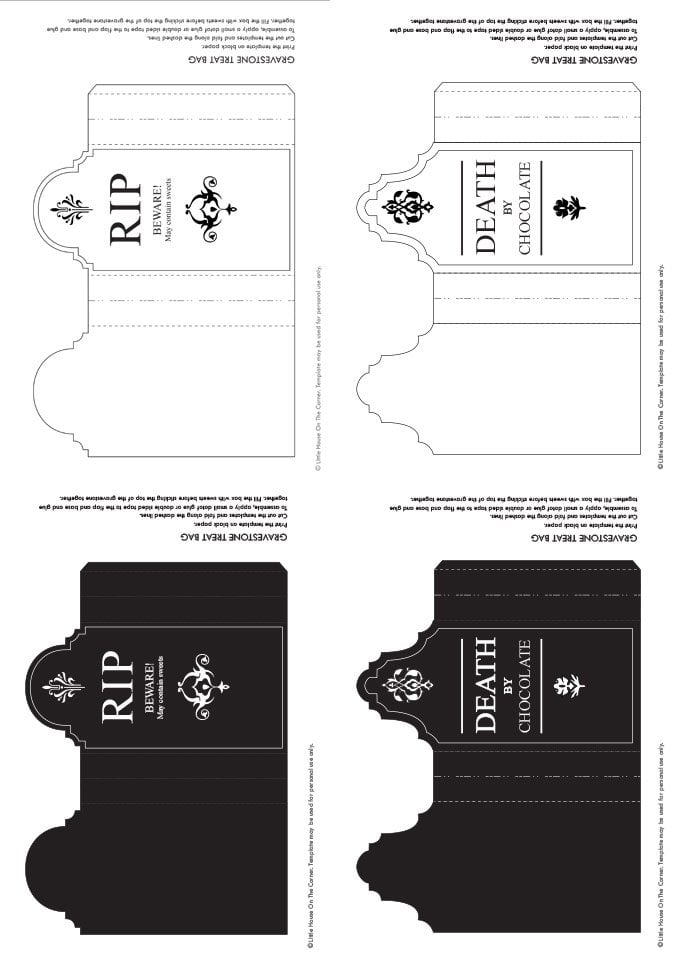
#2 Once you’ve printed the gravestone template, cut it out with some scissors or a craft knife.
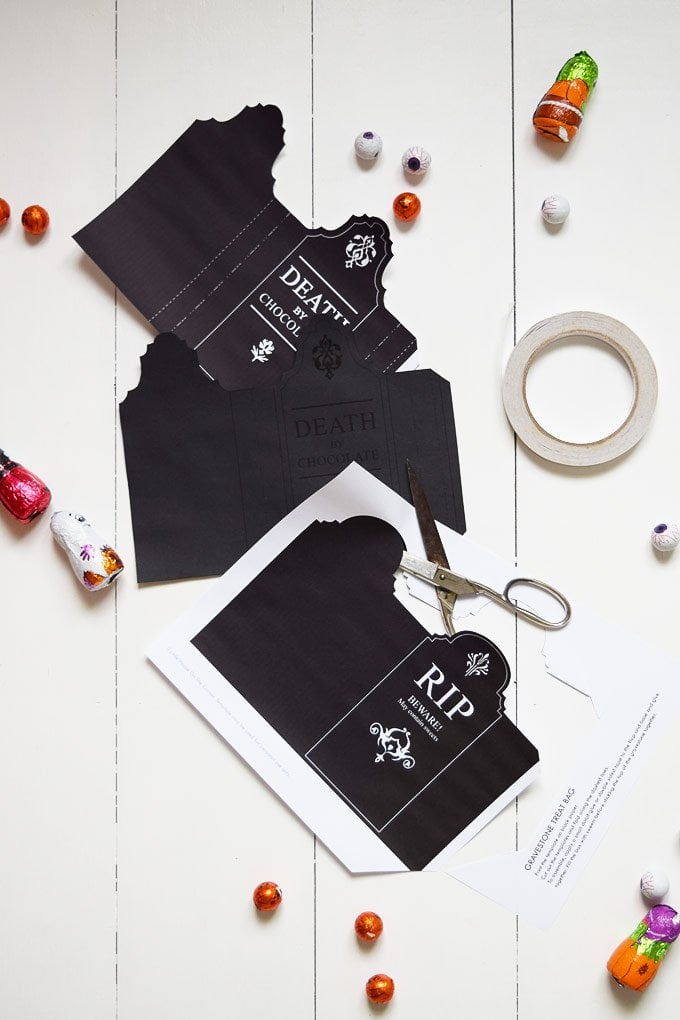
#3 Next fold the little gravestone treat bag. The dashed lines are mountain folds and the dash-dot lines are valley folds.
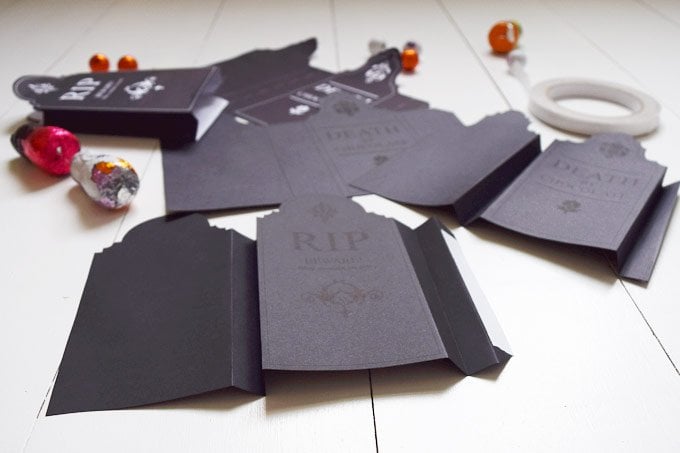
When you’ve finished folding, glue the sides together with some double-sided tape or some glue.
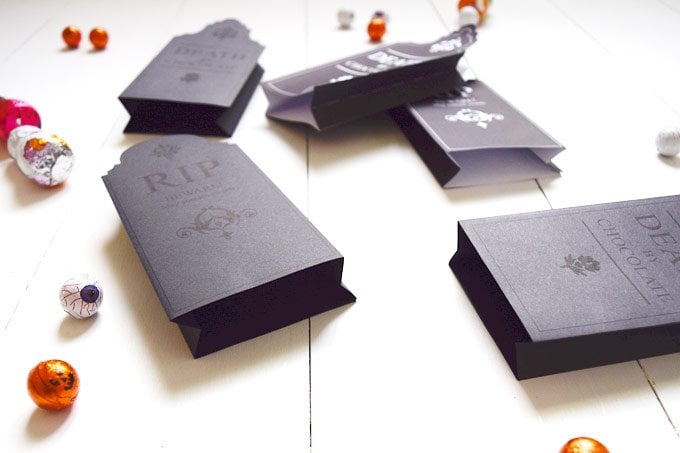
#4 Next fold the base of your Halloween treat bag. Fold up about 3cm of the bottom of the bag to form a flap. Then in the flap area, you’ve just formed, push the sides outwards to make two triangles – one on each side of the gravestone.
When you’ve made the triangles, flatten down the sides of the base of the bag. Now fold one piece of the longer side of the base up and the other piece down and glue them together.
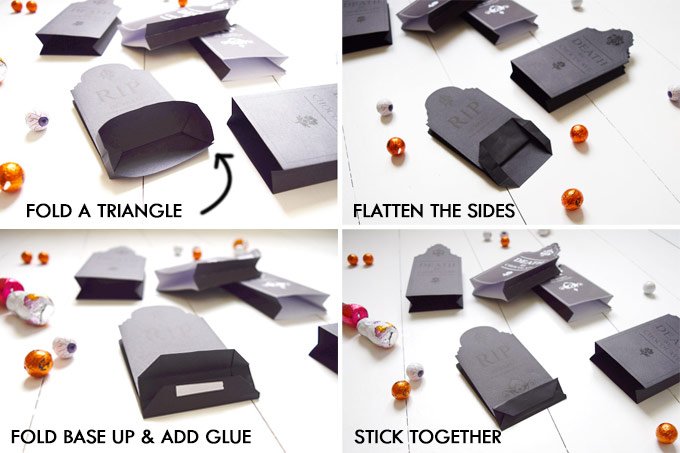
It’s a bit difficult to describe, but hopefully, it’ll make sense in the pictures.
#6 All that’s left to do is fill your DIY Halloween gravestone treat bags with sweets of your choice. To make sure that nothing falls out, add a blob of glue or piece of sticky tape to the top edge of the gravestone treat bag and stick the front and back together.
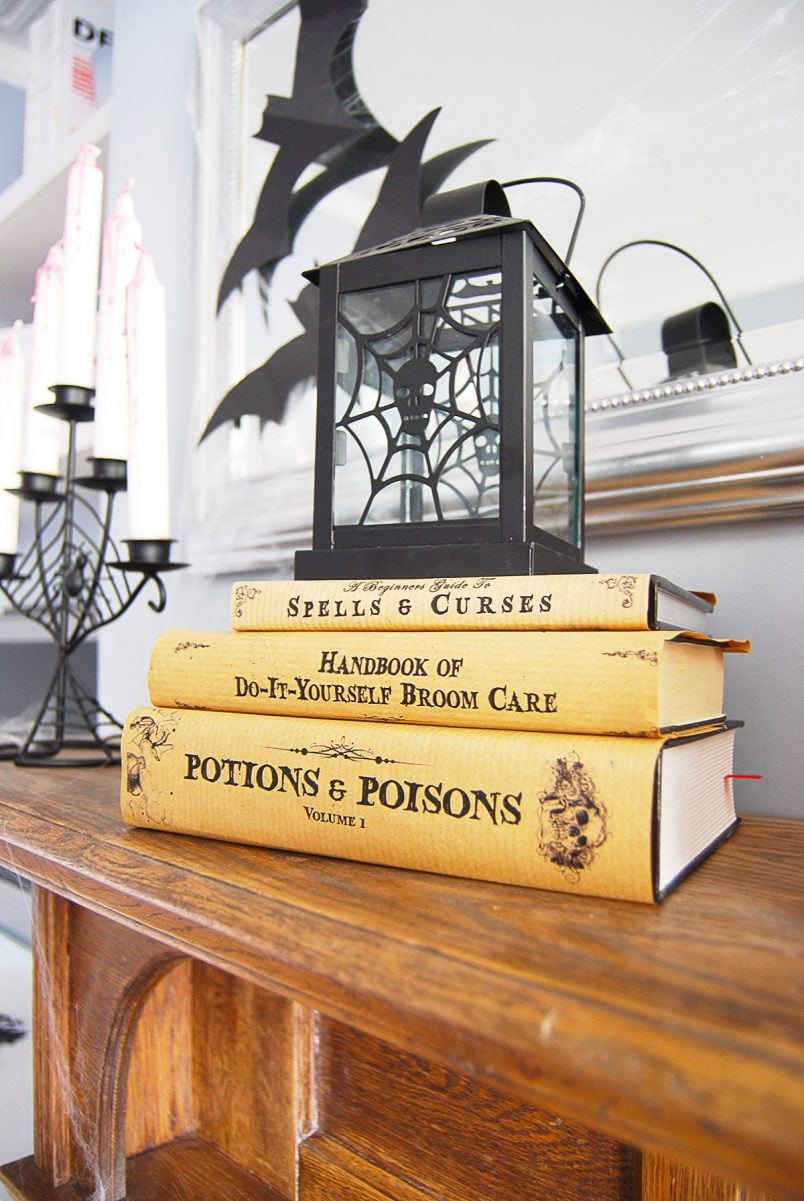
Why not also check out our Halloween Book Cover printable while you’re here?
What’s your favourite season? Do you decorate for Halloween? What holiday do you enjoy decorating for most?
If you like this project, you will love these ones, too!
Ash says
Im a little confused, how do you print white onto black paper?
Christine says
You don’t, Ash. You print black onto dark grey paper or print the whole bag in black onto white paper. Have a look at the template, I think it’ll make more sense then. Hope that helps but let us know if you have any other questions!
Cx
amanda says
Love these.. was trying to find some treat bags for gifts at work. However I cant find the download… what am I missing?
Christine says
So glad you like the bags, Amanda! In the list of supplies, it says “you can download the bags here”. Just click on the highlighted here and a PDF will open in a new window.
Hope that helps but do let me know if you have any other questions.
Cx
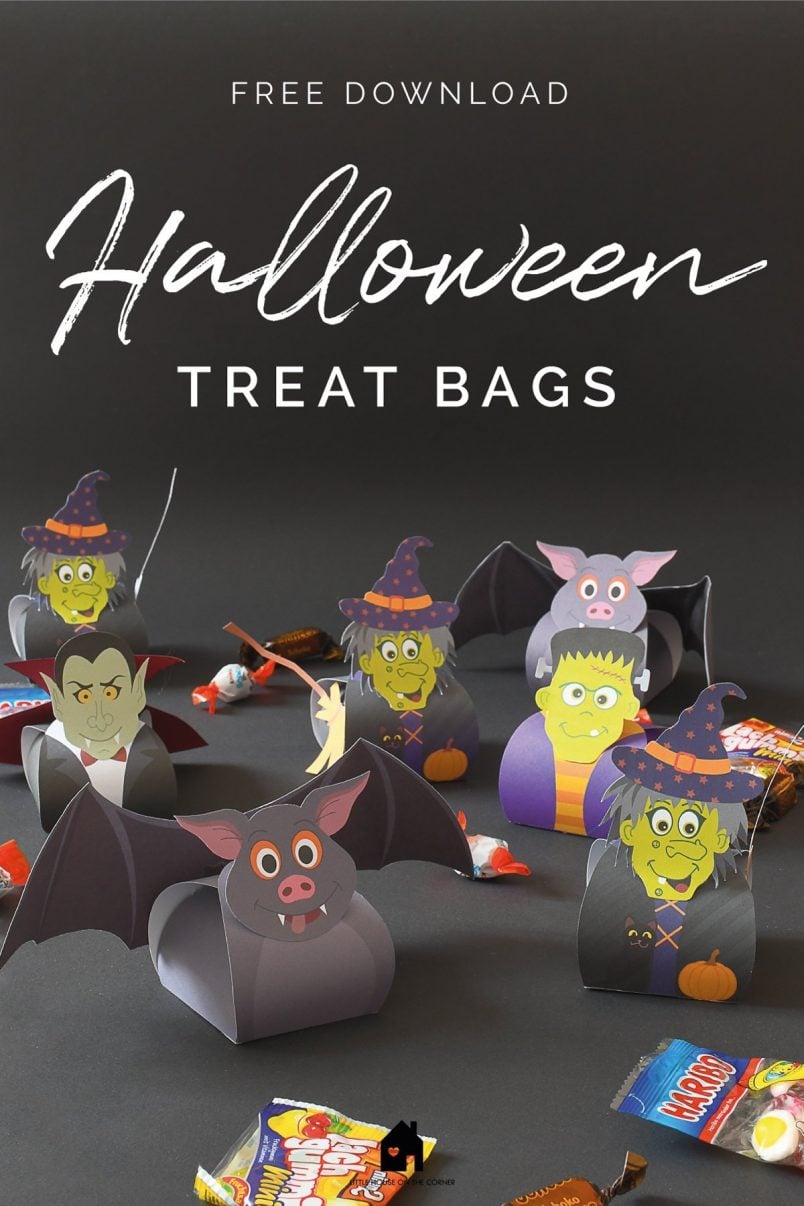
PS: We’ve just shared some more free Halloween Treat Bags which you might like!
germaine fryc says
these are as great as your book covers, thank you so much!
Christine says
Thank you so much, Germaine! Glad you like them! I’m already working on a new Halloween printable for this year, so stay tuned!
Cx
Ruth @ Purely Splendid says
Spook-tacular! Thanks for the treat bags! I’m dying to give them a try- LOL!
Christine says
Glad you like them Ruth! :)
Cx