This post contains affiliate links. We only recommend products we love and think that you will, too! Read our full disclaimer here.
Last week, our staircase restoration didn’t see much progress. The moulding we wanted for the staircase panelling hadn’t arrived, and our motivation was at an all-time low.
With the end so near, this weekend was dedicated to trying to finish the restoration. Before you get all excited – no, we still aren’t finished.
In my rush to finish the project, I’d painted over some areas that just weren’t completely smooth, and it really showed after the paint had been applied. So, some more sanding was required. What fun!
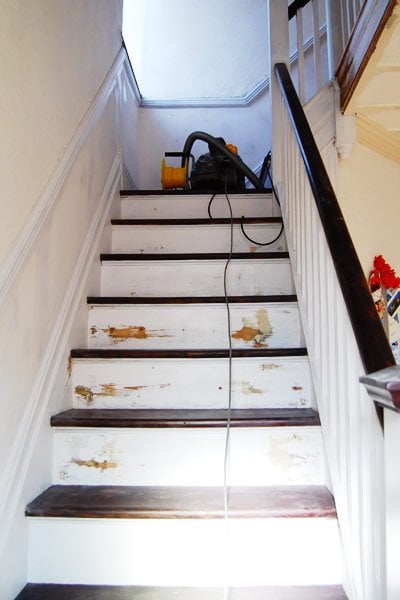
Not looking any better, is it?
Then for some more painting. We still had to neaten up a lot of the edges, and I used a small artist’s brush for all of the detailed work.
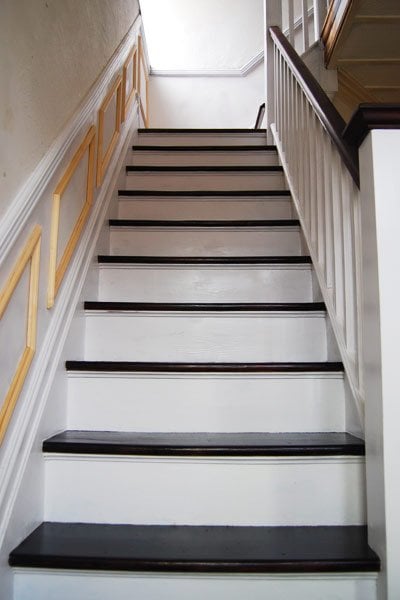
After finishing the painting, I lightly sanded and stained the treads again. There were a few splashes of paint here and there, and the general dirt had marked them so much that they needed freshening up.
As you can see, the top four steps are quite a lot darker after staining them again, and it’s also a much more even finish.
We chose a stain rather than a paint finish for the treads, as the stain soaks into the wood slightly so that if we ever knock or chip a step, the mark won’t show up in a different colour.
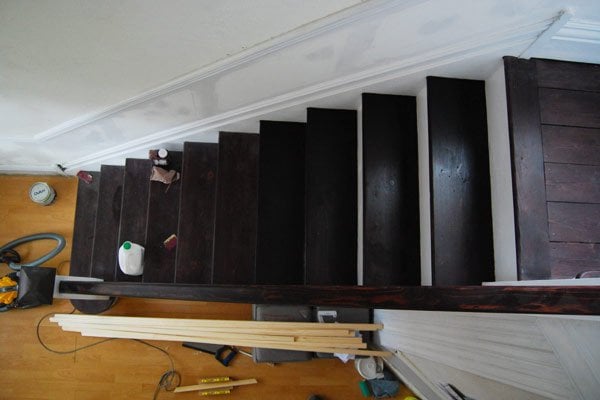
After staining the steps, we applied a few coats of varnish to them. All in all, we’ll probably apply three coats of varnish to give the steps some extra protection.
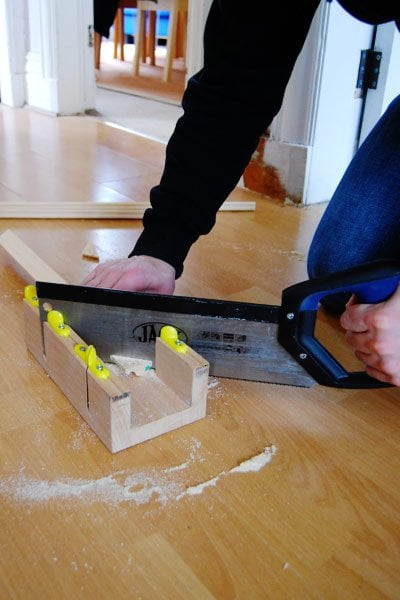
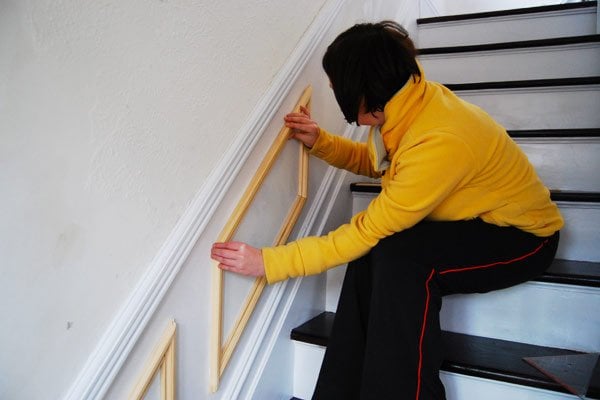
The wood for our panelling finally arrived on Wednesday, so after a bit of measuring and sawing, we could finally attach it to our newly skimmed wall.
Being lazy, we decided to use No Nails to attach the moulding to the wall.
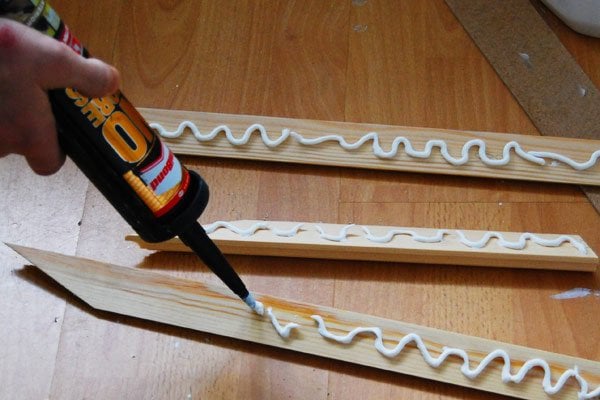
We love the stuff; it holds amazingly well and allows you to adjust the position slightly when you’ve attached it to the wall.
We still need to caulk around our new panelling and also buy an extra half a meter of moulding, as annoyingly we didn’t quite buy enough to finish the project completely. All in all, we’re really happy with how it looks so far.
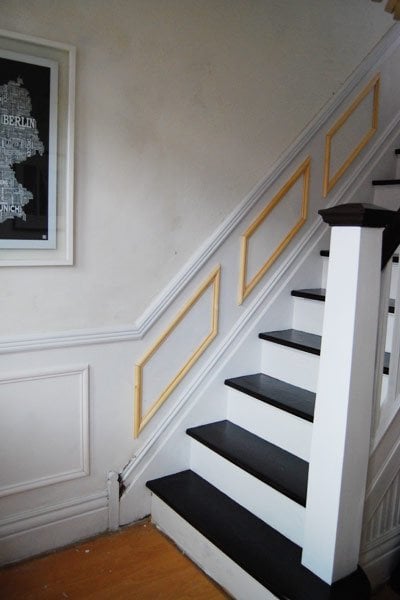
I love our slightly shiny treads, and the panelling already seems to finish off the wall.
Aren’t the steps amazing? For the first time, it feels like the hours and hours of sanding were actually worth it.
We’re so close to finishing, and with a bit of luck, we’ll be sharing the final result with you next week! I can’t wait!
Chelsea F says
Looks amazing!! Do you happen to remember what angles you used for the rectangles going up the stairs?
Christine says
Thank you, Chelsea! I used the same angle as the angle of our stairs. If measuring the angle of your staircase is difficult you can easily calculate it by measuring the rise and run of the treads. If you have a quick Google, I’m sure you’ll find a staircase calculator that can help you with the calculation.
Hope that helps!
Cx
mike says
I love the look of the panelling on the stairs. It looks great. I had planned to attach wood panels to the walls first, and then the detail strips on top of that. Your way (attaching strips direct to the wall) certainly seems a lot quicker. Are you happy with it, and would you do anything differently if you did it again?
Christine says
Thanks Mike! Yes, we are still happy with it. If there is one thing that we’d do differently we’d use a mitre saw instead of cutting the pieces by hand. We do now have a saw and it’s soooo much quicker and tidier. Cutting the pieces by hand did work and we took out time so the joints are fairly neat, but I’m sure they’d be even better if we’d had our mitre saw back then.
Oh, and the dusting can be a bit of a pain (but that might just be because our house is always dusty!)
Cx
Laura says
Your stairs look fantastic, where did you get your panelling from? It looks great.
I love your blog it’s given me lots of inspiration for my house reservation
Christine says
That’s so kind! Thanks, Laura! We bought our panelling at https://www.iitimber.com/. The quality of the products we’ve purchased there so far has been much better than the quality of anything that we’ve purchased at the big chain DIY shops.
Cx
Jonathan says
Just came across these images. Looks good. We’re about to paint an Edwardian stairway, leaving 100mm painted on both sides and then a runner. However, I see you also have a inside cove under the tread lip and we assumed it’s not part of the original although it’s been there a long time as there’s an earlier version of paint and runner (raw wood exposed) finish. Any thoughts?
Christine says
We’re not sure if the cove is original or not – ours is definitely really old and was covered in all layers of paint that the rest of the staircase was covered in. At the end of the day, the best idea (for us at least) is always to go with what you like best and what feels right to you. It’s your home and you’re the only ones that actually have to like it (and who cares if it’s original or not)!
Cx
Nicki says
Looking good! You had a much better experience with skimming than I. Good job!
Christine says
Thanks Nicki! Not too much more to do now. I only skimmed the bottom part of the wall so it wasn’t too hard to do. If I’d attempted to do the top as well, I’m pretty sure our wall would have won, too.
Magali@TheLittleWhiteHouse says
It looks great. It must be so rewarding looking at your staircase now!
Christine says
Thanks. I keep walking up to it, just to look at it again. Just a bit more painting and touching up to do now!
Cx