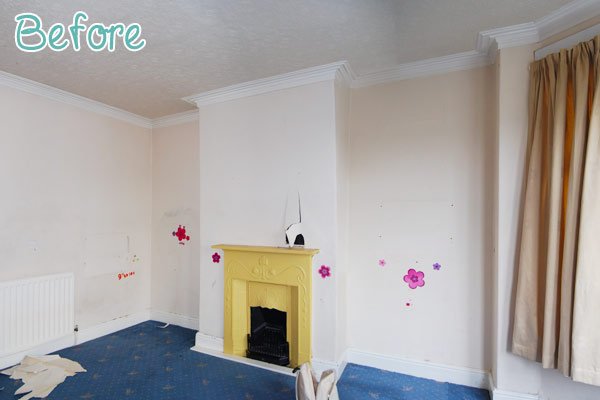
The building works in our master bedroom are more or less complete. When we moved in, it was a smelly mess of pee-stained carpet, dirty walls, torn wallpaper and dodgy electrics.
Now, a bit over three years later, there are still a few things here and there that need sorting – like the window that we’d eventually like to replace, but it’s one of our most finished rooms in the house.
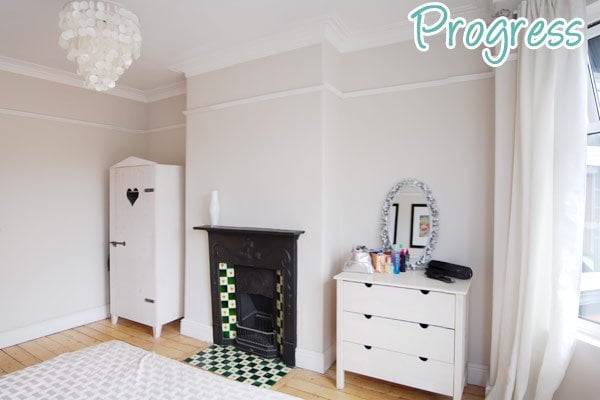
Although our building work is more or less completed, the room is still lacking in personality and a lot of those finishing touches that make it feel welcoming. So here’s our newest addition to the room!
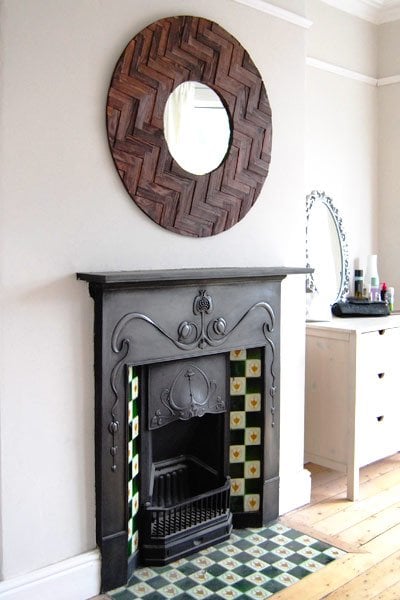
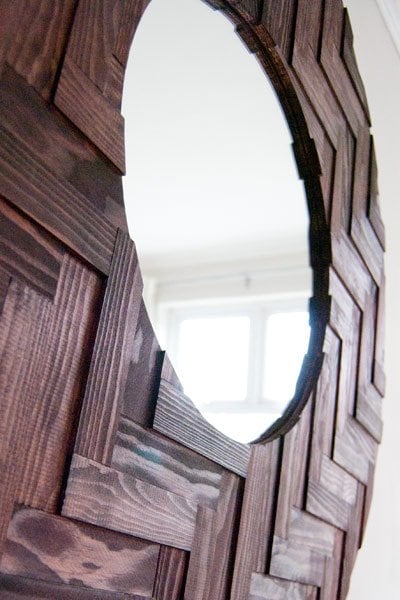
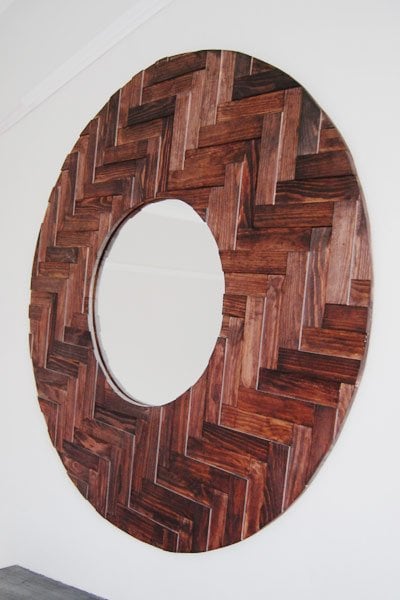
We love how our new DIY wood mirror turned out. The size is perfect for the space and the different thicknesses of wood give it an interesting texture.
It wasn’t difficult to make and if you’d like to make one of your own, this is how we made it.
What you’ll need to make a DIY Wooden Mirror
This post contains affiliate links. We only recommend products we love and think that you will, too! Read our full disclaimer here.
- A mirror (we used KOLJA from IKEA)
- Wood Stain
- No Nails Glue
- Wood Glue
- Old Rag and Gloved to apply stain
- Wood strips
- Plywood as backing base (we used some hardboard which we still had lying around)
- Saw (we used our mitre saw which made things very easy. At a push, a normal handsaw would do, it’ll just take a lot! longer to cut the pieces)
- Jigsaw
- Sandpaper
- Pencil, string & glue
- Mirror hangers & screws
How to make an extra large DIY wood mirror
Start by working out the overall size of the mirror and frame that you want to make and roughly cut out the shape you want out of a large piece of wood (we used hardboard). There’s no need to be too exact at this point as you will have to trim the mirror when you’ve finished glueing your wood strips into place.
After you’ve prepared your base, continue to cut your wood strips into a load of short, same-sized pieces. We cut ours to exactly four times the width of the wood strip.
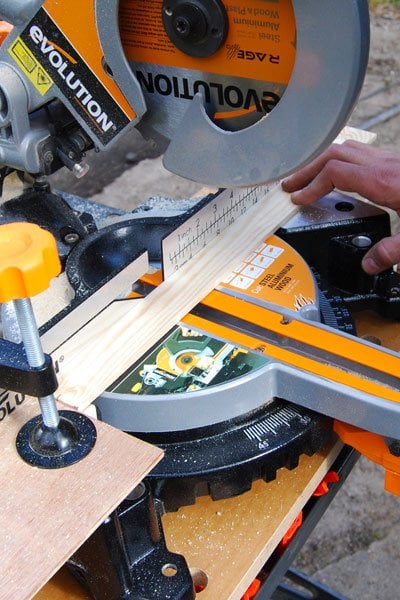
We used our fancy new mire saw for all of the cutting. To ensure that all pieces are exactly the same length, we attached a board to one side of the saw, so that we could push the wood strips against it without having to measure each piece individually.
Then, we just glued the strips onto the prepared base with some wood glue.
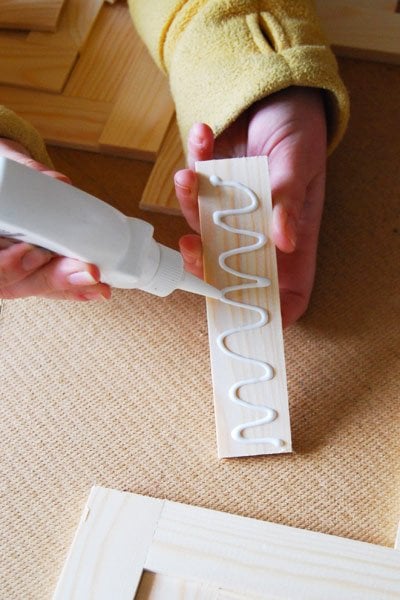
Our tip: Don’t get any glue on the top of the wood pieces. The wood stain won’t cover where there is glue.
The next step (after letting everything dry thoroughly) is to cut the wood frame into the shape you’d like. We decided a circle would be best for us, so we drilled a hole into the centre of the board and with the help of some string and a pencil marked out the outer and inner circles for the frame.
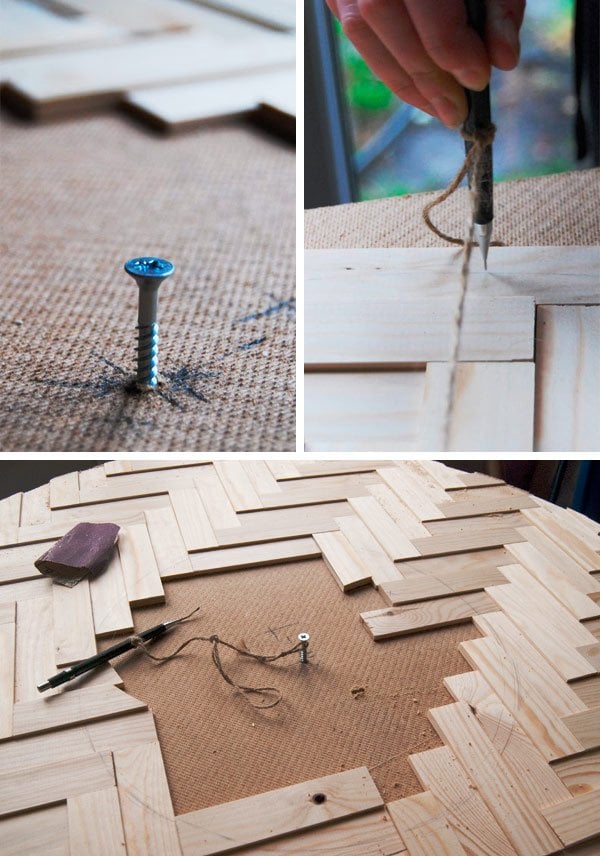
Trying to be as exact as possible, we then carefully cut along the lines with our jig saw.
Our tip: Because we used two different thicknesses for our wood strips, it was really difficult to cut a neat line with the jigsaw. If you attempt to make a mirror of your own, it would probably be much easier to cut out if you draw the circle on the reverse (flat) side of your mirror and then cut it out.
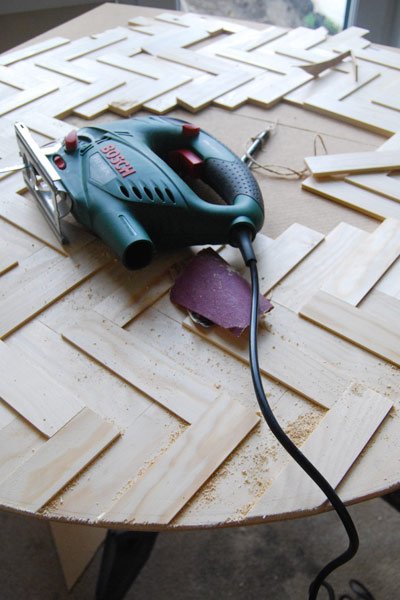
After cutting out the frame and giving everything a quick sand, we stained everything with some wood dye (the same one we used for our staircase).
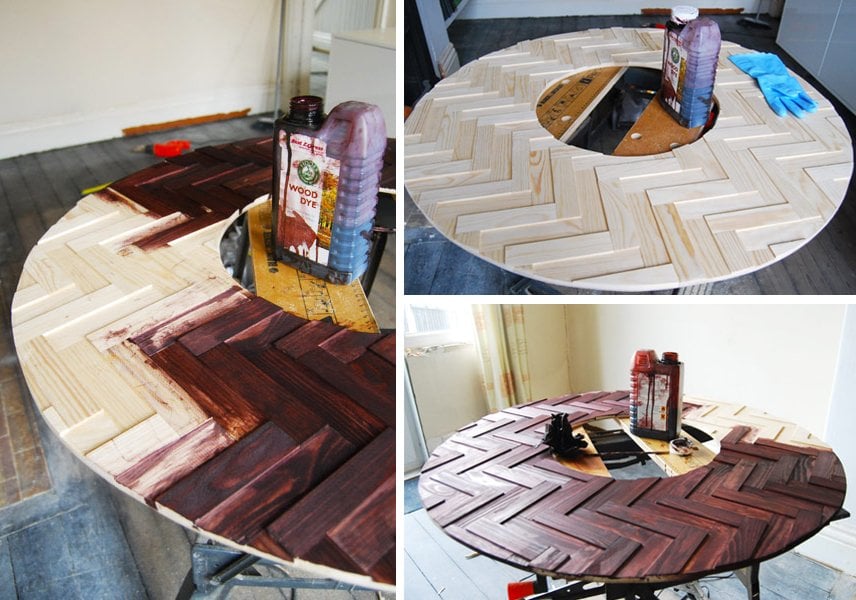
We achieved the look we wanted with just one coat of stain. We love the way the darker stain brings out the different thicknesses of the wood strips.
After preparing the frame, the last step is to attach the mirror. We used some No Nails glue to stick it onto the back of the frame.

Because we didn’t want to see any fixings, we used some self-glueing wall brackets that stick to the back of the frame to hang it to the wall.

And after a few more dodgy calculations, this is the result!
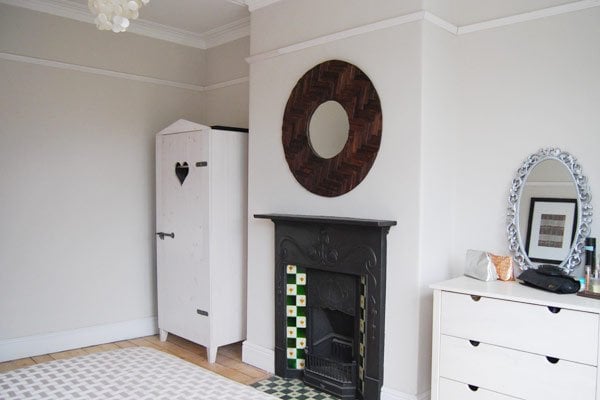
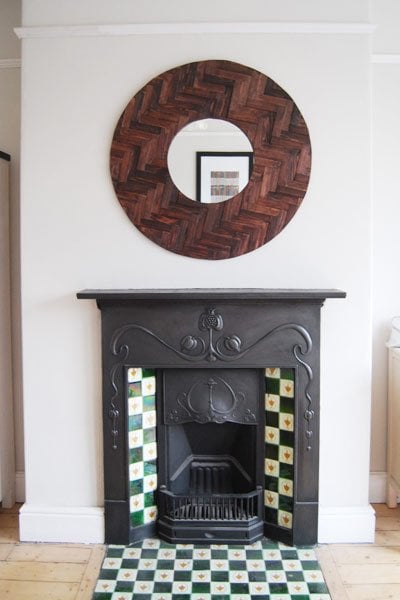
We’re really happy with the new mirror. It makes the room feel more finished.
Have you ever made your own DIY wood mirror? Do you have suggestions to further finish off the room?
Barbara says
Love that – how creative! Would fit into a retro or contemporary setting! I need a jig saw!
Christine says
Thank you Barbara! It was super easy to make, too.
Cx
Jessi @ Practically Functional says
Oh my gosh, I love this sooooo much! It turned out so perfectly; I love the texture! Pinning, and thanks for sharing at my link party!
Christine says
Thanks Jessi! We love it, too.
Cx
Magali@TheLittleWhiteHouse says
I think I just fell in love with your electric saw. I might need to add that on my letter to Santa, right after pearl earrings! The mirror turned lovely, not only are you good at DIYing, but your sense of design is great.
Christine says
Thanks for the compliment, Magali! That’s soooo kind!
I can’t believe we DIYed for such a long time without having a mitre saw. It’s now on our list of must-have tools and sounds like a pretty perfect Christmas present to me ;)
Cx
KarenAnita says
I cannot BELIEVE you made this! I was going to ask where you bought it from! Amazing job! Love love love it x
Christine says
Aww, thanks! It was really easy to make!
Cx
mary says
looks fantastic!
You guys have really come a long way in a short time.
Christine says
Thanks Mary! Not sure that 3,5 years counts as short though… ;)
Cx
mary says
ha!
I’m going on ten years and I JUST repaired walls/painted my bedroom last year……..
Christine says
Well, let’s be honest – there’s always something better to be doing than DIY!
Cx