As we already told you about restoring the outside of our front door, we should probably update you on what else we’ve been up to. This is what the inside of the door looked like when we moved in.
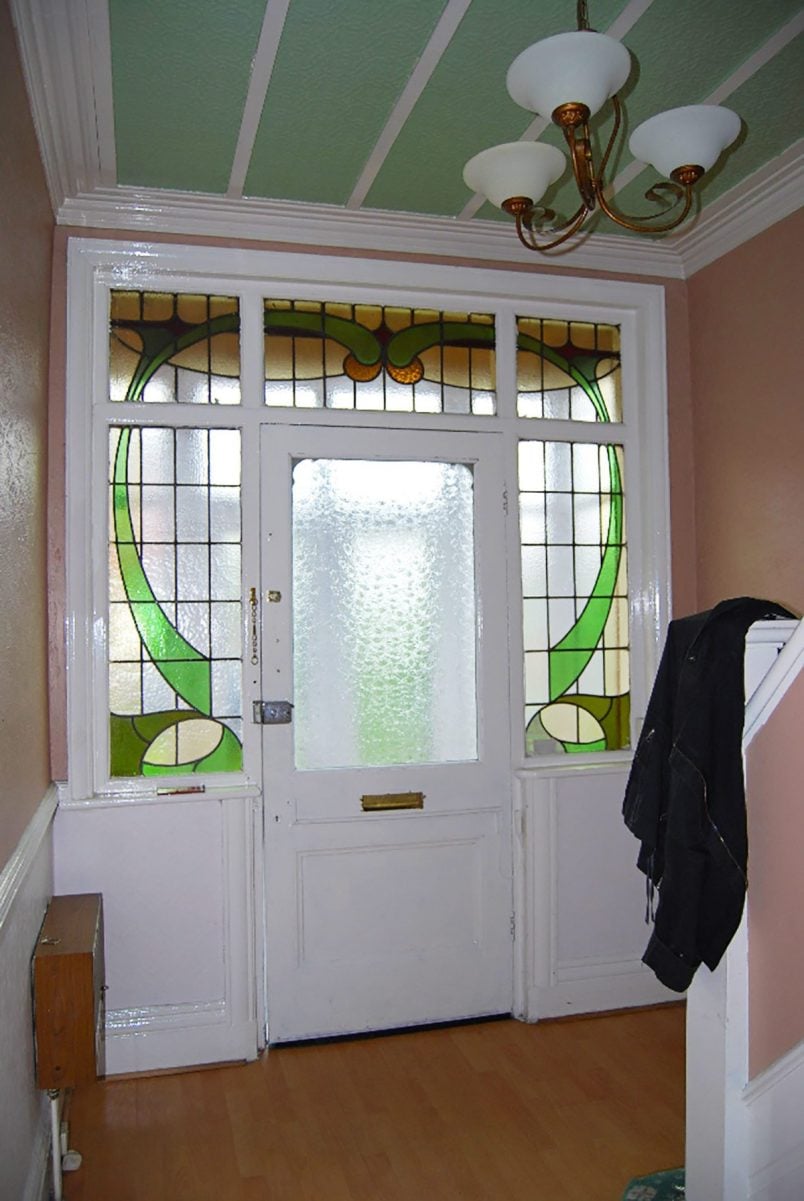
We are lucky, and still have the original stained glass around the door, but sadly the panel in the door itself is missing. From a distance the door doesn’t look too bad, but as soon as you get close, it looks more like this:
This post contains affiliate links. We only recommend products we love and think that you will, too! Read our full disclaimer here.
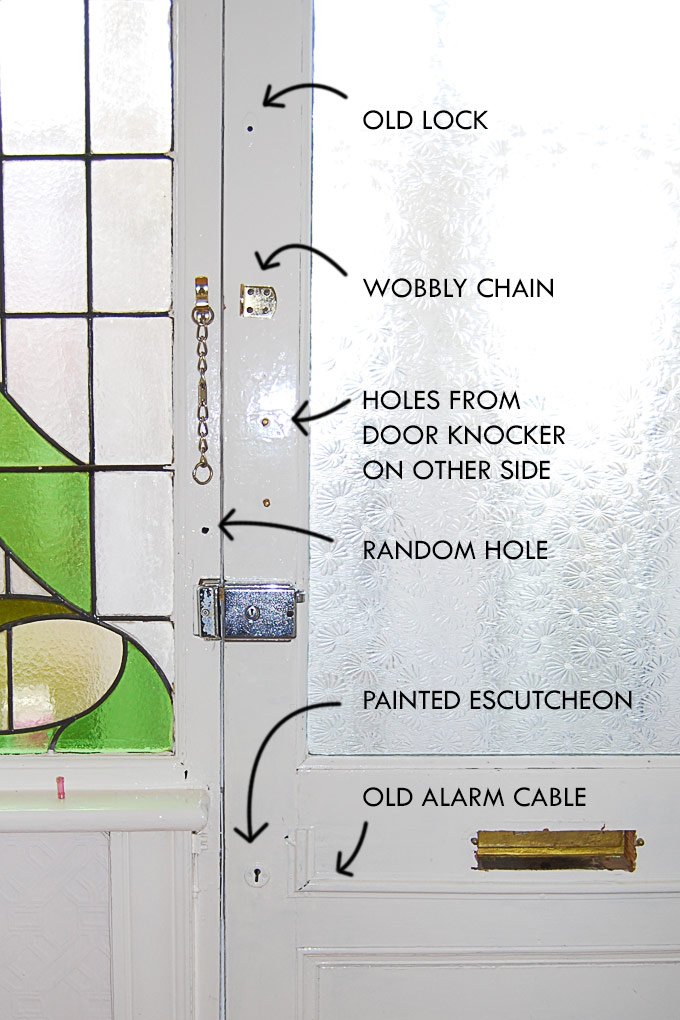
You can see that the paintwork is chipped and that the hardware is worn. There are also loads of bits and pieces attached to the door that aren’t in use. We started by completely stripping the inside of the door using the same method, that we used for the outside of the front door. You can read more about that here.
Then we began stripping the frame around the stained glass panels. This turned out to be slightly more complicated, as we couldn’t use a heat gun near the glass, so we opted for a chemical stripper. We applied the thick paste, covered it with the provided paper and left it to penetrate the paint.
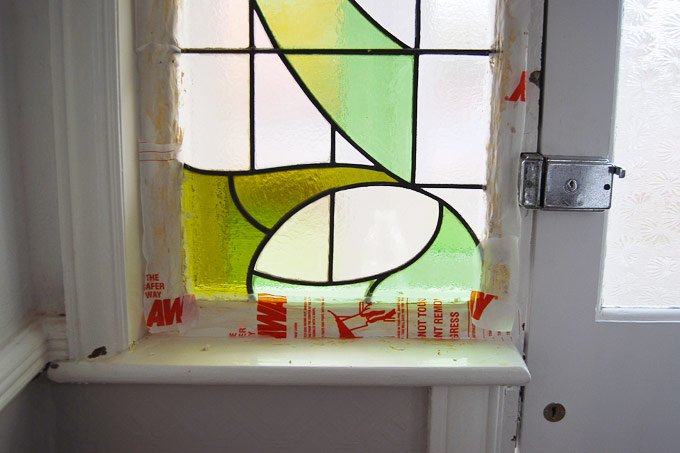
After the stripper had done its magic, all we had to do was remove the paper, clean the area and neutralise with the provided spray.

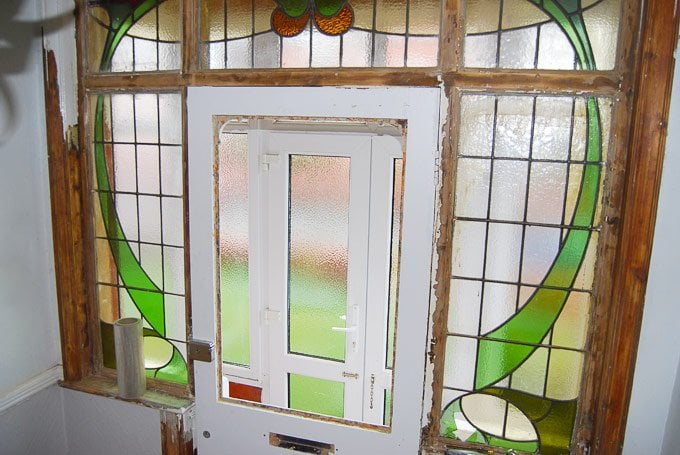
The chemical stripper (we used PeelAway 1) worked extremely well. We used a heat gun to remove the remaining paint that was further away from the glass. We still had to sand everything, but it was much easier than expected. This is what it looked like about halfway through.

And, after a lot more work, this is what the whole area looked like.
As with all the woodwork throughout the house, we decided to paint the door and frame in eggshell white. And this is what it looks like now.

As always, here are the side by side pictures.


As you can see, we have been sneaky and have replaced the glass in the front door. But we will tell you about that soon – you’ll just have to come back and see the results.
Leave a Reply