With Halloween just around the corner, we thought we’d squeeze in one quick last-minute project – a DIY Halloween Skull Garland.
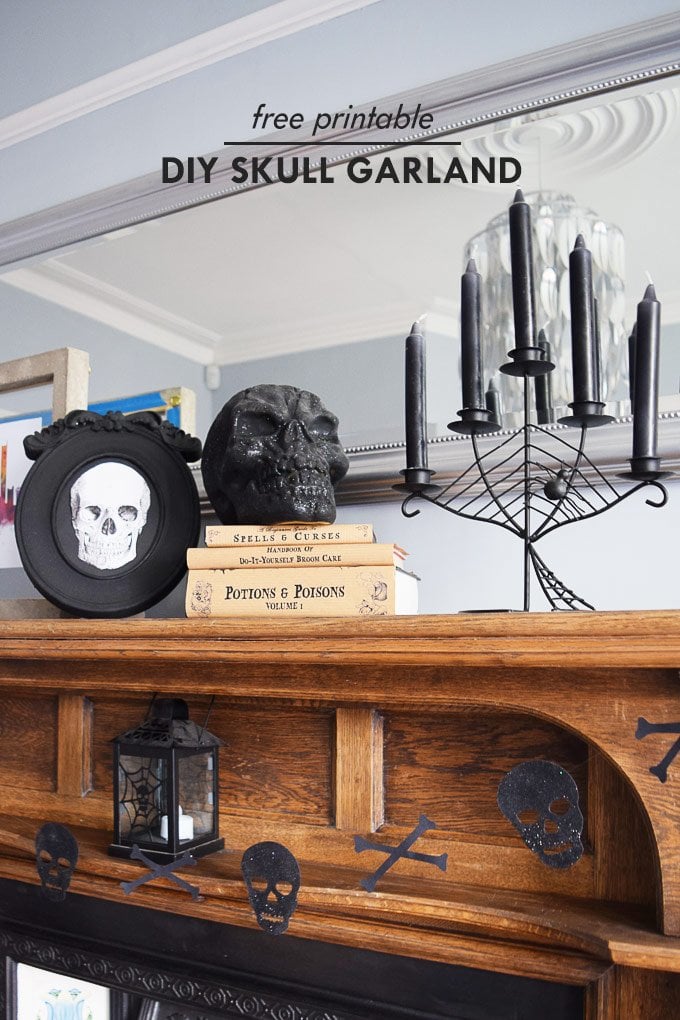
I promise it is really easy and quick to make, and it’s perfect if you’re after some last-minute Halloween decorations.
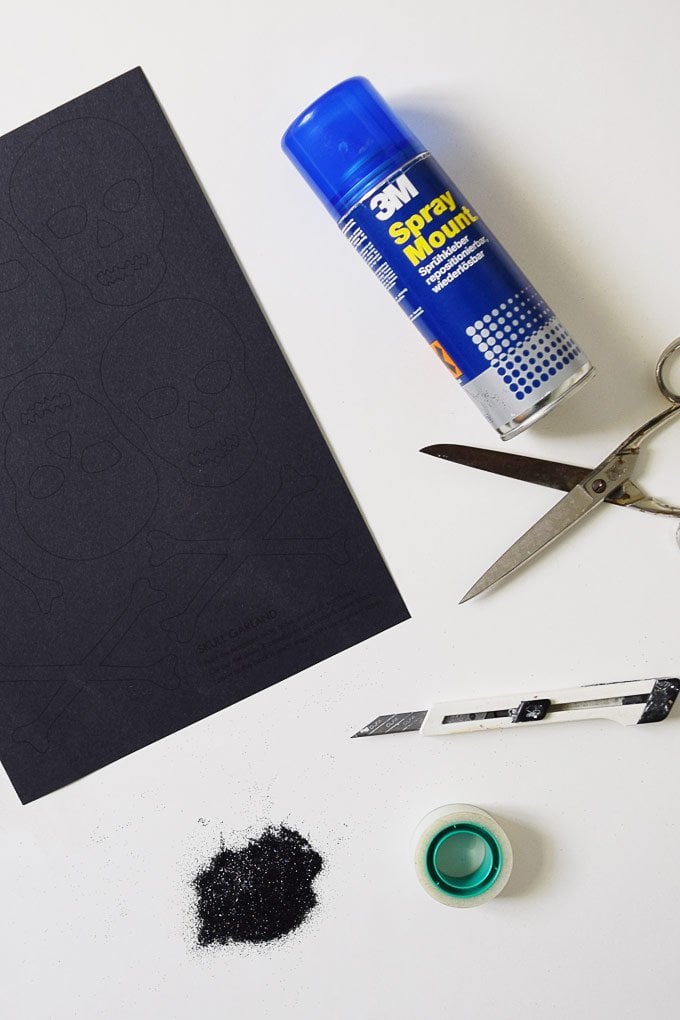
This is what you will need to make a skull garland:
This post contains affiliate links. We only recommend products we love and think that you will, too! Read our full disclaimer here.
- Black cardstock
- Free printable – you can download it here (& a printer, of course)
- Scissors and/or craft knife
- Black cotton or nylon
- Sticky Tape
- Optional: Spray glue
- Optional: black glitter
This is how to make it:
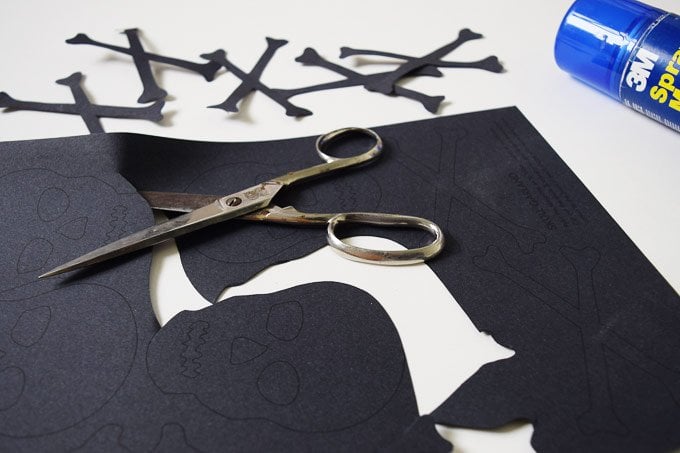
1. Start by downloading the template and printing it onto some card stock.
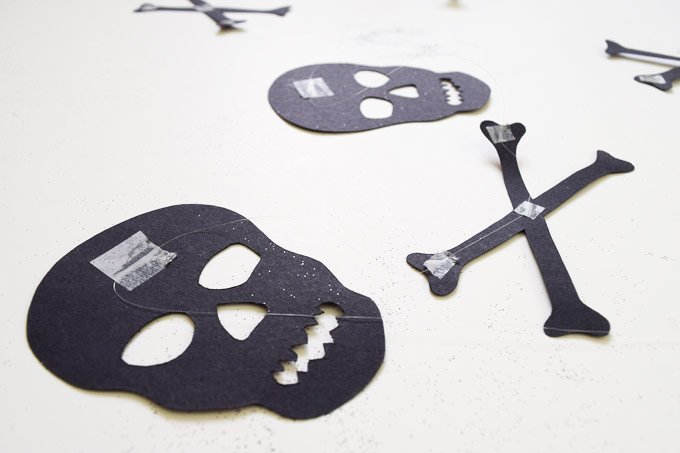
2. Cut out the skulls and crossbones with some scissors and a craft knife.
3. If you want a bit of sparkle like we did, now is the time to get out the spray glue. Cover the surface where you’re spraying to keep everything clean and glue free before giving the shapes that you want to cover in glitter a fine and even spray of glue. Then just shake over some glitter.
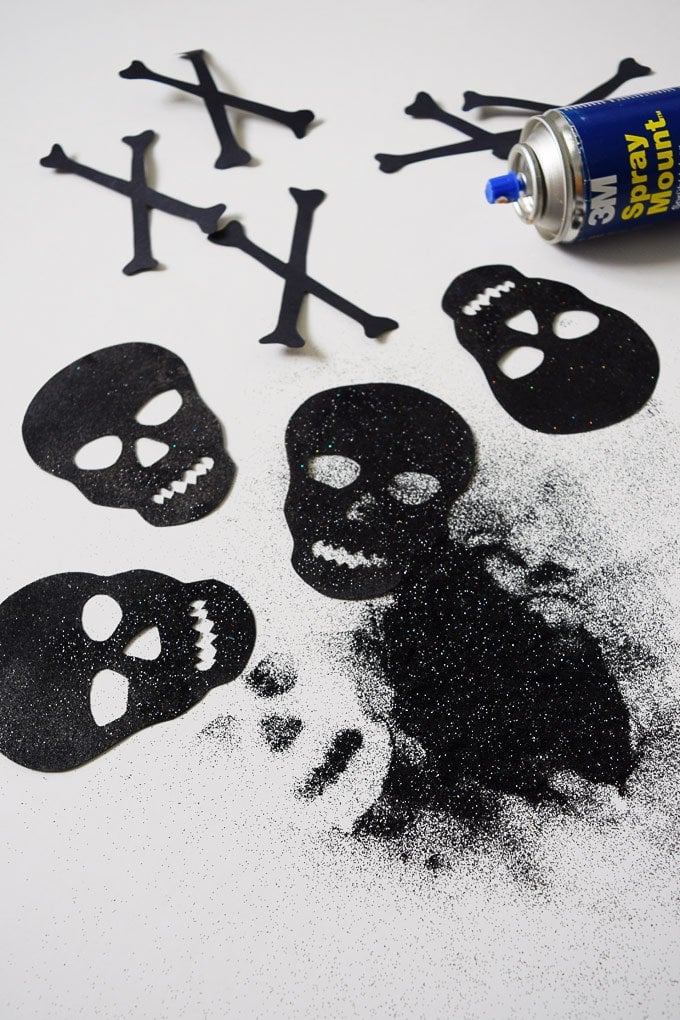
4. When the shapes have dried tap off the excess glitter. Turn them over and attach some nylon or black cotton thread to the backs with some stick tape.
5. Hang up your garland & enjoy!
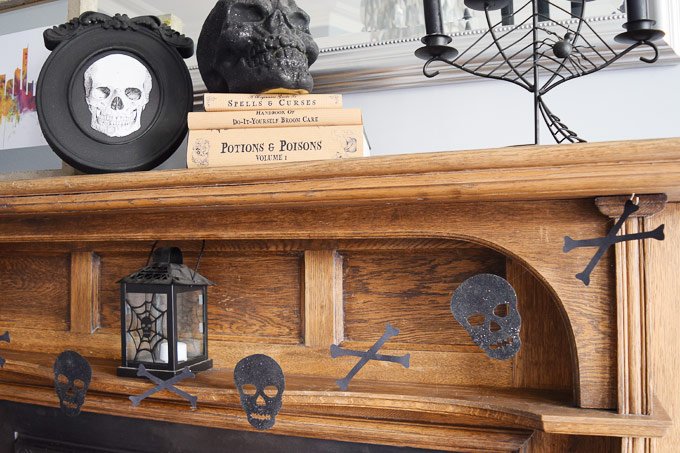
Nothing quite says Halloween to us like a skull & crossbones! It’s only took us about 20 minutes to make this Halloween skull garland (told you it was quick!) and with the sparkle of the glitter it’s definitely a fun addition to our Halloween decorations?
Do you decorate your home for Halloween?


Leave a Reply