I’ve always wanted to learn how to throw pottery and, whilst I can’t exactly say that my latest DIY project falls into the full-on creative pottery category, our modern DIY geometric plant pots are a lot of fun to make and definitely easier than real pottery!
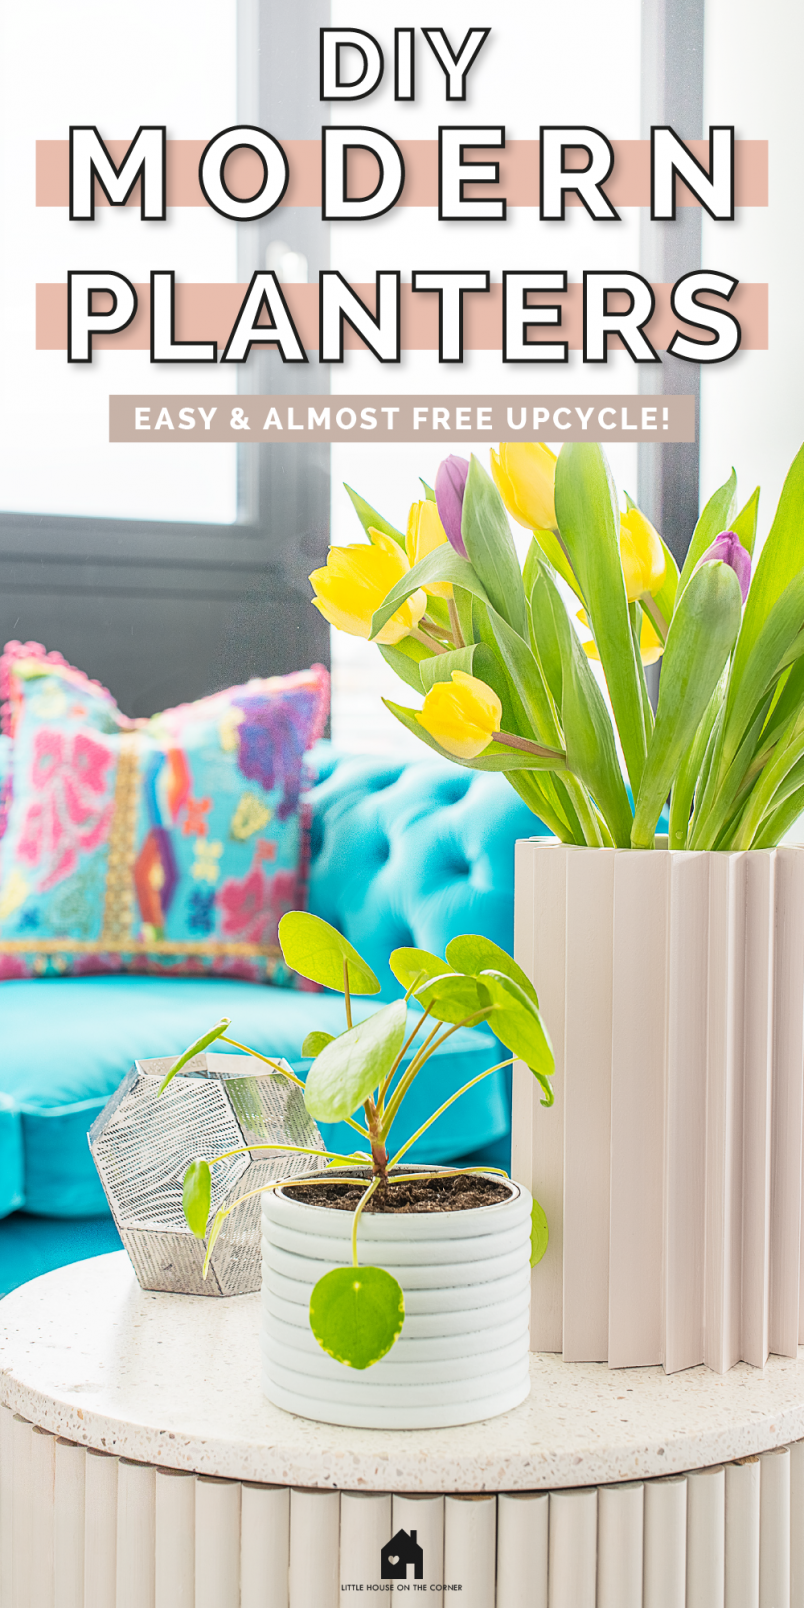
Would you have guessed that these were made from draught-proofing tape and old tins of tomatoes?
Seriously, I’m not joking! These upcycled plant pots were so easy to make and you could almost class this project as recycling, too!

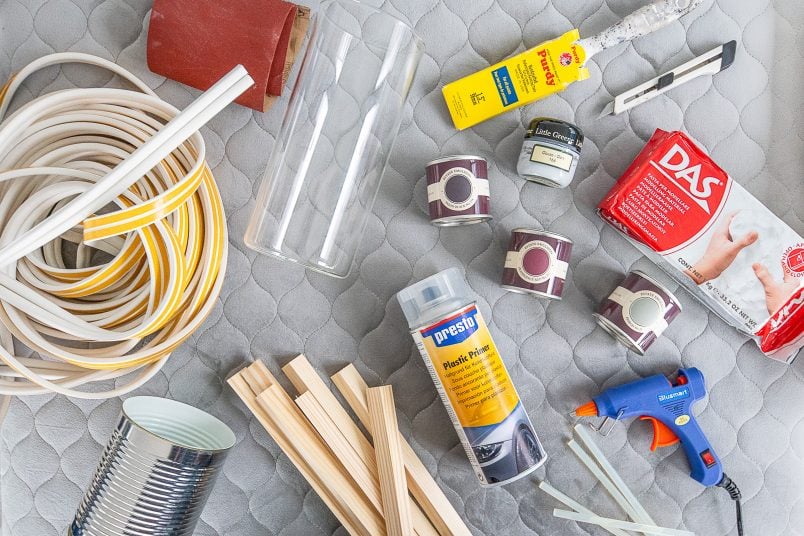
If you’d like to make these DIY geometric plant pots yourself, this is what you will need:
This post contains affiliate links. We only recommend products we love and think that you will, too! Read our full disclaimer here.
For all vases:
- Old vases, pots or cans (we used a combination of empty tomato cans & glass vases – anything cylindrical will work!)
- Scissors & craft knife
- Paintbrush
- Glue gun & glue sticks (we have this cheap glue gun that works well and is super affordable)
For the bubble plant pot:
- Airdry clay
- Paint
- Optional: Varnish
For the zig-zag geometric plant pot:
- Triangular wooden dowels (ours are 18 x 18mm)
- Mitre saw (or a fine saw – you only need to make a few cuts)
- Wood filler
- Sandpaper
- Paint
- Optional: Varnish
For the horizontal striped plant pot:
- Rubber draught-proofing seal
- Primer
- Paint
- Optional: Varnish
- Optional: Caulk or wood filler
This is how to make these upcycled modern plant pots:
For the horizontal striped plant pot:
- Give your vase, pot or can a good clean.
- Stick the tape to it – it comes with a sticky back. Just peel off and stick in place. When you’ve wrapped it around your pot, snip off the excess. If you find that the tape doesn’t stick as well as it should, just add a couple of blobs of glue with the glue gun to securely attach the tape to the pot.
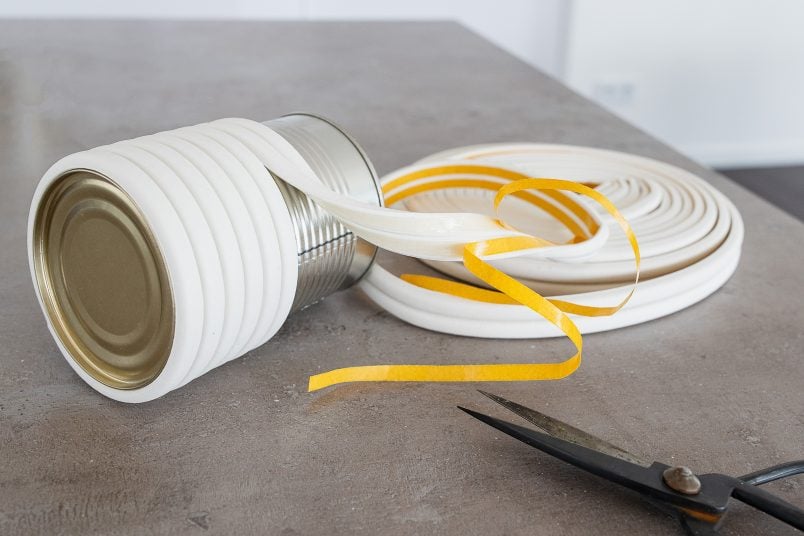
- To end up with an almost invisible join, cut the tape a bit longer and squash the ends together. If you cut a strip to short you can easily pull it off the can and stretch it a bit while you reattach it to create a better join.
If you still end up with an untidy join where the two ends of the tape meet, you could fill it with some caulk or flexible filler but the paint will cover most imperfections.

- Give all of the rubber seal a coat of primer. We used a super adhesive primer which is great for painting anything really smooth like plastic. It’s what we used to prime our lightswitches before we painted them and they help up amazingly well without a scratch in sight! I know that painting your switches and sockets seems completely bonkers but we still can’t believe how well it worked and it’s definitely something we’ll do again!
- When the primer has dried, give the pot a coat of paint. We used a random mixture of paints from tester pots and paint we had leftover from other projects. It’s definitely best to use a paint that you would use for metal or wood.

- If you use emulsion to paint the pots, we’d recommend sealing the surface with some varnish for a more durable finish.
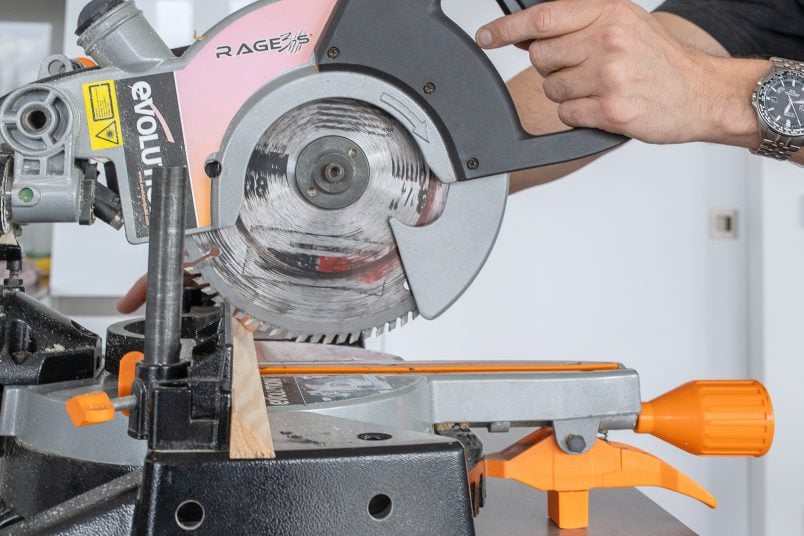
For the zig-zag geometric plant pot:
- Give your vase, pot or can a good clean.
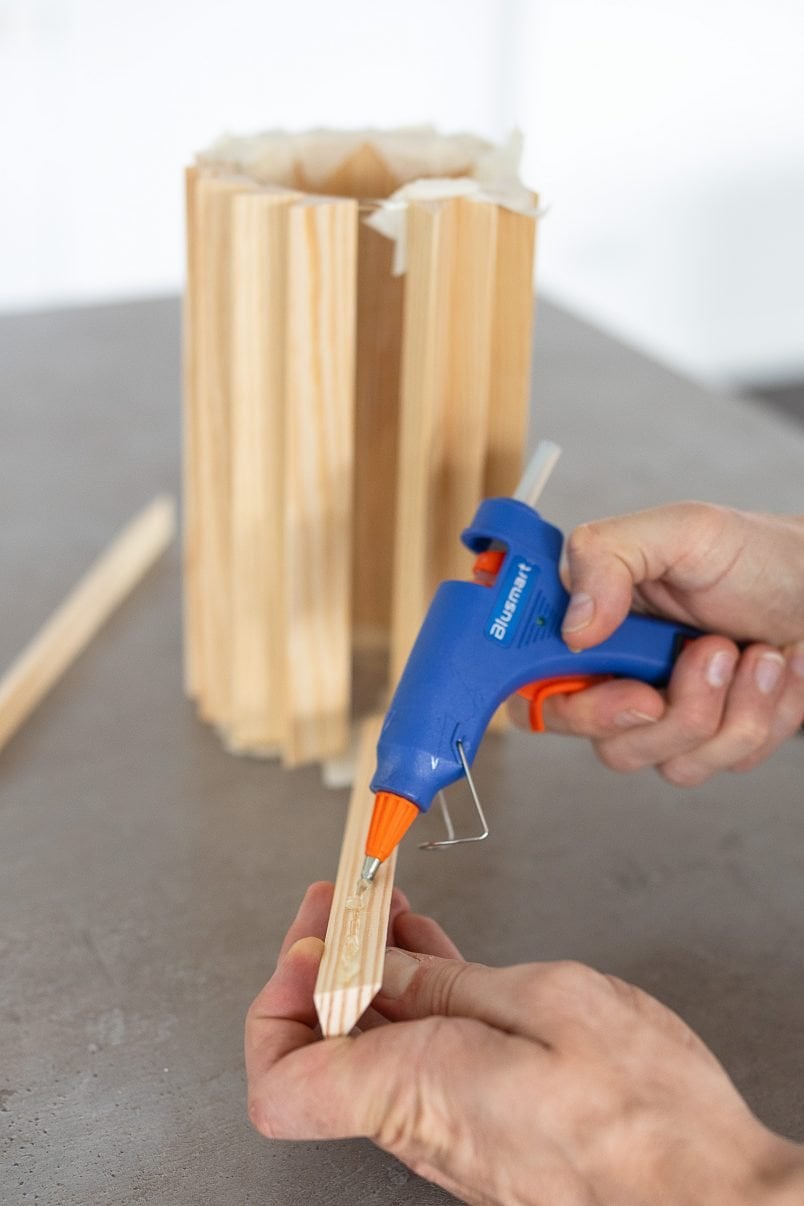
- Cut the dowel into strips that are the height of your vase with your mitre saw (or fine saw) and give any rough edges a sand with some sandpaper.
- Glue the sticks to the vase with the glue gun.
Depending on the circumference of your pot, you may have to leave small gaps between each of the wooden dowels so that you don’t end up with one big gap at the end, so having a test run before you glue anything together is definitely a good idea!
As you can see, we taped all of the dowels to the vase before we glued them in place to make sure that everything fitted perfectly.
- Fill any gaps around the top of the vase with some woodfiller and sand the surface so that it’s smooth.
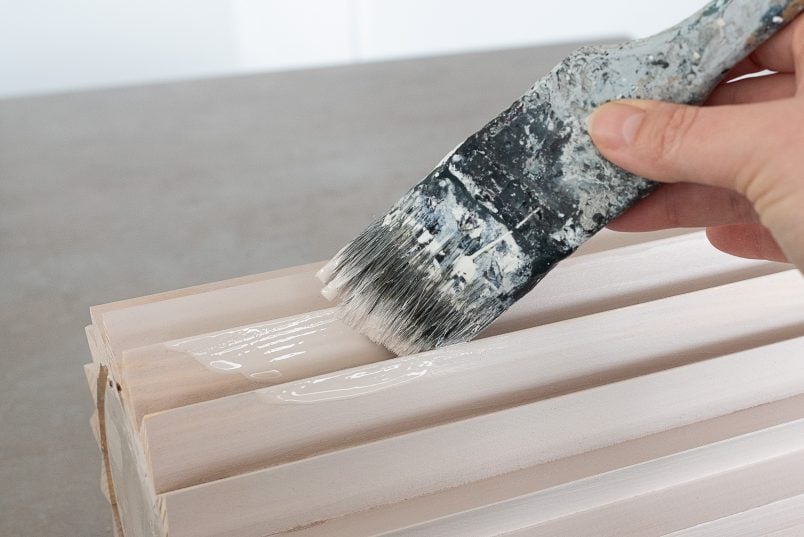
- Give everything a coat of wood primer and let it dry before painting everything in your chosen paint finish. As with the horizontal striped pots, you may want to varnish your painted plant pot to make it more durable.

For the bubble plant pot:
- Give your vase, pot or can a good clean.
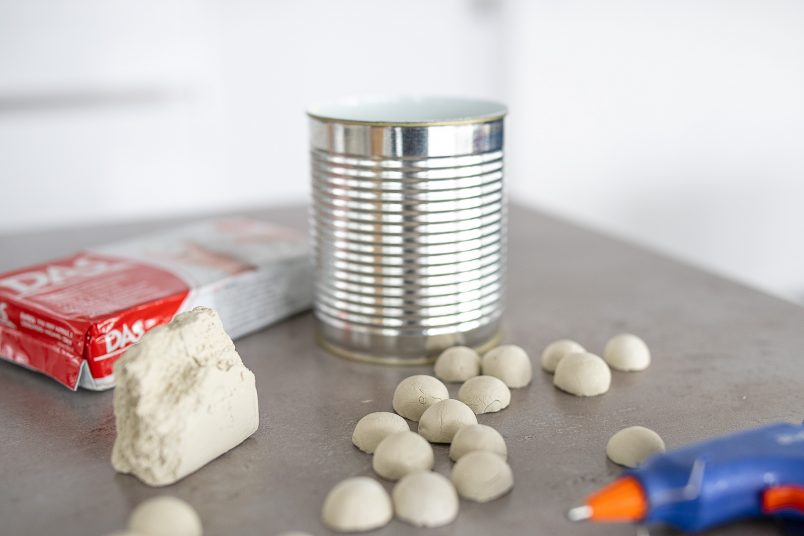
- Roll the airdry clay into balls and cut them in half before letting them dry. Don’t worry if you squash them while cutting as you can easily push them back into the shape you want. You can make the balls in any size you want and even use a mixture of large and small ones. Ours are all roughly 20mm in diameter.
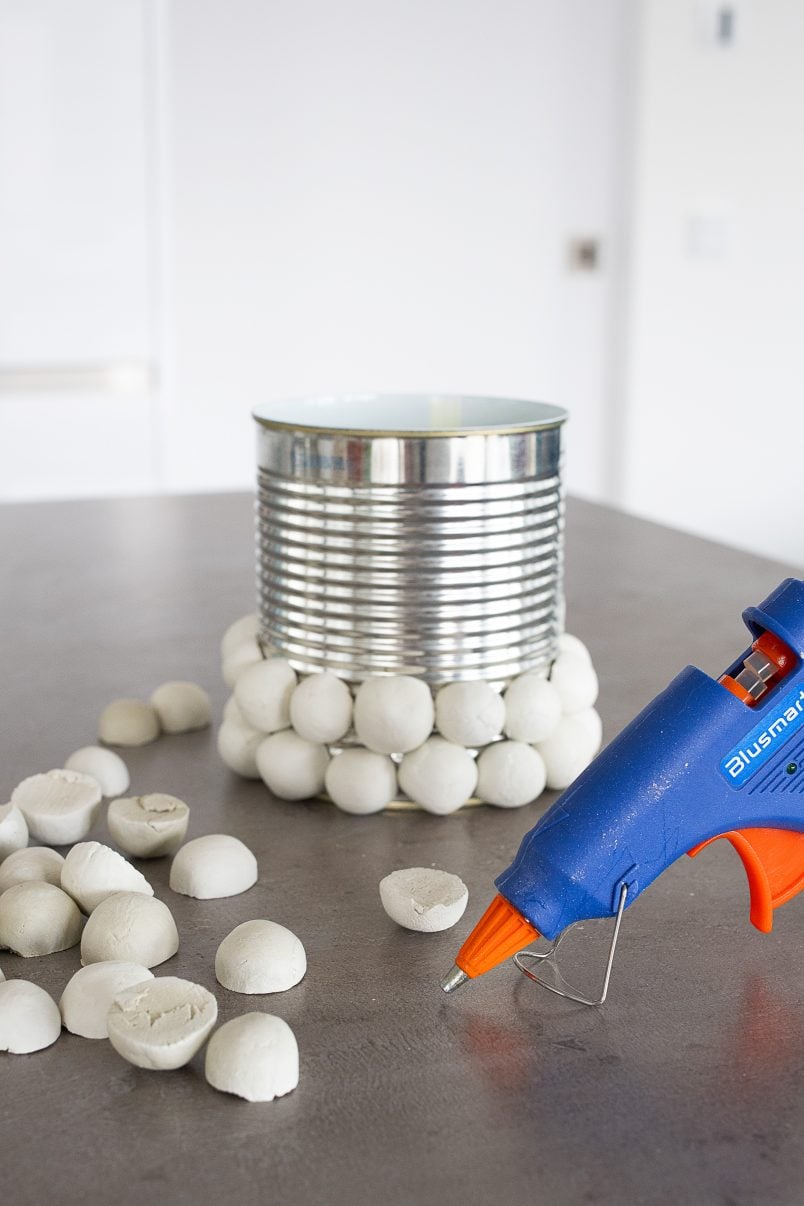
- When the clay has dried, glue each half ball shape to the vase or can with a glue gun. Don’t be tempted to stick them to the can when they aren’t completely dry as they will fall off!
- As with the other two modern plant pots, the last step is to apply a coat of primer followers with a coat or two of paint.
- Don’t forget to add a coat of varnish if you’re using emulsion to make these pots more durable!
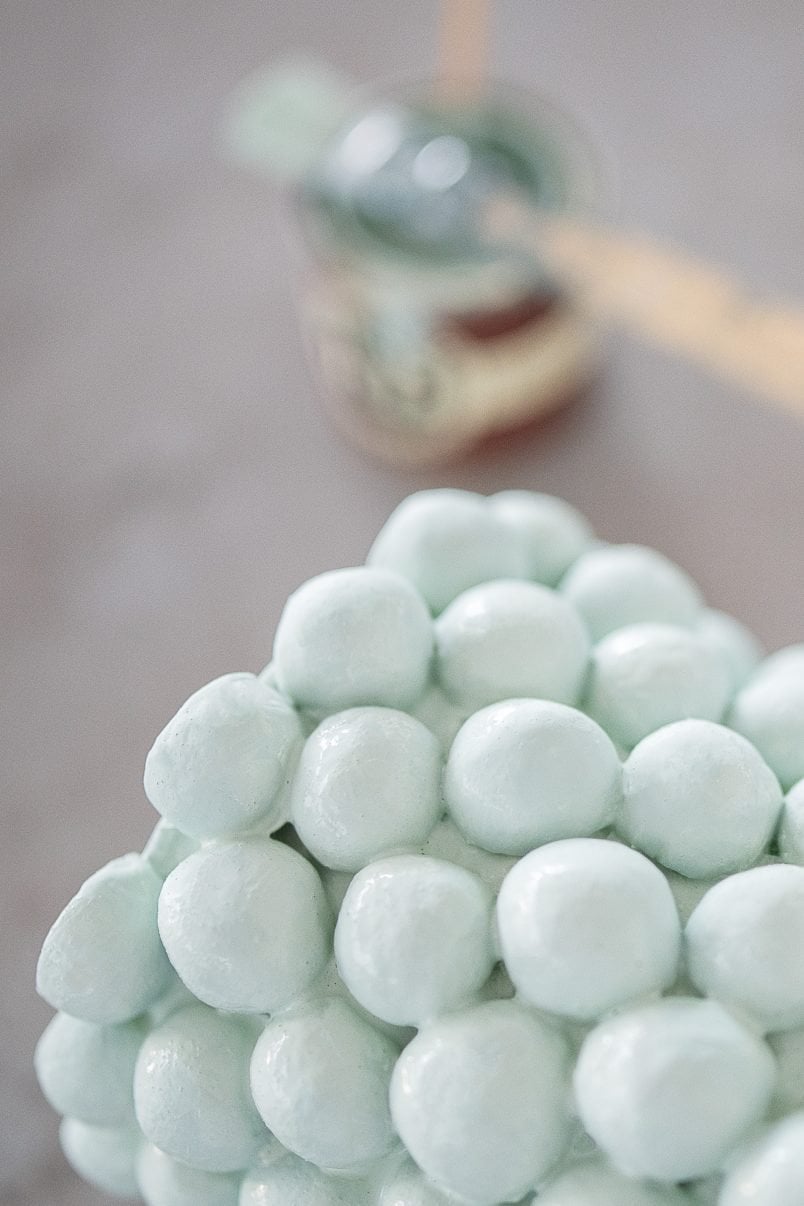
The bubble pot definitely turned out a bit more rustic than the other two but it’s still a lot of fun. If you want more perfect blobs you could use polystyreen or wooden half balls instead of making them out of clay.
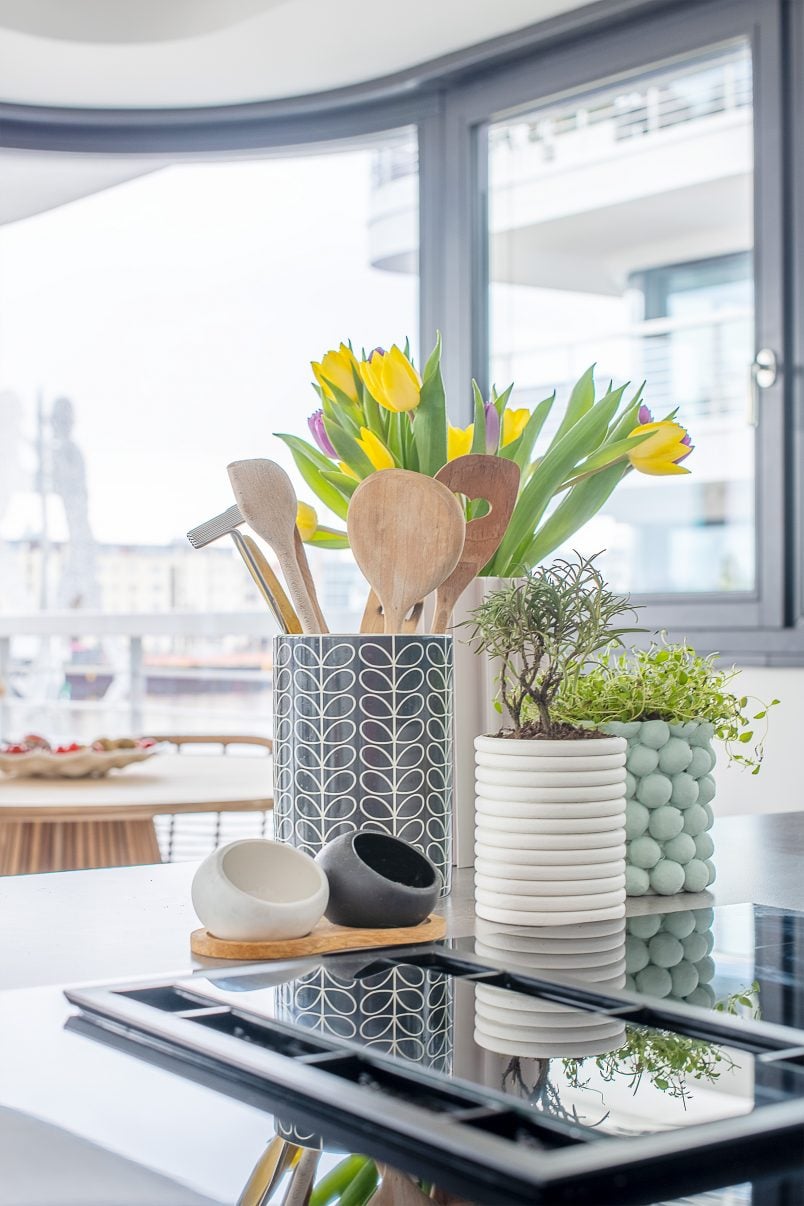
And that’s all there is to it! It only took about an hour to make all three of these DIY geometric plant pots and they were super affordable to make, too! The empty cans were free and in total each of the pots only cost a couple of Euros to make.
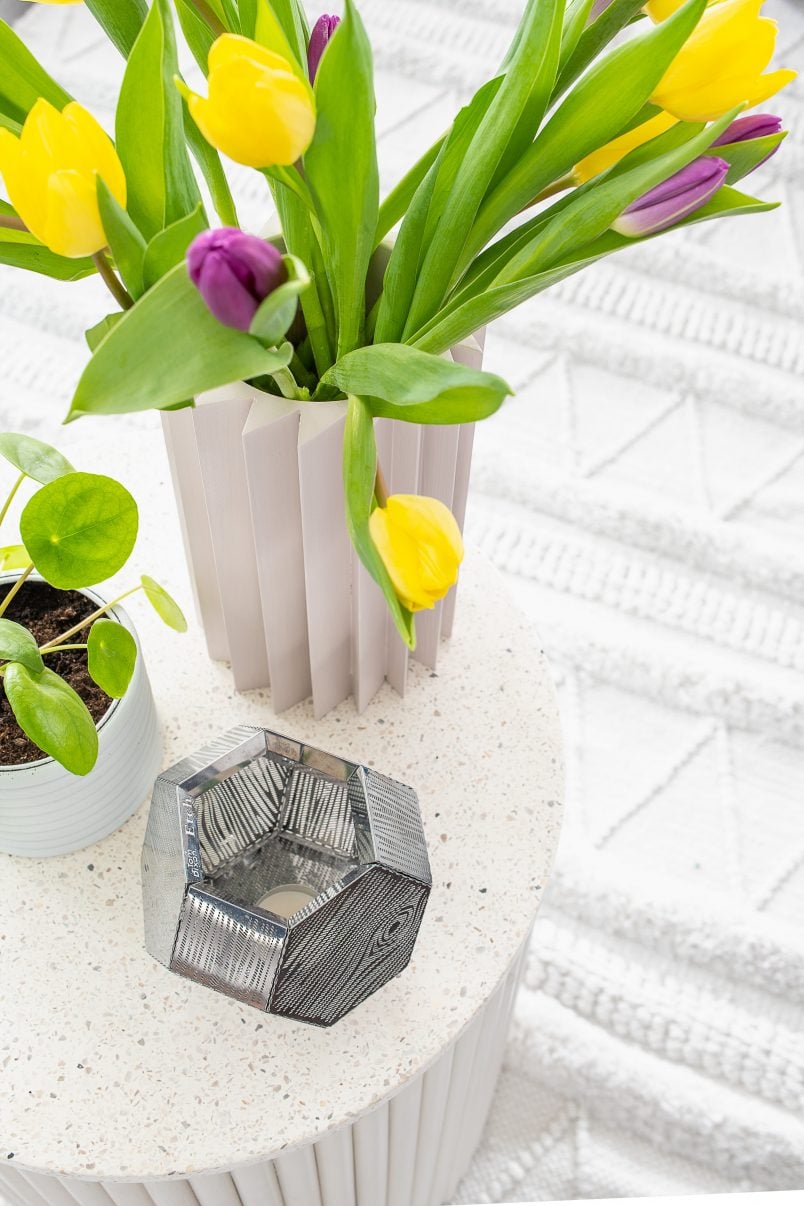
All that’s left to do is pop a bit of soil into the pot and add a plant! or some flowers I’m sure our herbs are much happier in their new pots, too!
These DIY geometric plant pots would make a perfect gift, too! Just fill them with some pretty flowers or a nice plant and you’ve got a great personalised gift!
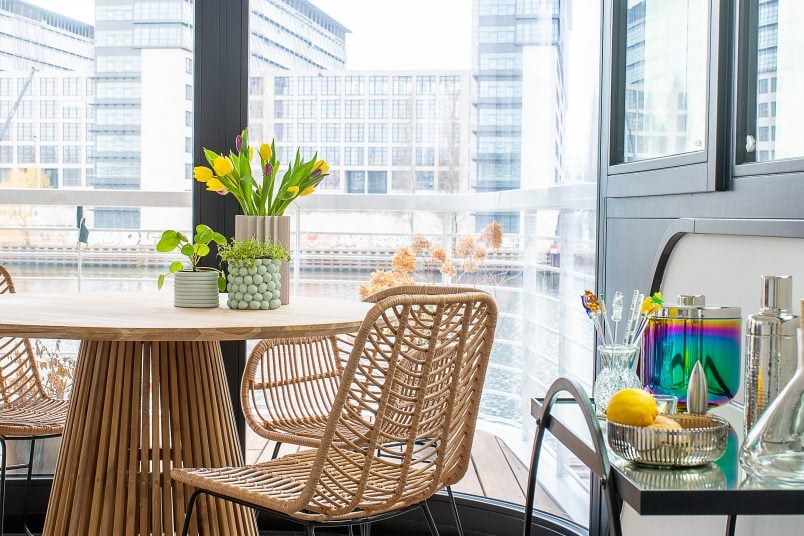
We think they look like plant pots you’d find in a fancy designer shop!
Would you have guessed that these modern geometric planters are so cheap and easy to make out of a couple of simple supplies? Do you love receiving handmade and personalised gifts as much as we do? I’d love to learn how to throw pottery – do you have something that you’ve always wanted to learn, too?
Leave a Reply