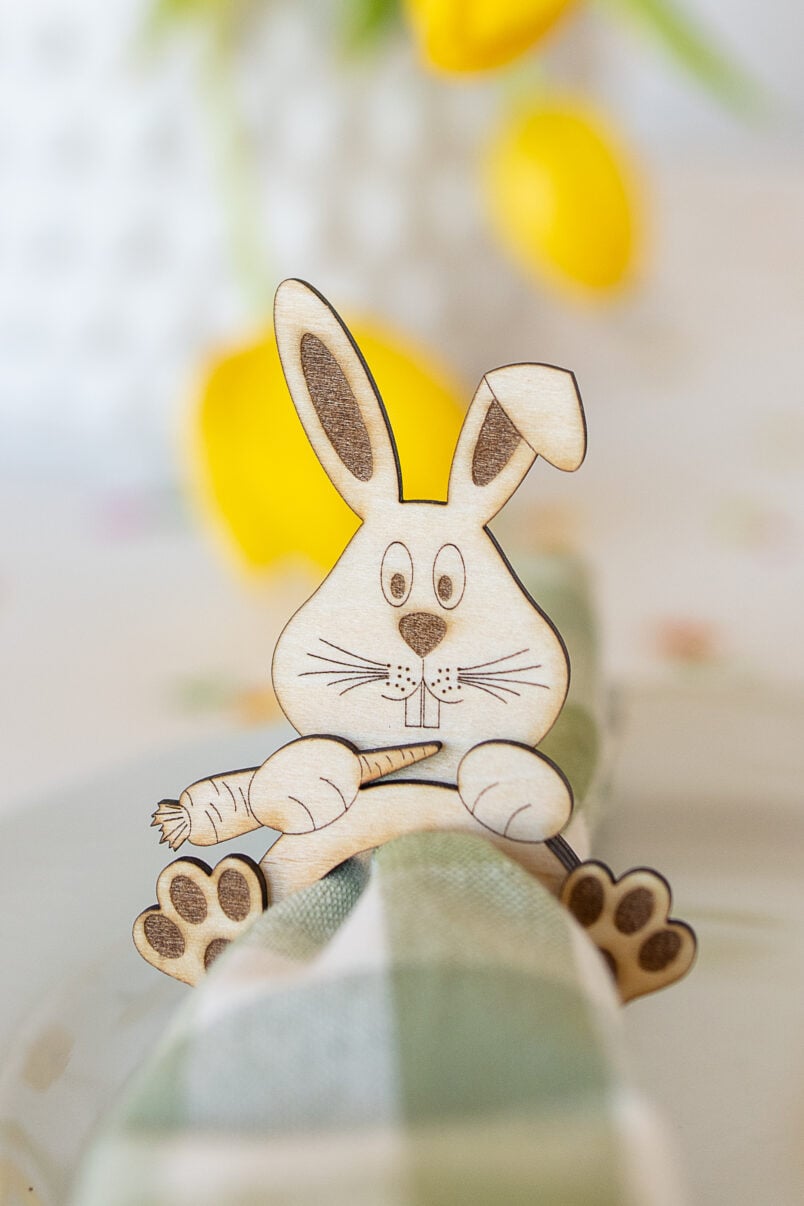
There’s something about springtime that always makes me feel creative, and these DIY Easter bunny napkin rings I just finished making are the perfect quick and easy addition to your table decor this Easter.
We have big plans for Easter and I can’t wait to share these adorable bunny napkin rings with our guests as I’m sure they’ll love them as much as we do.
Another great thing about these DIY Easter bunny napkin rings is that they’re not only quick to make, but they’re also extremely affordable, too. Each napkin ring only costs a few cents to make!
This post contains affiliate links. We only recommend products we love and think that you will, too! Read our full disclaimer here.
This is what you will need to make your own DIY Easter bunny napkin rings:
- 3mm Basswood
- Wood glue
- DIY Easter bunny napkin ring template
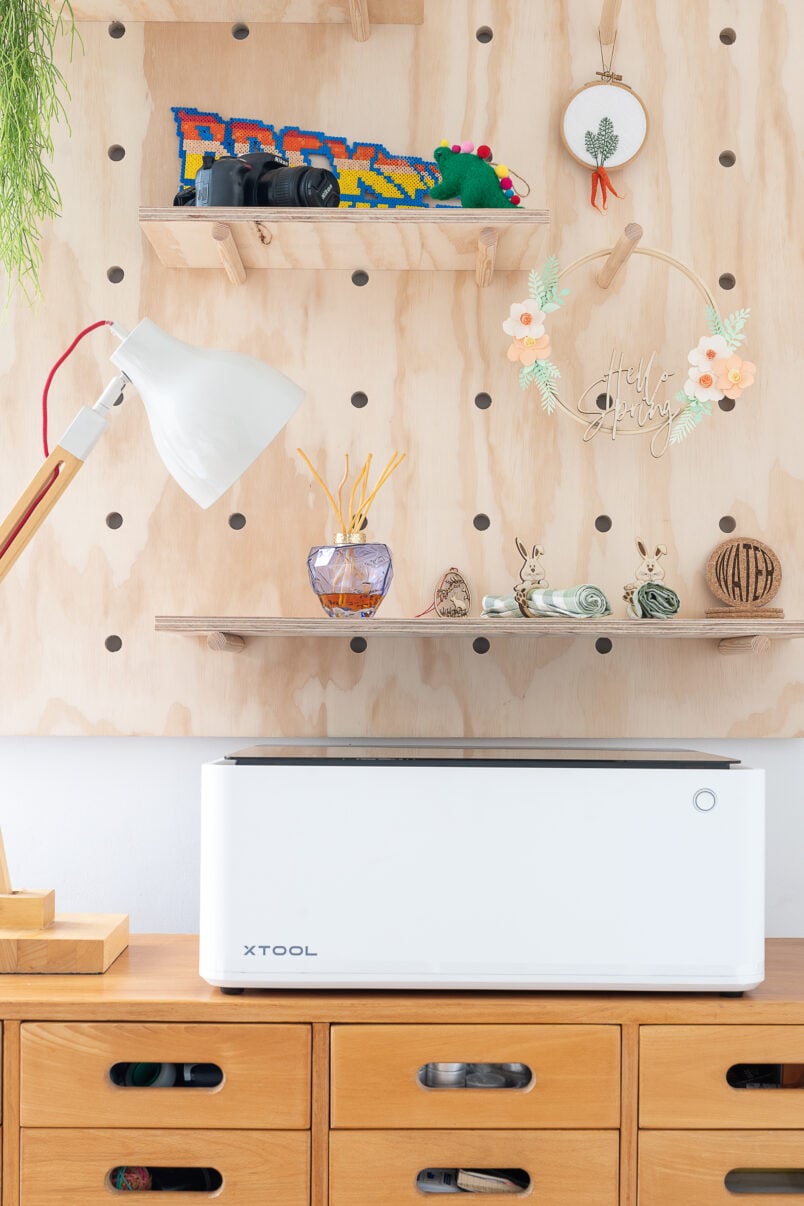
- Laser cutter – we used our amazing new xTool M1 (previously gifted) but you could use any laser machine like a Glowforge or even Cricut Maker
This is how to make these adorable DIY Easter bunny napkin rings:
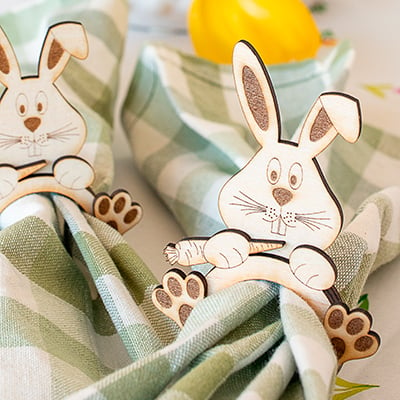
These fun bunny napkin rings only take minutes to make and are a perfect addition to any Easter table decorations.
Step 1
Download The Template
To make this craft project as easy as possible, we created an SVG file with the template to make the bunny napkin rings for you. All you have to do is download it and you can start cutting out your bunny napkin rings straight away.
Get The Template!
Download the DIY bunny napkin ring template to make your table decorations extra special this Easter.
Step 2
Cut The Napkin Rings
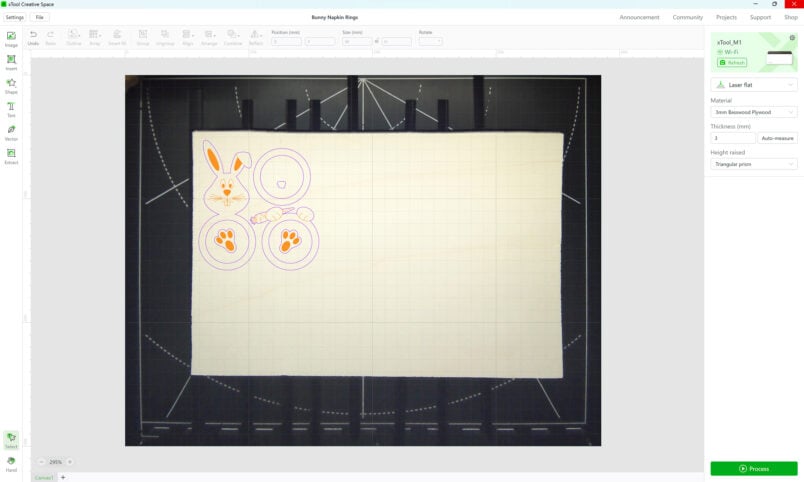
Upload the file to your cutting machine and adjust the settings as necessary. You want the outline of the bunnies to be cut and the details on the face, carrot and paws to engrave.
We made these napkin rings with our new laser and blade-cutting machine (previously gifted) but you could easily adapt this tutorial and make them out of thick cardboard, too. They probably won’t be as durable but they’ll definitely still look just as cute as part of your table decorations.
The xTool M1 is really easy to use and it’s just a matter of dragging the file into the software, adjusting the settings to the thickness of your material and then waiting for the machine to do all of the hard work.
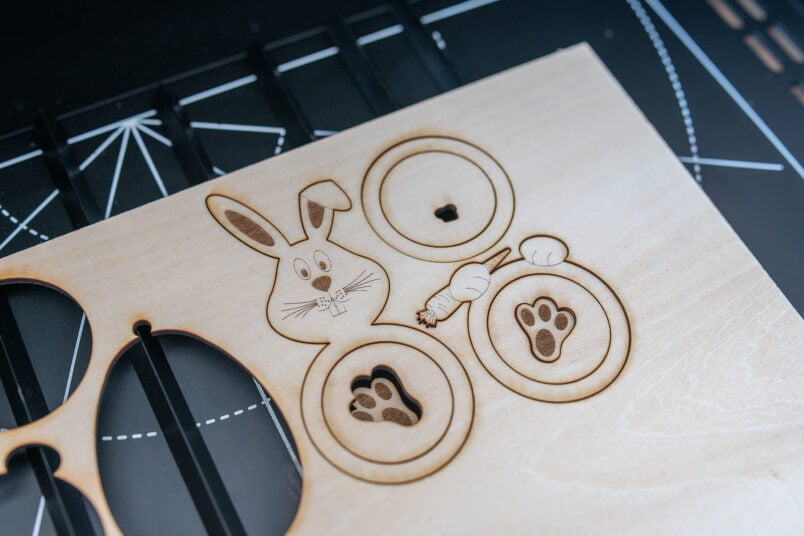
In total it took just over 9 minutes to cut one bunny napkin ring out of 3mm basswood on our machine.
If you are making the napkin ring without the help of a laser cutter (although that’s what we recommend), I’d suggest printing the bunny file and sticking it to some thick cardboard before cutting it out with a craft knife. It obviously won’t be as quick (or durable) to make them this way but they should look just as cute.
Step 3
Assemble The Napkin Rings
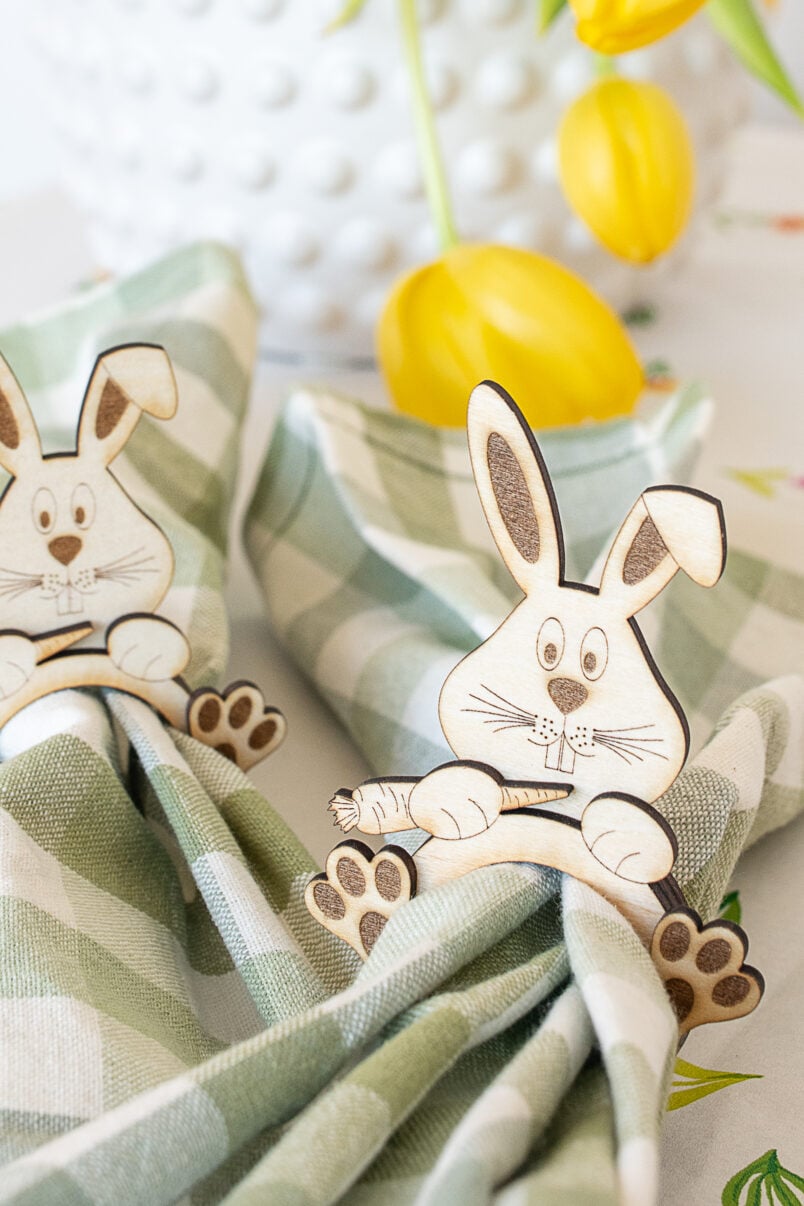
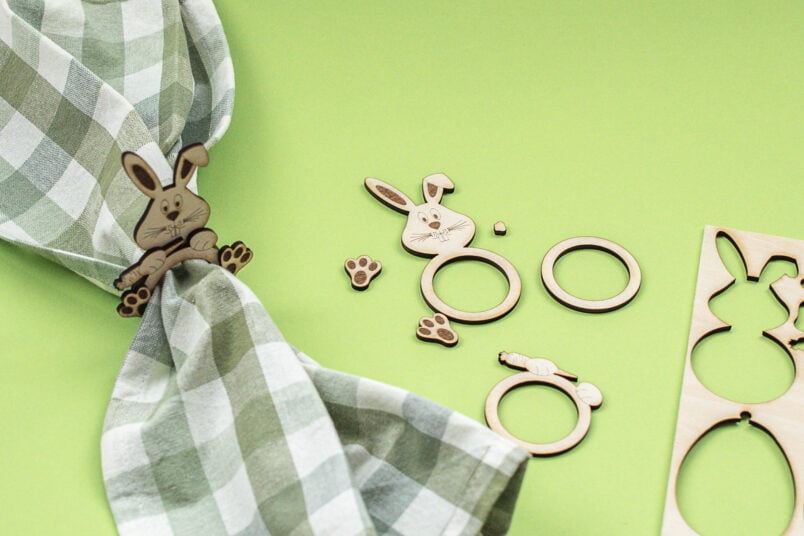
The napkin rings are made up of 5 separate layers that you have to glue together with the help of some wood glue.
Start by sticking the 3 main layers (the body & head, the front paws & carrot and the back body layer) together first. Then position the paws on the front ring and the little bunny tail on the middle of the back ring.
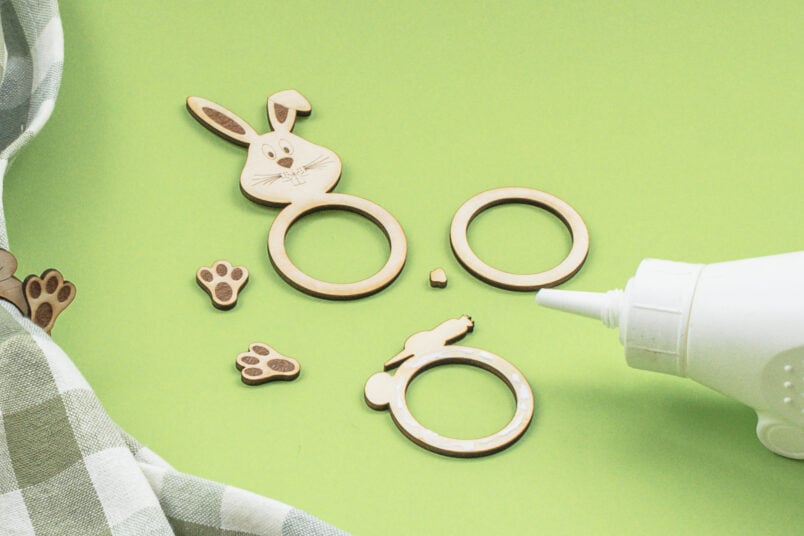
It takes less than a minute to assemble each napkin ring. I assembled them all in one go but you might find it easier to let the glue dry slightly between attaching each layer.
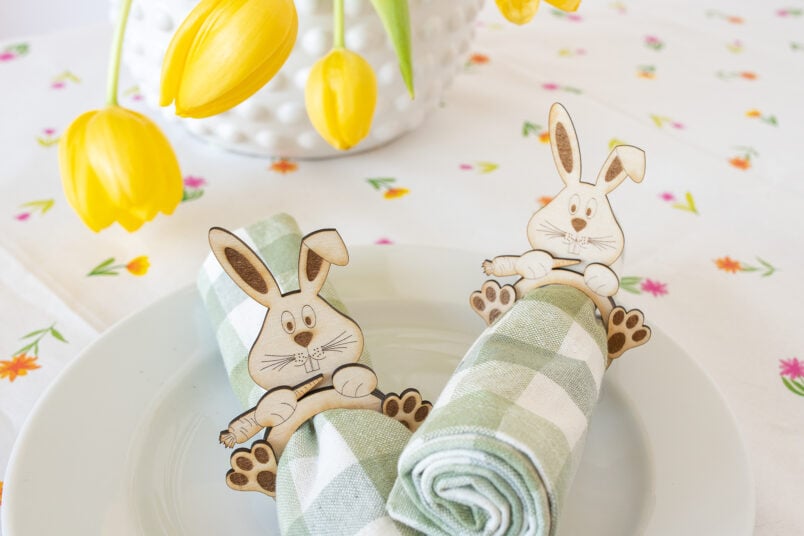
That’s all there is to it! All you need to do now is pop a napkin into the bunny ring and decorate your Easter table.
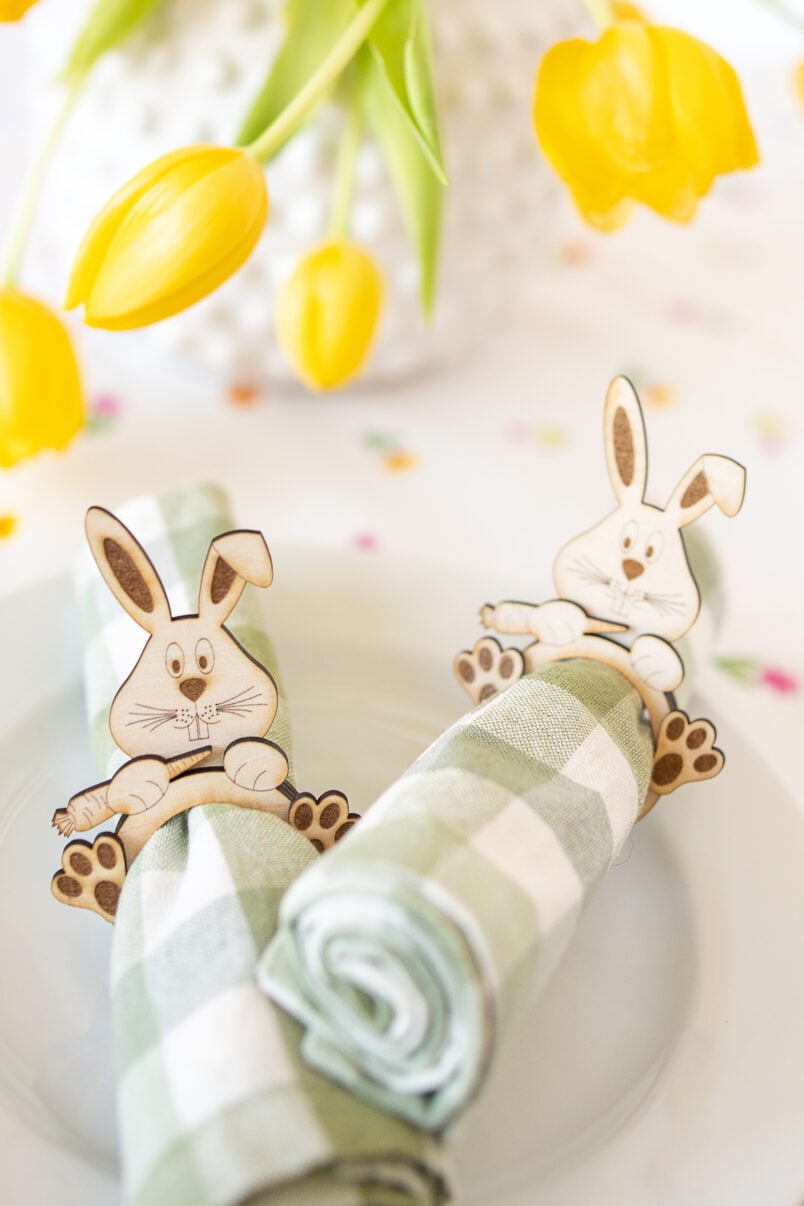
In total, the material cost to make each napkin ring is about 17 cents making this a very affordable way to add some fun to your Easter table decorations.
Don’t forget that you can get the template to make your own DIY Easter bunny napkin rings here.
Do you decorate your home for Easter? Does springtime always make you feel like trying new craft projects, too?
If you like this project, you will love these ones, too!

Leave a Reply