Ad – this post is in collaboration with Worx.
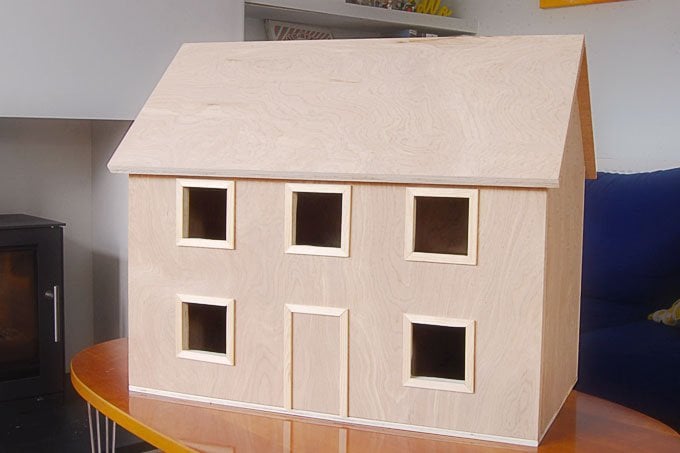
Yep, we’re totally not exaggerating – we really have…
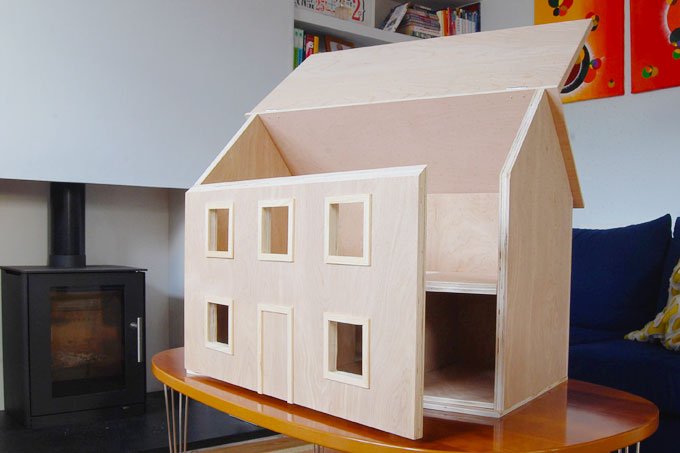
… okay, so we might have exaggerated just a bit, but it is a house, even if it’s a bit smaller than most.
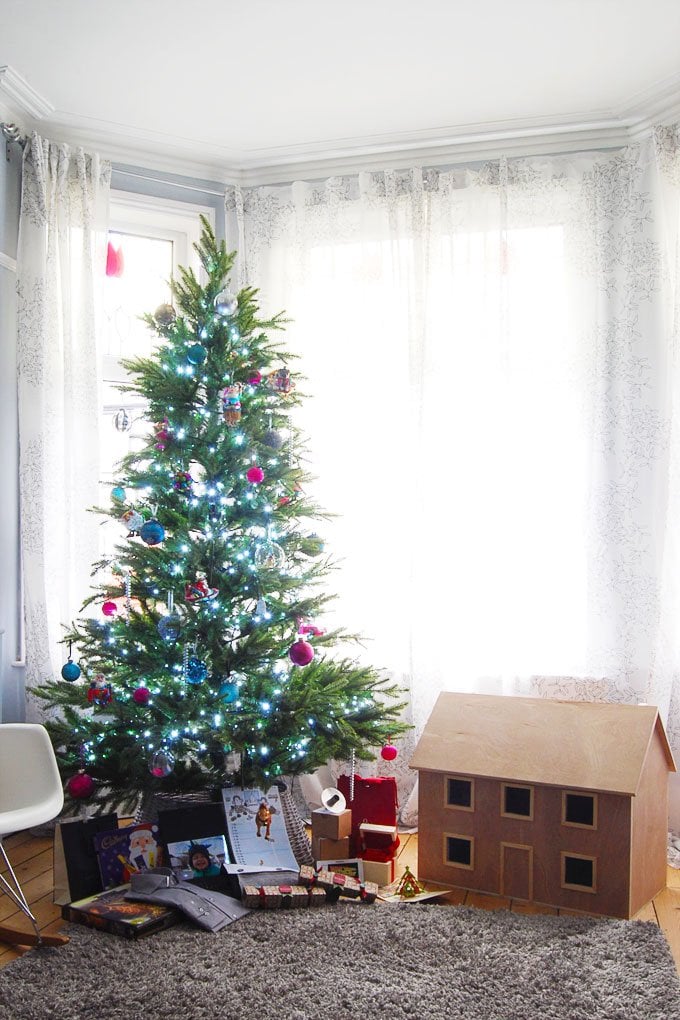
Because we’re running a bit late for Christmas gifts, we’ve decided that we’re going to give it to our niece who’s Christening it is in January (although it does look good under the Christmas tree). All in all, it probably took about 6 hours to build. Fingers crossed, our niece likes it as much as we do.
There’s a full description on the Worx Facebook and YouTube page, but this is how we made it:
1. Always ones to make our life as easy as possible, we decided to have part of the wood cut to size when we bought it. We figured that it would save us a lot of time and make it easier to transport the supplies home. Needless to say, fitting a 2,4m long piece of wood into our small car would be rather difficult (it still ended up not fitting into the passenger seat, and I had to leave Jan to drive back home on his own while I walked back).
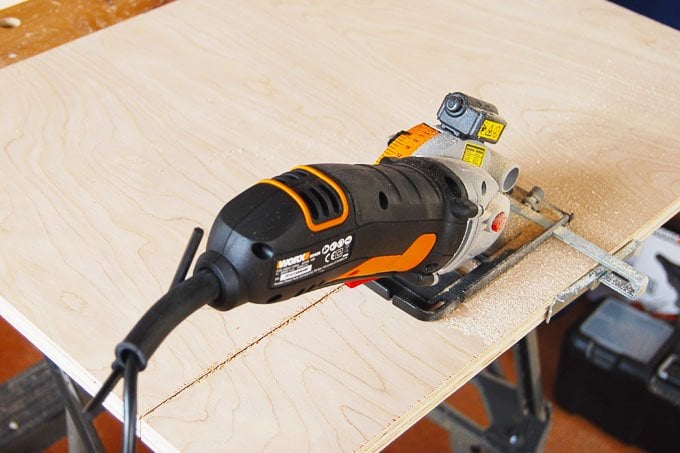
2. After finishing off the cutting, we then moved onto sanding all edges – you really want everything to be completely smooth.
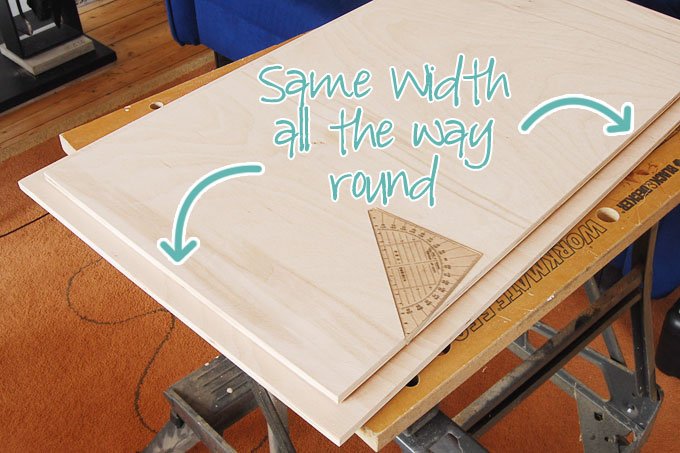
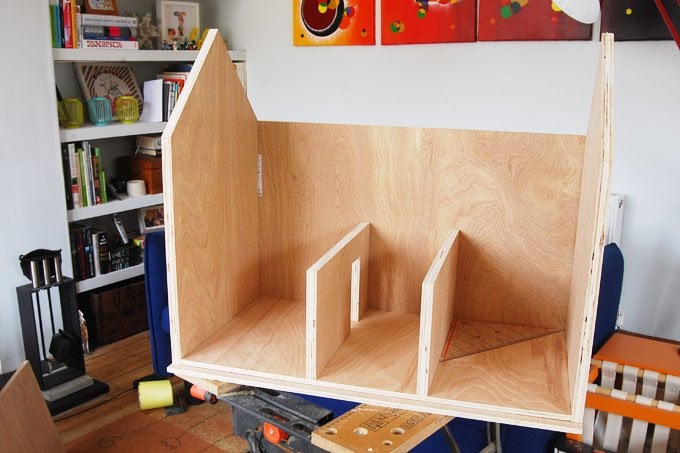
3. Next, we glued the two pieces of the base together.

Make sure that the top board is completely central and the edges are equal in width. This ridge around the edge is for the sides of the house to rest against.
Wait until the base has completely dried before adding the back and sides. At this point, we also added the internal walls.
4. While everything is drying, you can prepare the windows for the front panel. We opted for a really simple design, which we then cut out with the Worx Sonicrafter. Because this was the first time that we’d ever used this tool, we found it tricky to achieve a perfectly straight and tidy edge. That’s why we added a little frame around the window to cover our less-than-perfect cutting. I guess we just need a bit more practice using our new tools.
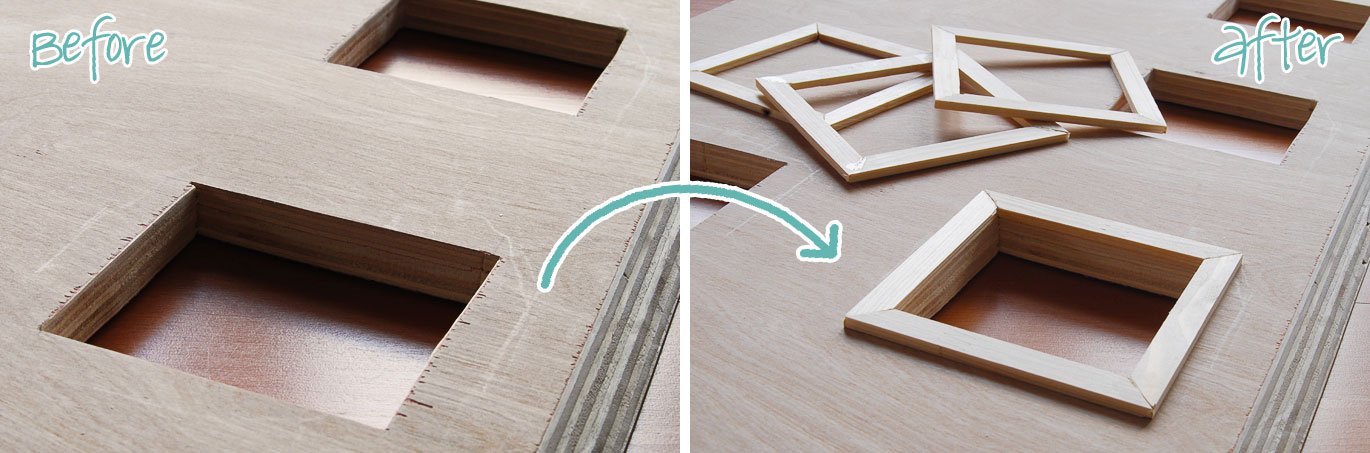
We also used to make the hole in the first floor for the stairs before gluing the floor into place.
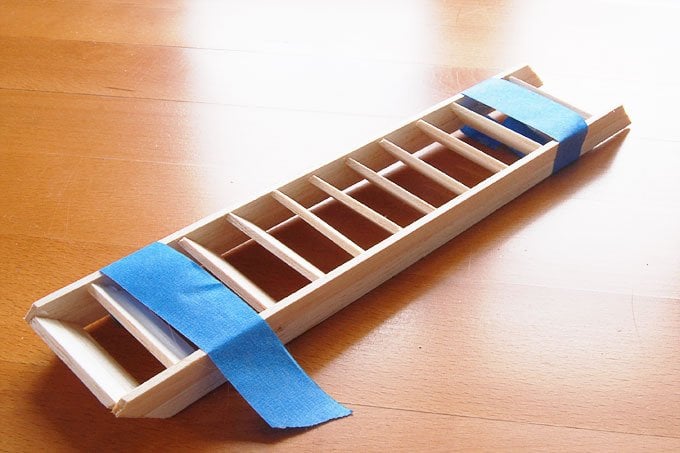
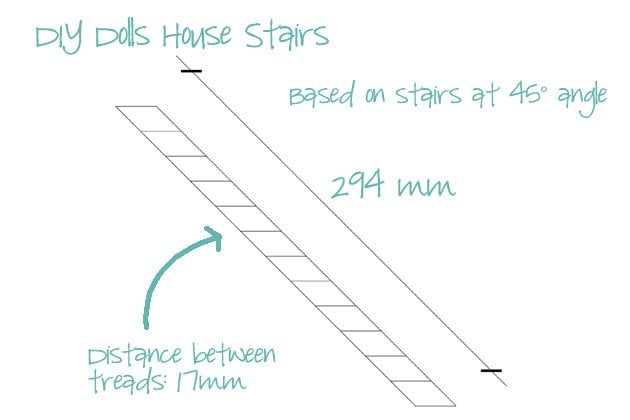
5. The actual stairs were pretty straightforward to make. Bass (or Balsa) wood is really soft and so easy to cut with a craft knife. Adding the treads was a bit fiddly, but we found that temporarily securing everything with some masking tape really helped keep everything in place until the glue had dried.
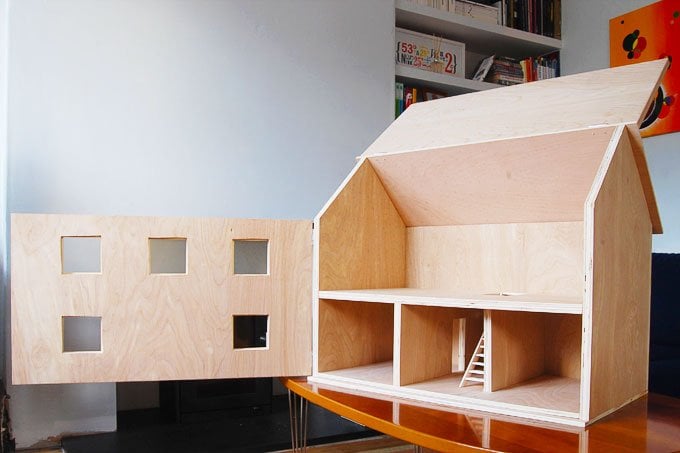
After glueing the stairs into place, all that was left to do was glue the back piece of the roof into place before attaching the finished front panel and the front roof panel with some small hinges.
Making the house was surprisingly easy, but here are a few tips to make things even easier.
- If you’re planning on building this house, we’d recommend using the Worx XL circular saw rather than the smaller Easy Plunge one that we used. The main difference is that the larger saw allows you to cut bevelled edges.
- To make sure that you get perfectly straight lines when you’re cutting the diagonal parts of the sides, clamp a piece of wood to use as a guide. The little ruler guide is great, but it’s obviously not too much use when you want to cut diagonal pieces.
- The roof of the dolls house in the video has a little overhang over the sides of the house. If you’d like to achieve that look, you’ll have to cut the roof pieces larger than in the Worx description on the Facebook and YouTube pages – just add a few cm to each side (we made ours 74mm wide).
- The Sonicrafter tool takes some getting used to. Have a practice on an offcut of wood first, don’t worry though, it’s quick to get the hand of.
- We found the measurements for the stairs a bit vague, so calculated our own. Our staircase is 55 mm wide, but it’s totally up to you as to how wide you’d like it to be.
- If you’d like to make the house out of just one large sheet of wood (like we did), this is what you’ll need:
- 1 x 2440x1220x18mm Plywood board (you could use MDF or any other wood, but we like the look that plywood achieves and are planning on keeping it untreated. It’s also really affordable.)
- 1 x 1829x607x9mm Plywood board (again, the choice of wood is up to you)
- 4 x Hinges & Screws – We used 38mm butt hinges
Have you ever built a dolls house? Do you enjoy working on fun projects as much as we do? Wouldn’t this make the best Christmas present ever?
Leave a Reply