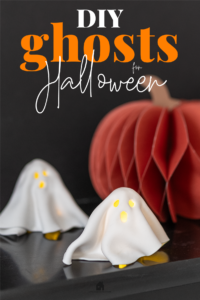
Every year, we add a few new items to our collection of Halloween decorations, and as promised earlier this week, we’re sharing them with you, too!
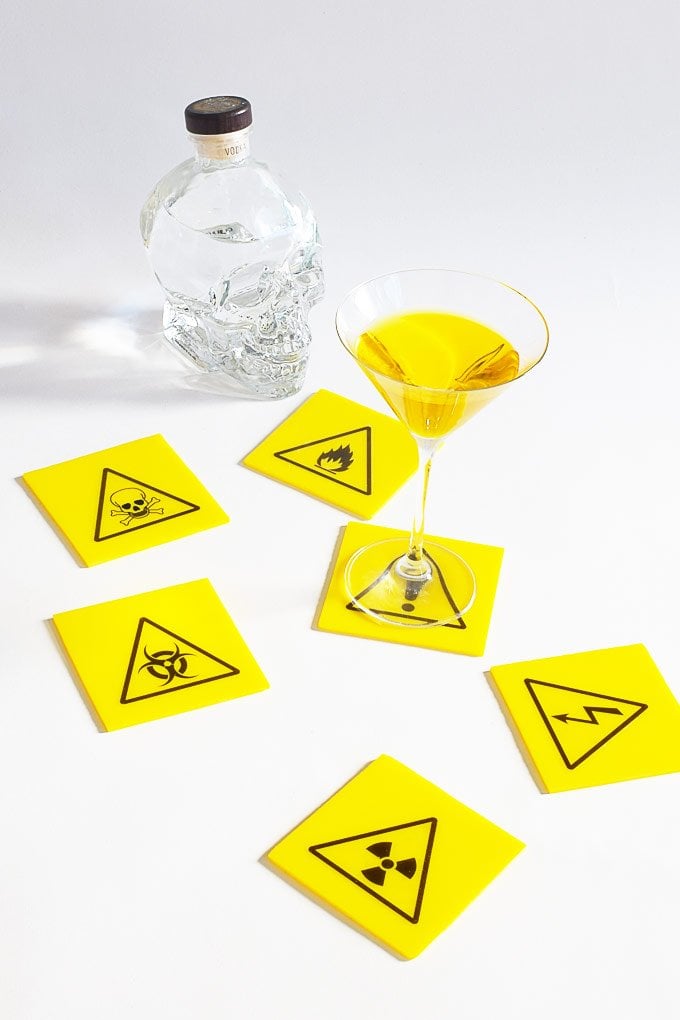
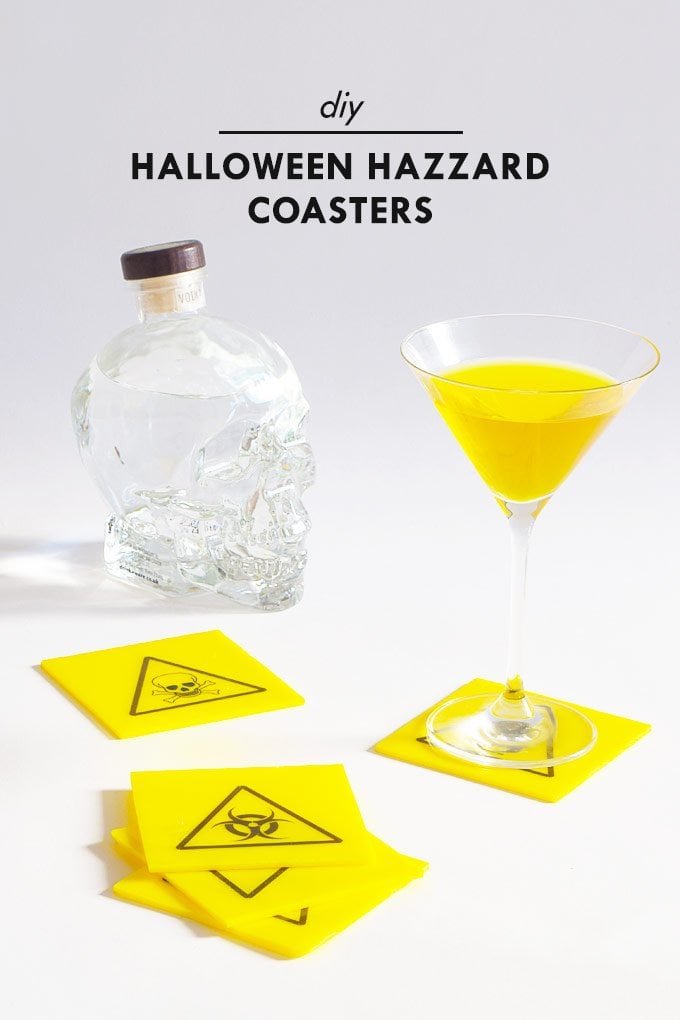
Yesterday, we shared our DIY Halloween Votive Candles, and today, we’re sharing our DIY Halloween coasters! They’re really easy and quick to make and definitely add a splash of colour to our otherwise dark decorations.
If you’d like to make your own DIY Halloween coasters, this is what you will need:
This post contains affiliate links. We only recommend products we love and think that you will, too! Read our full disclaimer here.
This is how to make your DIY Halloween coasters:
Step 1
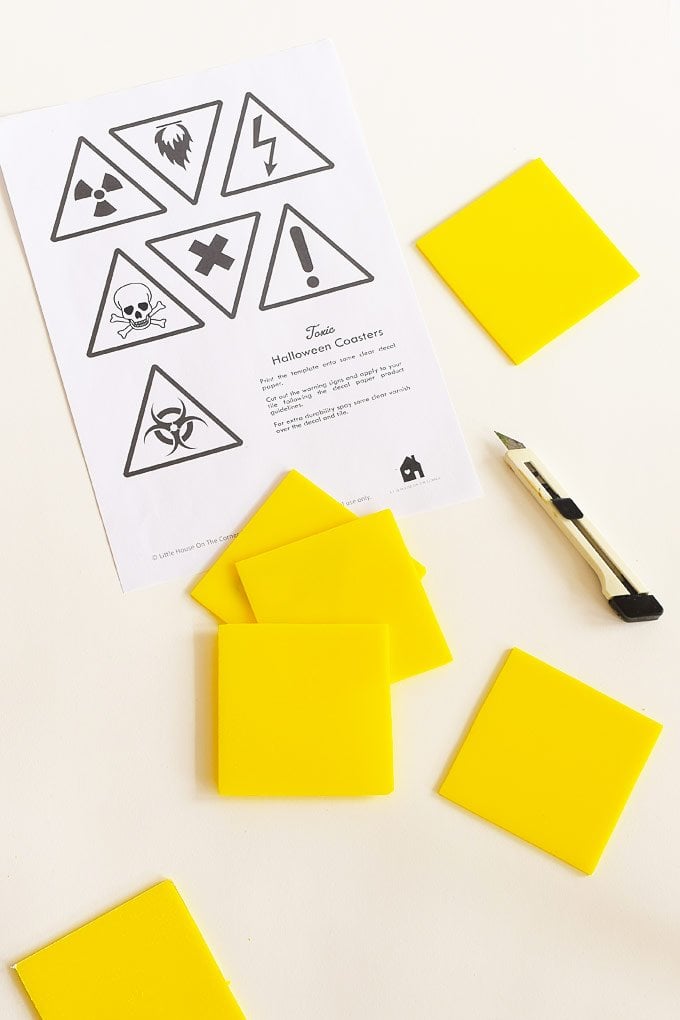
Download The Template & Print It
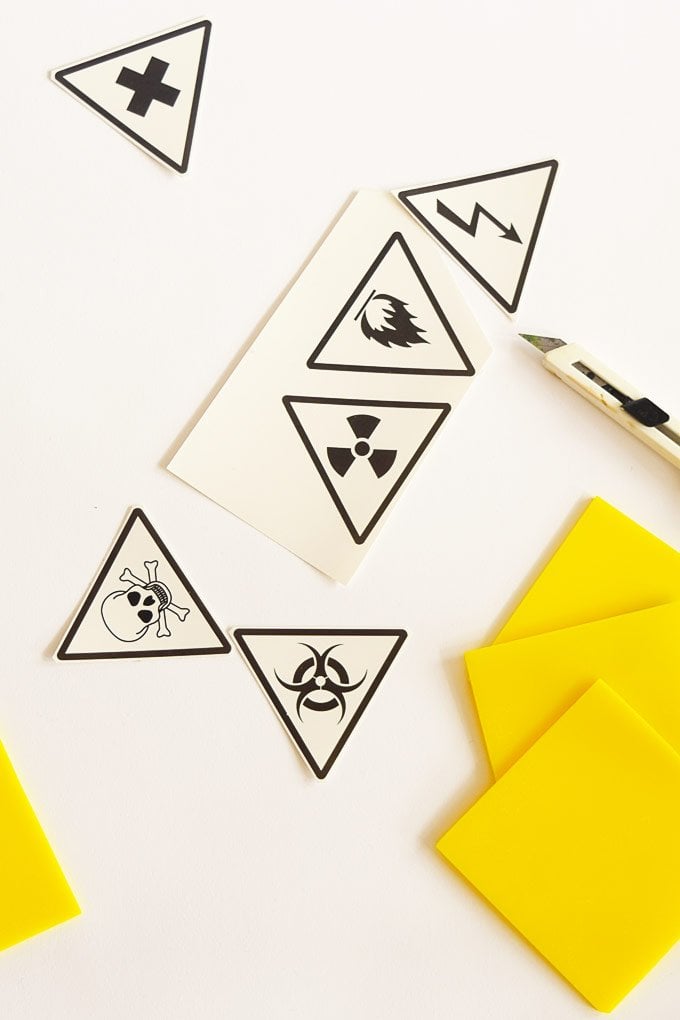
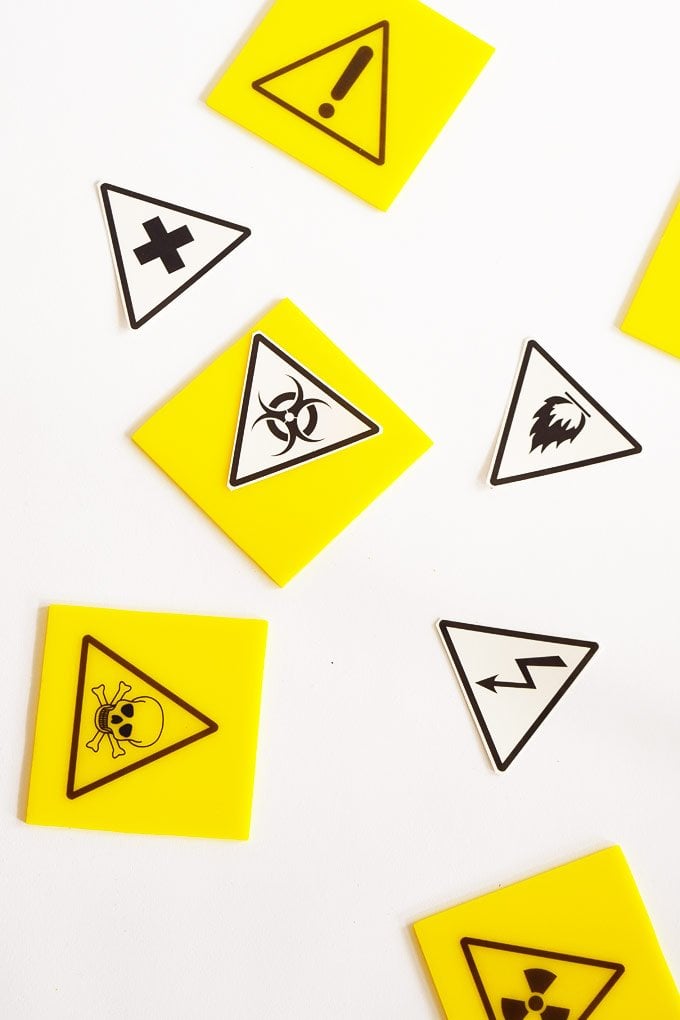
Start by downloading the printable and printing it onto some self-adhesive clear sticker paper. Then, cut out the hazard symbols with some scissors or a craft knife.
Step 2
Cut The Plexiglass
Next, prepare your plexiglass. You can easily buy plexiglass that’s already cut to the size you need, but if, like us, you’ve bought a sheet, you’ll have to cut it in squares first.
We measured out the squares and then used a circular saw to cut them before sanding the rough edges with some sandpaper. You don’t need to worry about scratching the surface too much, as there’s usually a removable protective film on the plexiglass.
Step 3
Attach The Stickers
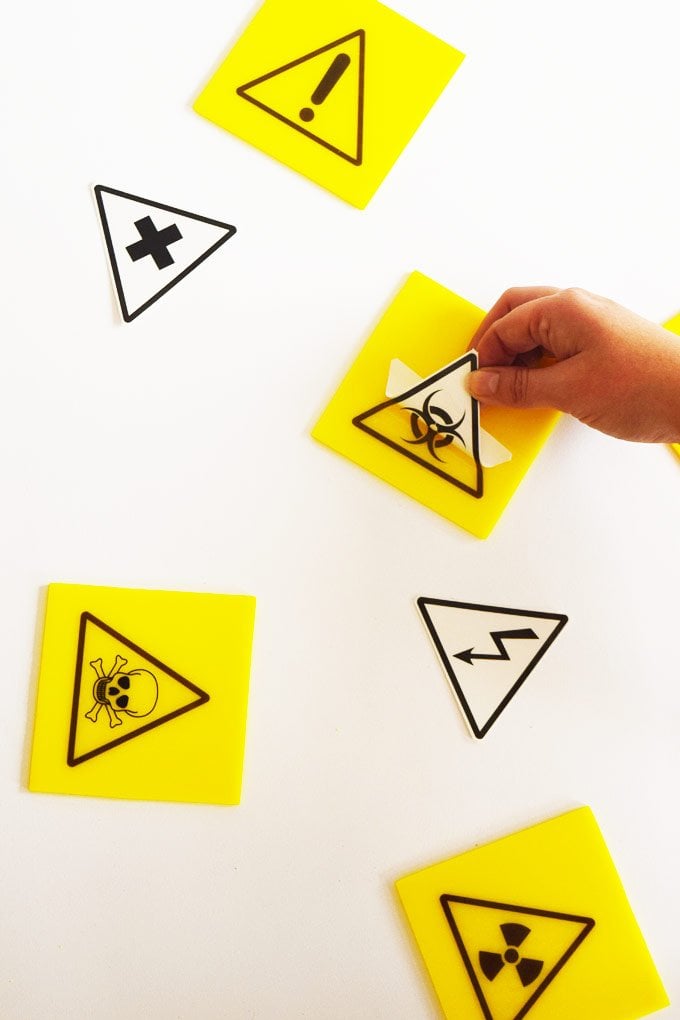
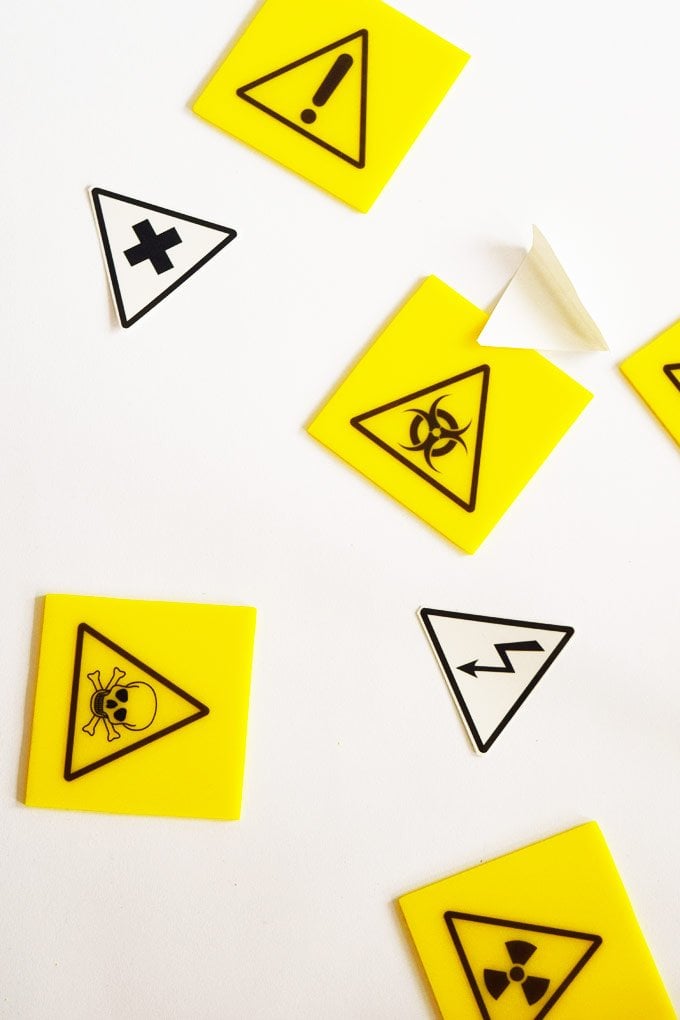
Wipe the front of the plexiglass coaster with some alcohol to make sure that it’s grease-free, then peel off the hazard sticker and glue it to the centre of the DIY Halloween coaster.
Step 4
Apply A Protective Topcoat
If you want your coasters to stay more durable and water resistant, we’d recommend giving them a spray with some clear varnish to protect the ink (which can smudge, especially if you’ve printed with an inkjet printer).
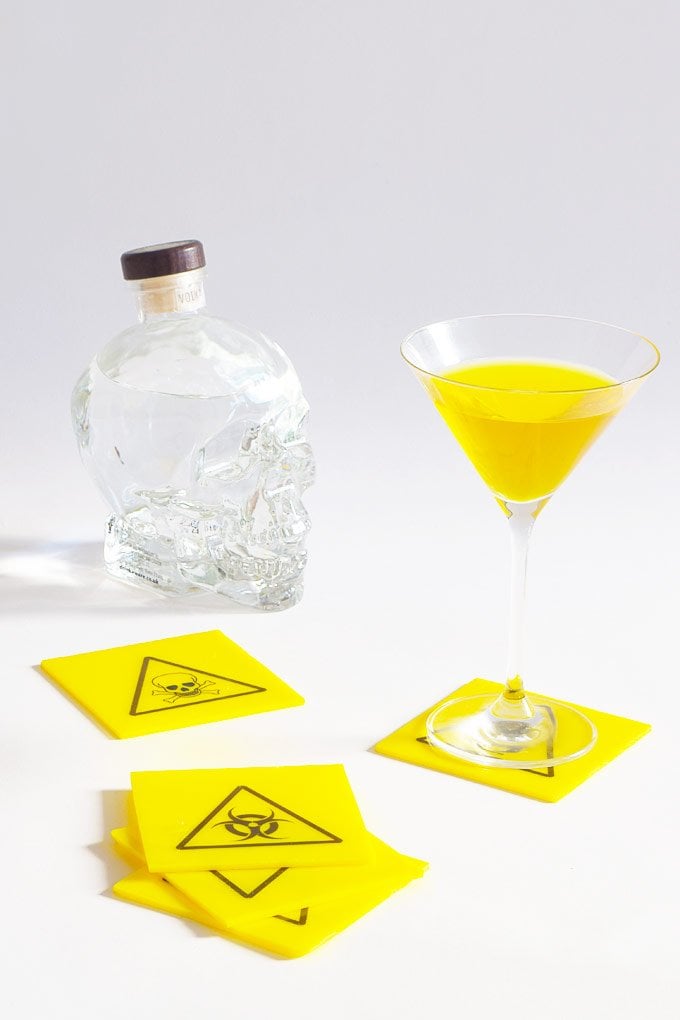
Now, all that’s left to do is mix yourself a drink and enjoy your new DIY Halloween coasters!
If you decide to make the DIY Halloween coasters, we’d love to see your results! So why not take a pic and share it with us over on Instagram?
If you like this project, you will love these, too!


Leave a Reply